
By Bob Van Putten

The native peoples of North America were a very practical lot. Over the centuries they developed some very efficient tools. Yet, perhaps because of their appreciation of and closeness to nature, they were also artists. Their inventions, such as the canoe, snowshoe, moccasin, and tipi, are as beautiful as they are practical. Modern technology can improve upon the materials but not the aesthetics.
My fascination with tipis began in 1978 when I spent a few weeks living in one in the Colorado Rockies. After that experience, I wanted my own, but the labor involved in sewing together the long and heavy canvas strips needed to make one seemed overwhelming, and I could never afford to buy one. Then I had a sudden insight: Why not make it out of a single piece of material and save all the work?
Modern tipis are made to conform to National Rendezvous rules and a tipi like mine would never be welcome in that setting. Nevertheless, the design is a good one, and such a tipi can easily be constructed to provide low-cost temporary housing, for immediate shelter after a disaster, or just for camping in the backyard with the kids. It is so useful that I believe all woodsmen should know how to make one.
My tipi design is 10 feet in diameter, which is about the smallest practical size. Before the introduction of the horse, Native Americans used dogs to pull their travois, so smaller tipis like this were common. This size will sleep a number of kids, two adults, or it can be palatial for one person.
Making the cover
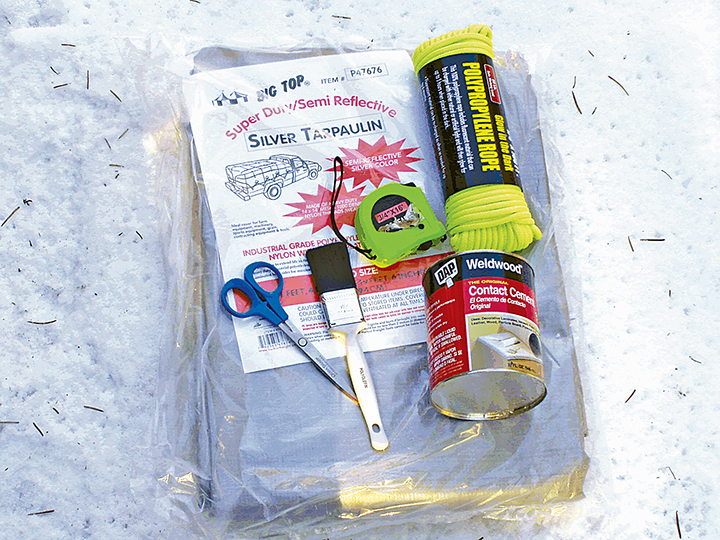
You will need a tarp about 10 feet wide and 20 long. I don’t recommend the thin, blue woven poly tarps because they tear easily and will not survive exposure to the weather and sun for very long. The heavy-duty tarp shown in this article lasted many years set up in a shady forest location. These days one can even buy a canvas tarp from Harbor Freight big enough to make a one-piece tipi for a heavier and more traditional-looking tent.
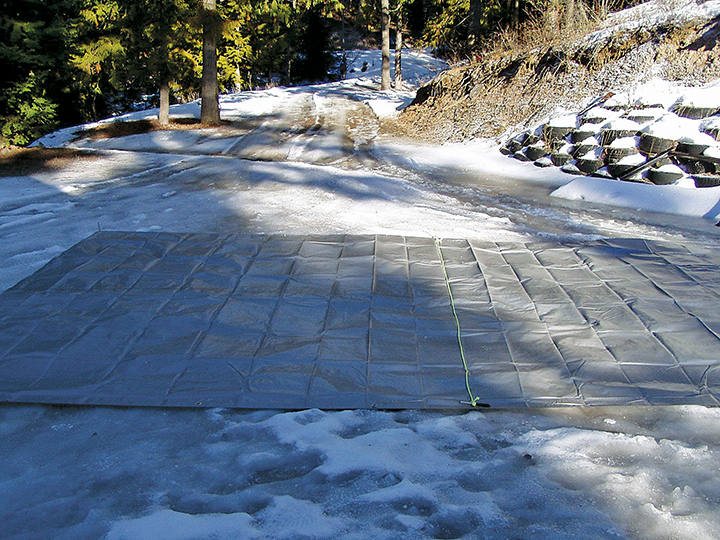
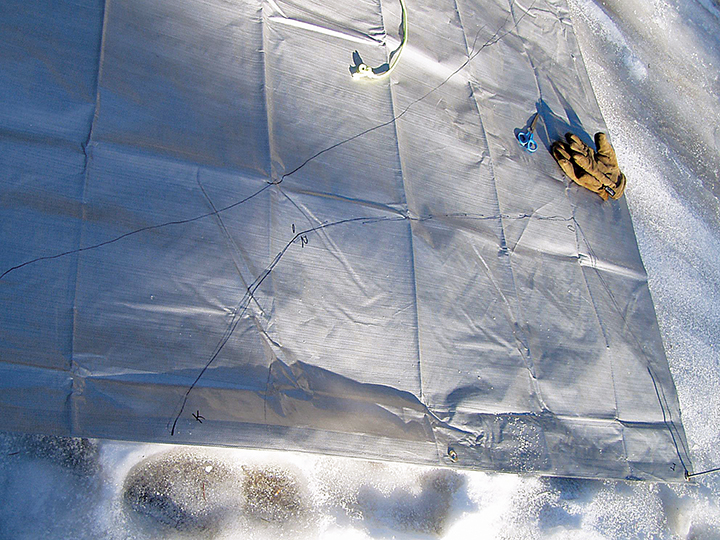
Start by laying the tarp out. For reference you can find the layout of a similarly-sized tipi at this site: www.inquiry.net/outdoor/native/skills/teepee.htm.
Peg a cord at the middle of one long side, stretch it across the tarp, and use it to draw a semi-circle on the tarp as wide as the tarp is.
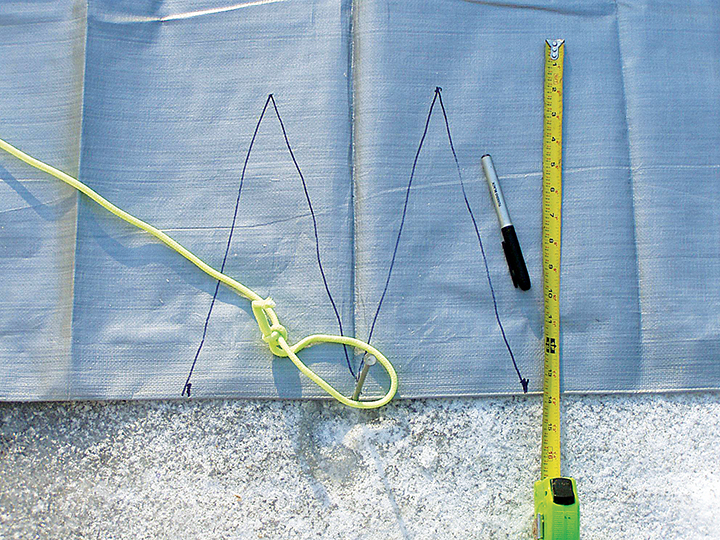
Now go back to the center where we pegged the cord and draw a 12-inch “W” there. Cut the two “Vs” out, fold the tab or point left in the center up and over, then fasten it down well with glue or by sewing. Attach a 4-foot-long cord through the loop formed there. Use this to tie the top of the tipi cover to the lifting pole.
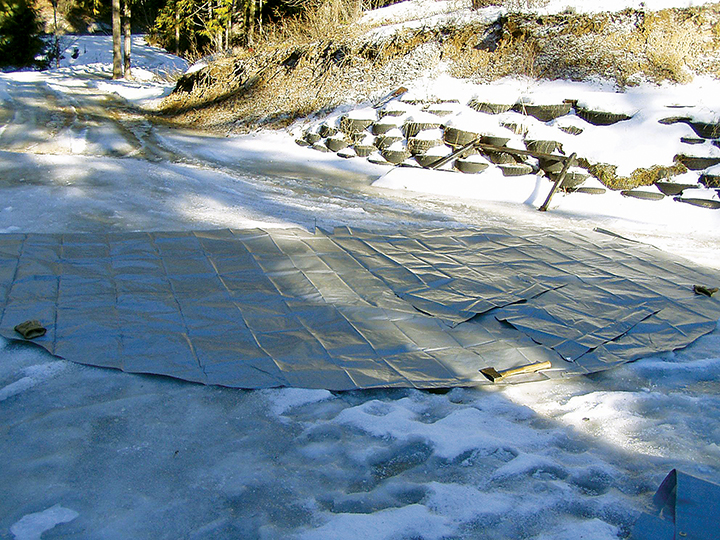
Now cut out the semi-circle. The cut edge of this great semi-circle should be hemmed. Run a light cord along the edge to reinforce it, fold the edge over the cord, and hem it. This can be easily done with contact cement or double-sided fiberglass carpet tape, but it is best to set up your sewing machine out on the lawn and run a zig-zag stitch around the edge. Cut holes along the hem to take short loops of cord for stakes or set grommets along the edge. Harbor Freight sells an effective grommet kit for less than five dollars.
Lay out two smoke flaps on the leftover material in the corners of the tarp. These are affixed to the straight side of the tipi cover, with the widest part of the flaps next to the “W.” The upper tip of the smoke flap should have a pocket to stick a vent-pole into, and the bottom tip should have a grommet to tie a 15-foot rope to. It is best to sew on these flaps and pocket. They are subjected to some stress and I’ve had them fail when only glued.
Now you are done with the cover!
Making the poles
To set up the tipi, you’ll need about twelve saplings 12-13 feet long. Two will be vent-poles used to support the ends of the smoke flaps and should be longer and more slender than the rest. Find a thicket that needs thinning to cut them from and you’ll actually be doing the forest a favor. The straighter the better, but don’t be overly picky about it. If you have the time, you can peel the bark off.
Out on the plains, good poles were once considered quite valuable. Native Americans often used rather long poles for their tipis, and hung colorful streamers from the tips. Long poles had the advantage of lasting longer as the butts rotted down and were worn off as they were dragged from site to site. But long poles also collect more rainwater and funnel it into the interior than shorter ones do, and the shorter they are, the easier they are to find, so I stick with poles just long enough. Save the branches trimmed off the saplings to cover the floor of the tipi.
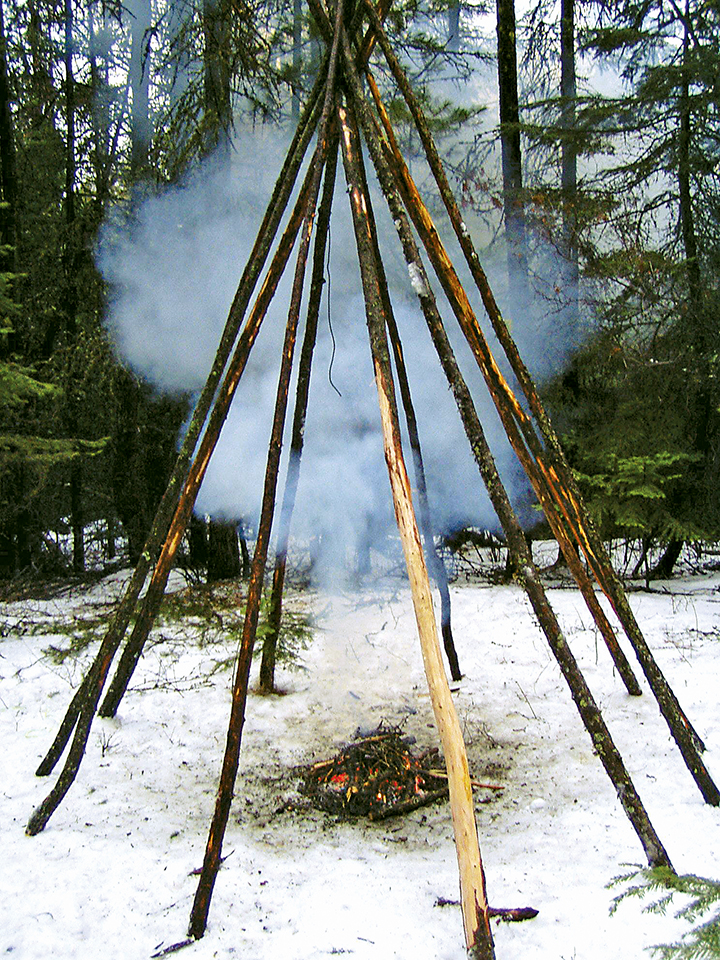
Pitching the tipi
To pitch the tipi, select the three heaviest poles for a tripod and tie them together about nine feet up. The correct length is actually the distance from the hem of the semi-circle to where the cord is connected to the cover on top, plus a little more if the poles will sink into the earth. Lay two of the poles parallel on the ground and the third pole across them at an angle at the proper distance, then tie them with a rope about 30 feet long. The proper tie is to start with a clove-hitch, then wrap a few turns around the poles and finish with two half-hitches. But any knot that holds will probably do. Let the excess rope dangle for now, and raise the tripod with one pole to the east (this is the door pole), and the other two spaced out to hold everything up. Set up the tripod smaller than the tipi will be. It needs to be a lopsided cone shape that is steeper in the back and less steep in the front by the door pole.
Lay the rest of the poles on the tripod except for the lifting pole and the vent-poles. The trick to this is to keep most of the poles in the front crotch of the tripod, which will be the smoke hole. Skip a space at the back where the lifting pole with the cover attached will go. Lay the poles in a smaller circle than the finished tipi will be (you will adjust them after the cover is on).
After the poles are up, wrap the rope dangling from the original tripod around the whole thing and tie it off (wrap four times clockwise or “with the sun” for a lucky tipi). If you expect really heavy winds, tie this rope off to a stake pounded deep into the earth inside the tipi off to one side. Rigged this way, it could withstand a hurricane.
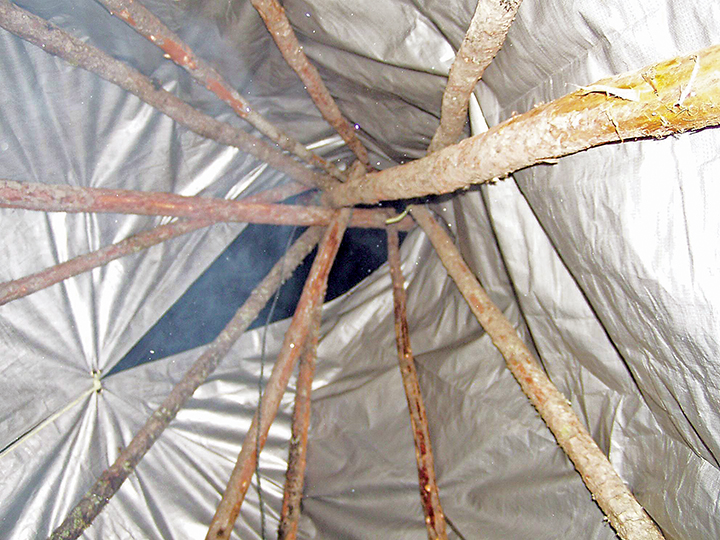
Lift the last pole with the cover tied on into place at the back of the tipi, then spread the cover around the poles and tie the front closed to the right of the door pole using the original grommets along the remaining straight edge of the tarp. Spread the poles out from the inside to make the cover taut and then stake the edge.
To finish the pitch, stake the tipi skirt and put the ends of the long, slender vent-poles in the pockets of the smoke flaps, angle them out, and stake the flap ropes. I’ve never needed the smoke flaps much in the thick forest my tipi is in, but they help control draft in open windy areas, and can be used to close the smoke hole in really rainy weather.
Using the tipi
Put the fireplace a little nearer the door than true center. This puts it under the smoke hole which is on the front of the cone and provides more living space in the back.
Smoke should never be a problem in a tipi, especially when sitting or lying down. Keep the fire only as large as necessary and burning brightly for good heat and light with minimal smoke. Use dry wood and split it if needed. I haven’t burned any holes in the plastic material of mine or melted it. Of course there will always be smoke up high when a fire is lit which is good, because this keeps mosquitoes and black flies at bay. Plus, meat can be hung up there to smoke and buckskins to darken.
In any but the warmest weather, it is important to seal the skirt of the tipi, because otherwise the draft of the fire will draw cold air in behind you.
To seal around the tipi and prevent drafts, heap snow or dirt around the outside edge, or lower the cover and heap the edge with rocks. Digging a small trench around the tipi and burying the edge of the cover both seals out drafts and improves drainage. Native Americans often piled small stones on the skirts of their tipis, and in many places on the plains and along the Rocky Mountains one can still find clusters of small stones in a circle.
Stack firewood and equipment by the door and make your bed in the back, away from the draft from the entrance. In hot weather, you can raise the sides several feet. This provides shade, lets any breeze through and as the tall cone heats in the sun a natural draft starts, making the tipi the coolest of tents in exposed, sunny locations.

Conclusion
A tipi is roomy, well ventilated, and never suffers from condensation as so many modern tents do. It is cool in the summer and snug in the winter. It is the most comfortable of tents in all seasons. My version is low cost and easily made, yet retains the surprising efficiency of the original. I have even come to believe that the “super-duty/semi-reflective” tarp I used can last longer than a traditional tipi, because when left set up for a long time the skirts will not rot from contact with the earth as canvas or buffalo hide would.
One Christmas Day I took my tipi to a large family gathering. I rounded all the youngsters up; passed out a pile of saws, hatchets, and machetes; and sent them into a snowy thicket to cut saplings. We dragged out the poles, trimmed them, raised up the tripod, and set up the tipi. As darkness fell, eight kids sat around the fire in the tipi, toasting marshmallows over the fire. For most of those children it was the first time they had sat by a campfire, the very first time they had toasted marshmallows, and the first time they had ever seen a tipi. I reckon that was reason enough right there to build one.
Recommended reading
Indisputably, the best work on the subject of the tipi and related matters is Build Your Own Tipi by Reginald and Gladys Laubin (published in 1957 by University of Oklahoma Press). This couple knew and lived the old ways.


I think that would be good for camping.
Why wouldn’t you use a tarp over the snowy ground? I would think it would be a lot cleaner and cozy in there. Also wondering why you have it off the ground where cold winds could whistle in?