So we decided it was time to work on our living room wood stove. The sun beats in the big south-facing windows, warming up the room (and us!) even on cold days so it was a good time to get this job done.
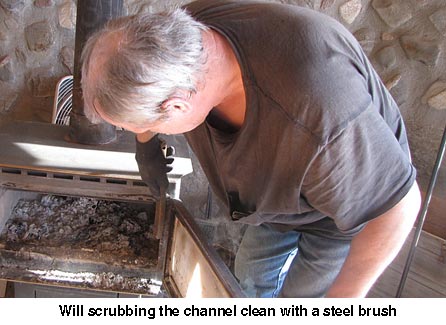
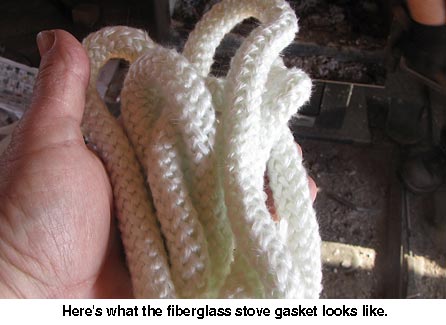
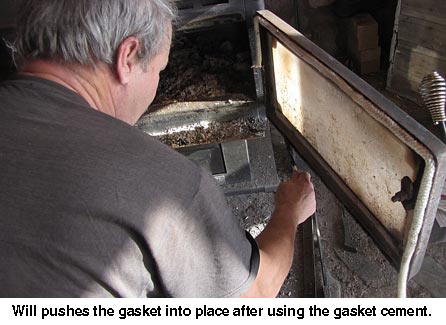
The old fiberglass gasket on the wood stove was getting worn and had recently ripped in a section, rendering the stove unsafe and inefficient as there was a gap between the door and the stove. This morning we drove to town and picked up a bag of new gasket rope among other needed homestead stuff. When we got home Will set to work fixing the gasket. He pulled the old one off with the aid of a big flat-tipped screwdriver and his pocket knife. Then he scrubbed the whole channel well with a steel brush. Next came the black gooey gasket cement and finally, the new gasket rope was pushed tightly into the slot. Will cut it to fit and the job was done, except for letting it cure.
Meanwhile, we cleaned out the stove and wiped the front door glass clean with a damp rag. Now it’s ready to fire up, all safe, efficient, and beautiful. — Jackie

Luv the general homestead ‘tune-ups’!
I have an 18YO furnace that decided to die on me. It worked fine for the 2 weeks I was on vacation but when I turned the heat back up to 70* it died. Tore into it, cleaned all the flues, passages, parts, and tubing; and less than 5 bucks later it was working fine again!
One of the biggest lies foisted upon the people is the sticker that says ‘No Usable Parts Inside…’ Just needs some elbow grease!
Dan,
Will used Gasketing Cement & Stove Sealer by Meeco Mfg. 1-800-426-9393.
What do you use for gasket cement? The stuff that comes in the kits I buy is clear and runny, and turns to a sort of stiff white foam when it cures. The problem is that it doesn’t hold very well!
Comments are closed.