By Jackie Clay-Atkinson
I’ve been growing peppers for more than 50 years now and can’t imagine a garden without them. There are so many different varieties that no matter where you live, from the coldest climates to the warmest zones, no matter whether you like your food mild or scorching hot, there are peppers just for you.
Starting your own seeds
First, decide what peppers you want to grow. Basically, peppers fall into two categories: sweet and hot. But even among these categories, there is a wide variety of flavor and hotness.
I never rely on buying plants at the garden center or big box store. They have few varieties. Instead, I always start my own peppers.
To start your own peppers, order your seeds early. Peppers should be started about four weeks before tomatoes (no matter what some books say). Peppers take longer than tomatoes to germinate. I plant my peppers 10-12 weeks before I plan on setting them out into the garden.
Supplies you’ll need:
- deeper containers
- good quality seed-starting soil such as Pro-Mix (Jiffy Mix doesn’t absorb water, so skip that one)
- plastic bags
- a regular four-foot-long shop light with two bulbs for a grow light (if you don’t already have a big, south-facing window in a warm room)
I often start my pepper seeds in large-sized Jiffy peat pellets for convenience and they have done very well. I soak the peat pellets in hot water, then wedge them into smaller containers such as plastic refrigerator containers or flats. Once in the container, I use a pencil to make a depression in the center of each pellet, then plant two seeds ½-inch deep in each hole in case one doesn’t germinate (if two germinate, I simply gently pull the weakest seedling). I then label the container or rows in a flat, crumble the peat edges down over the seed, press down with my finger firmly, and water the pellets gently so there are no air pockets.
Once planted, I slip the container into a plastic bag to help keep the moisture in.
If I’m planting in seed-starting medium such as Pro-Mix, I fill the containers, moisten them with hot water, and follow the same planting procedure as for the Jiffy peat pellets. If planting rows, I place my seeds about an inch apart.
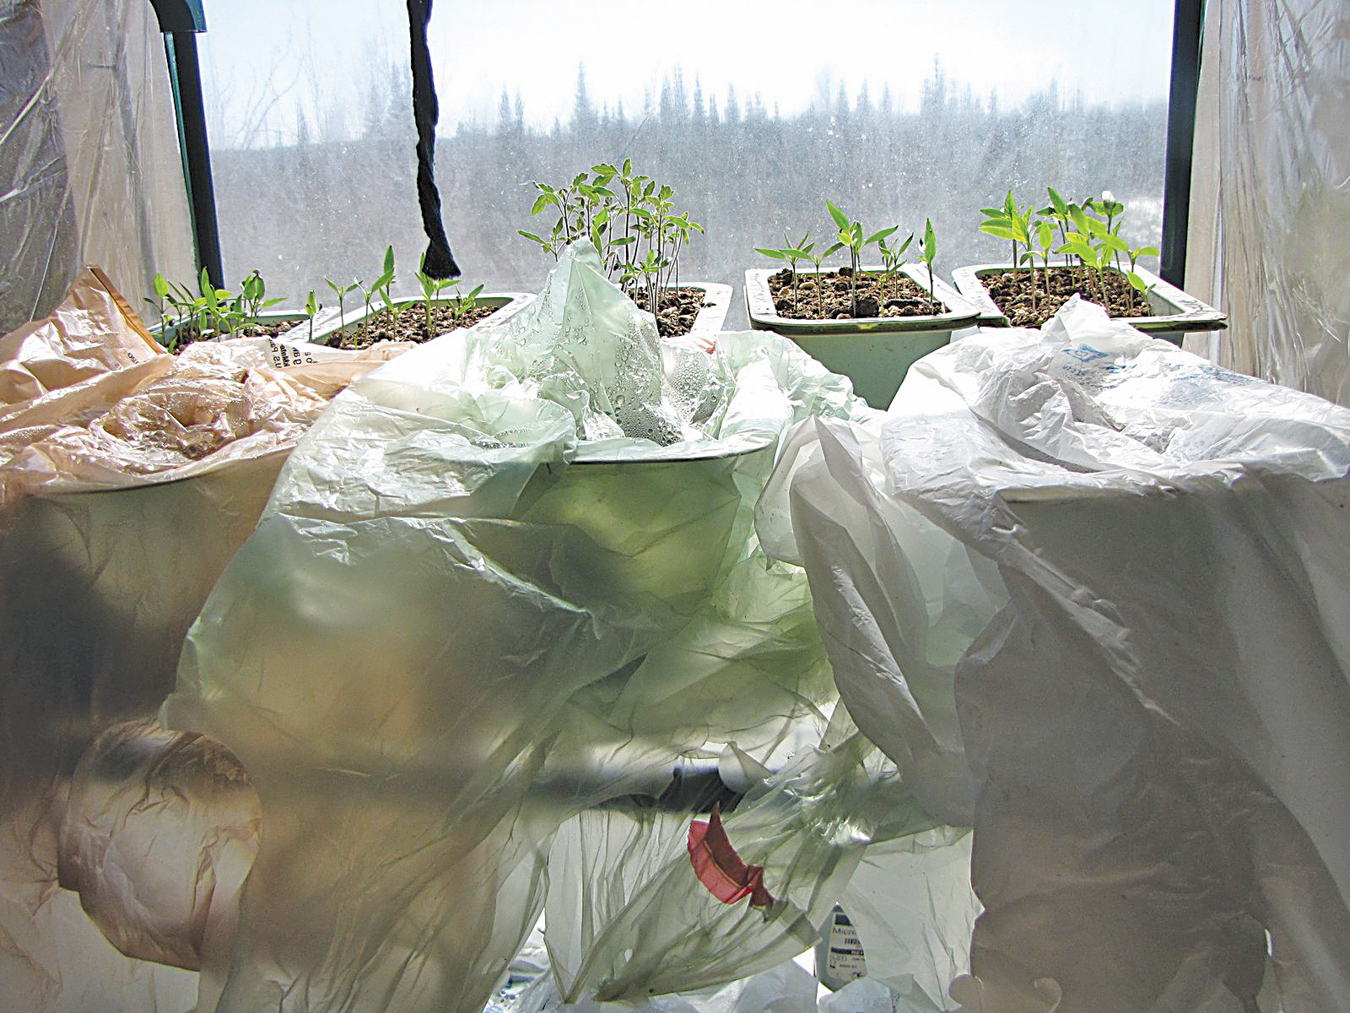
Many people have a lot of trouble getting peppers to germinate. Often, this is because the containers have been allowed to dry out (or were over-watered) or the seeds were not kept warm enough.
Pepper seeds require a temperature between 75 and 80° F to germinate quickly. During the early spring, when you’ll be starting your pepper seeds, a sunny window will also let in cold night temperatures. Try using a heating pad under your peppers or make sure they have a very warm place to germinate. I germinate mine in a little plastic greenhouse, set only four feet from the side of our living room wood stove.
Once they have germinated, be sure they have adequate light. If using a shop light, lower the light right down to a couple of inches above the peppers or they won’t get enough light. As they grow, just keep raising the light as needed to keep it above the leaves.
When you use a window, you’ll have to switch your containers around every day as the plants will always lean toward the light. If you don’t move the containers around, the plants will get leggy.
Transplanting peppers
If using seed-starting medium, you will be transplanting your baby peppers when they have two sets of leaves. If using peat pellets, you can wait until they are about two inches tall.
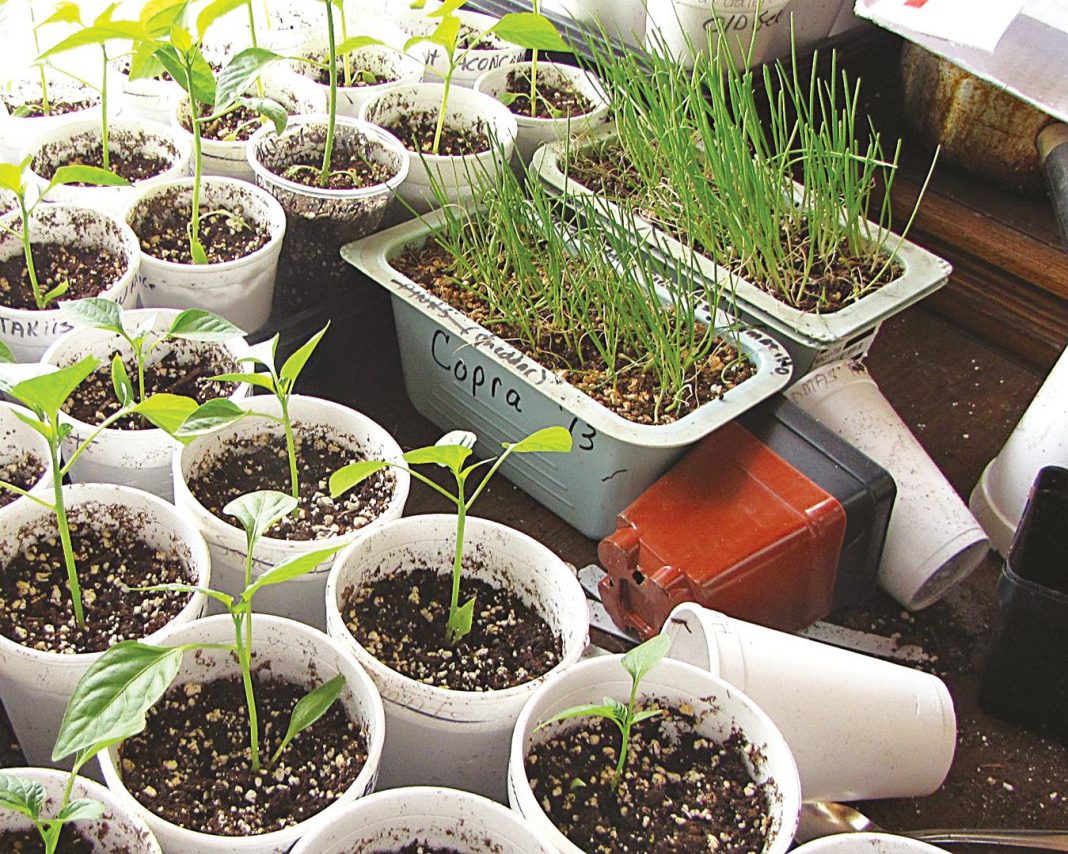
I transplant my peppers into Styrofoam cups. Don’t throw them away when you are done; I’ve been using some of mine for years. Take a pencil and poke a hole in the bottom of each cup to let water out so the plants don’t get “wet feet” and rot. Label each cup with a permanent marker, then fill it up partway with a good potting medium.
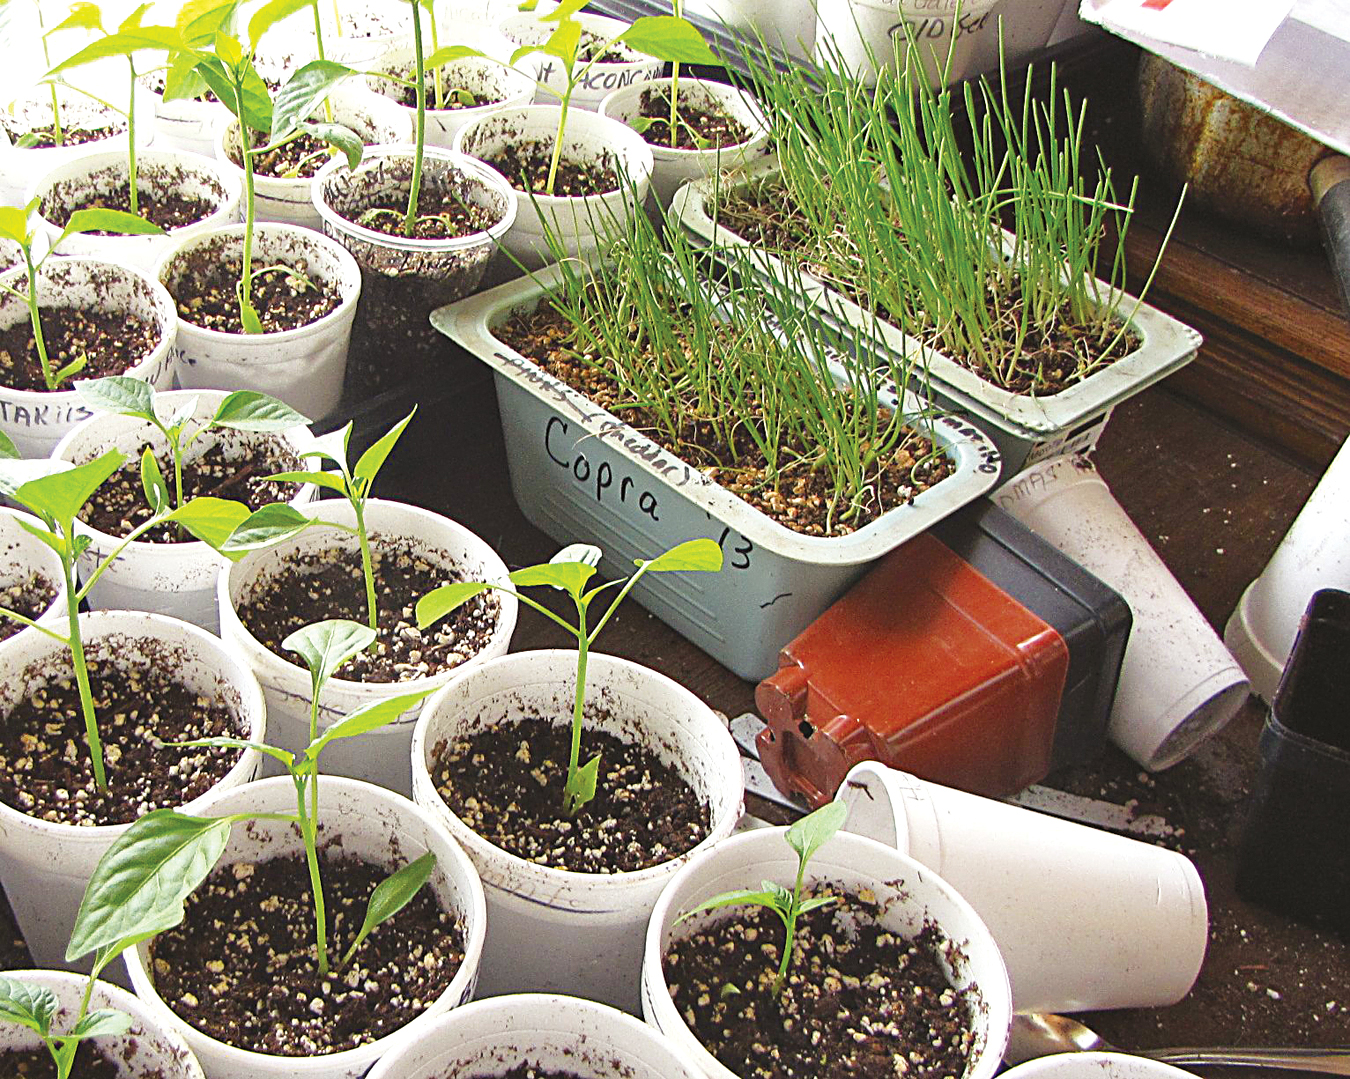
If your seedlings are getting too tall, often due to insufficient light, you can just bury the plant deeper in the soil while transplanting. This supports the weak stem and lets the plant continue to grow.
If using cups, leave about an inch of space up to the rim of the cup. This will let you water the plants more easily. As the plants grow, you’ll find yourself needing to water more to keep the plants from wilting. Wilted peppers won’t go on to produce well.
Before you set your peppers out, take the time to harden them off. This means setting your containers outside for an hour at first, in a relatively protected area where the wind won’t whip them to death. Gently increase their exposure to outside conditions, a little at a time. Be sure to monitor their condition often. On a sunny day, seedlings can dry out shockingly fast. Water well and often.
To set your peppers out, first mark your row, planning for about two feet apart for the plants. Make the rows as far apart as convenient for you to till, mulch, water, and walk between. Remember that your plants will get large during the summer, often a couple feet tall and 18 inches or more wide.
Use care in choosing a spot that has received heavy applications of rotted manure or other high-nitrogen material. Peppers love nitrogen, but an overabundance will grow big, leafy plants that have very few peppers.
With a trowel or shovel, dig a hole to receive each plant. Be sure to loosen the soil beneath the plant. Turn the container upside down in your hand, with your hand preventing the soil from falling. Gently squeeze the container until the soil loosens and the plant drops into your hand. Lower the plant into the hole, leaving several inches of the stem and the leaves up, ready to grow. If the stems have gotten leggy and long, don’t be afraid to bury some of the stem. This will not hurt the plant and will allow it to grow strongly. If you do bury some of the stem, take time to remove any lower leaves to prevent fungus infection. Gently crumble the dirt around the plant and press it down firmly all around. Water the plant well and move on to the next plant. If planting more than one variety, place a marker or stake with the variety’s name next to the plant so you’ll remember what variety it was later on.
Protecting and caring for your peppers
You shouldn’t plan on setting your pepper plants out into the garden without protection until all chance of late spring frost is over. Peppers are not frost tolerant and will be killed during a frost.
We live in cold Zone 3 and often have frosts or even snow until the second week in June. So we grow our peppers under plastic, in a big, homemade hoop house. Having the protection lets the peppers’ roots remain warm during cold nights and those cool days of late spring and early fall. And they reward our effort with a bounty of peppers.
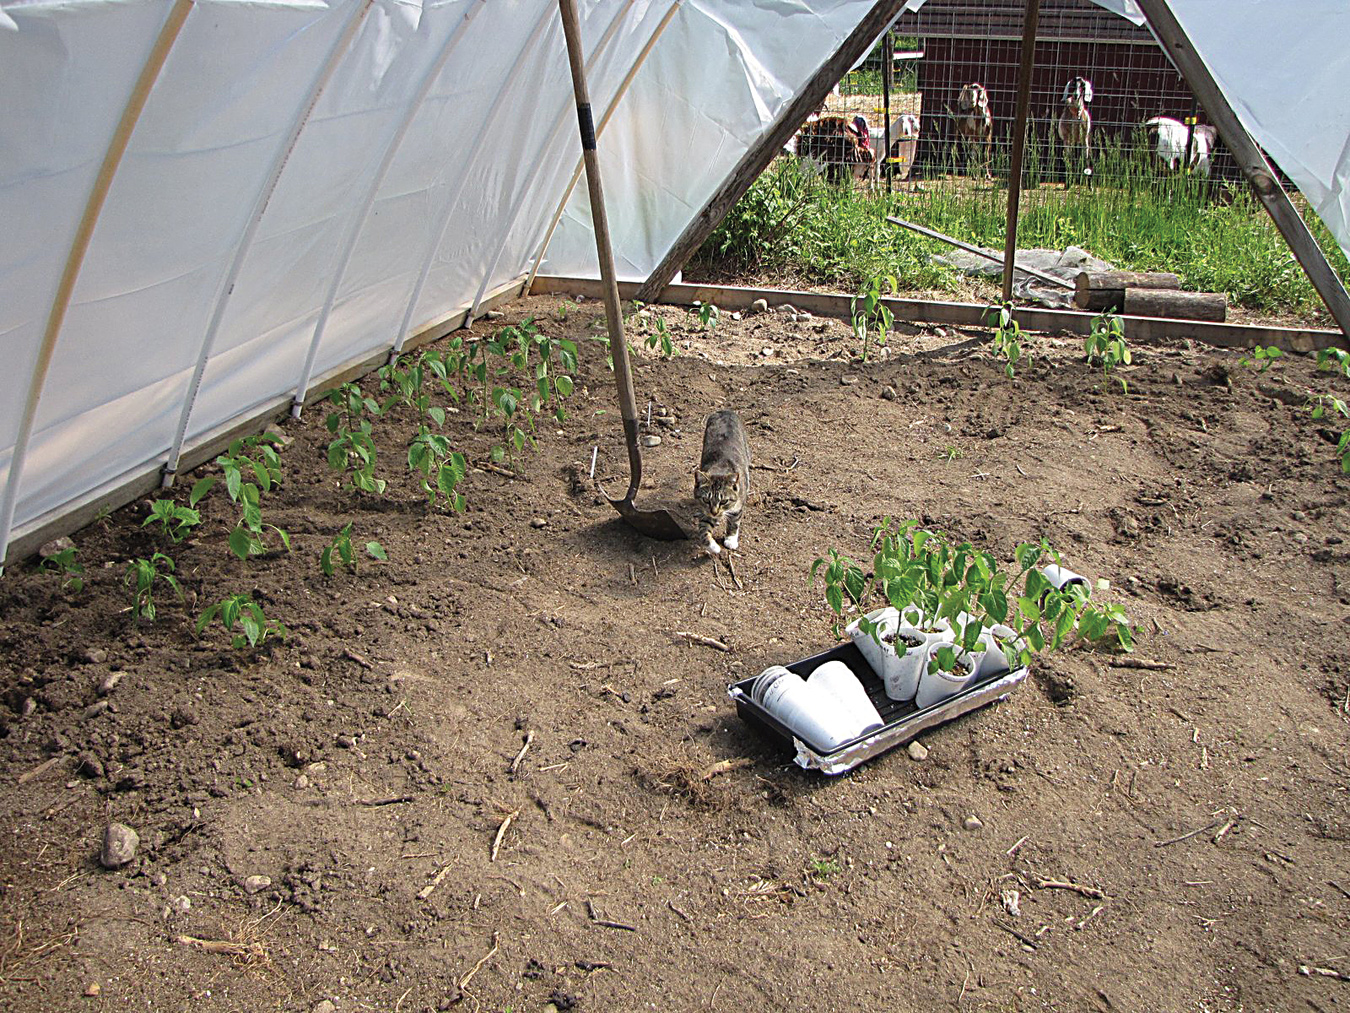
We till our rows between the plants once, taking care to stay far enough away from the plants so we won’t damage them. Then, we deeply mulch between plants and rows with weed- and seed-free hay, pulling out any weeds by hand as we go. The key is mulching deeply; a couple of inches will do nothing. By mulching deeply (6-8 inches) you will smother any small weeds, prevent more from growing and also help hold the moisture from rains or watering around the plant roots. The mulch will also keep any low-hanging peppers from contact with the ground where they will rot.
Harvesting peppers
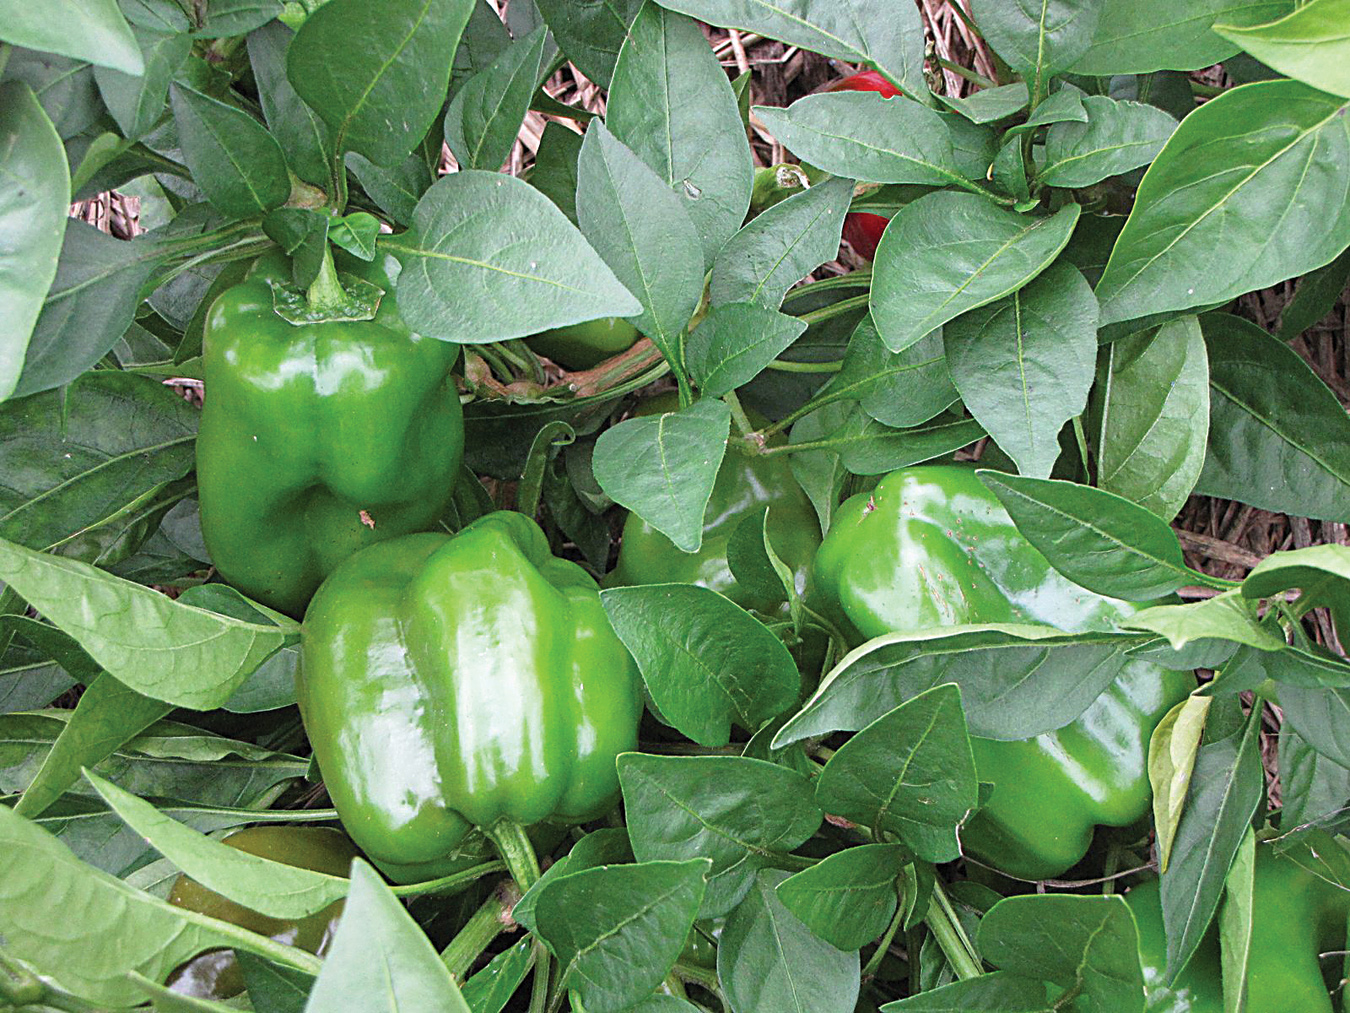
Most peppers start out as green peppers, regardless of their shape or hotness. But then they usually change color as they ripen. (Some ripen as yellow, purple, chocolate-colored, or even nearly black, depending on variety.) Most sweet peppers are best when fully mature with their ripe coloration. Hot peppers can vary. Most are as hot green as when they gain their mature coloration.
You can pick your peppers any time once they get large enough. And by keeping a few picked off each plant, you’ll encourage the plant to keep blooming and setting more peppers all season long.
Saving pepper seeds
If you’ve only chosen to grow one variety of pepper this year, you can easily save seeds so you won’t have to buy any next year, if you’ve chosen an open-pollinated variety. Open-pollinated pepper seeds, also called heirloom seeds, will always produce plants that are the same as those of the mother plant. While you certainly can save seeds from hybrid peppers, you will never know what characteristics the next year’s plants will have.
Peppers can sometimes be crossed with another variety by flying insects. To combat this, grow only one variety of pepper each year from which to save seeds, or ensure there is no cross-pollination by making frames out of wood and screen material. Frames are just open-bottomed boxes with screen or fabric stapled around them. These frames also keep out pollinators, but don’t worry — peppers have both male and female traits in each flower, so they will self-pollinate without help.
You must let the peppers mature fully before removing the seeds or the seeds will not be viable. This means letting the peppers fully mature and even start to soften a little.
Cut the pepper open carefully and remove the seeds, letting them fall out onto a plate or other flat container. I use plastic picnic plates or ice cream pail lids. Press into a single layer and leave in a warm, protected place until nearly dry. Stir the drying seeds around a bit from time to time to ensure even drying.
Once the seeds are very dry, place in an airtight container to store. For long-term storage, plan on keeping them in a freezer. If stored in a cool, dark place, your seeds will remain viable for a few years.
Canning peppers
Sweet peppers
Although you can remove the skins of sweet peppers, I often just can them with the skins on. It helps them hold their shape; they do soften during processing. If you wish to remove the skins, simply plunge them into boiling water for three minutes, then into cold water. The skins will slip off quite easily. Whether or not you remove the skins, stem, core, and remove seeds and ribs. Flatten peppers and pack gently into jars, in layers, leaving one inch of headspace. Add ½ tsp. salt to each pint jar and ½ tsp. vinegar if you wish (improves flavor). Pour boiling water over peppers, leaving one inch of headspace. Remove any air bubbles. Process in a pressure canner at 10 pounds pressure for 35 minutes for pints and half pints. It is not recommended to can quarts of peppers, as the longer processing time would make them mushy.
Hot peppers
Hot peppers are tastiest when roasted before being canned. It not only helps the skin to slip off easier but it gives the peppers a wonderful flavor. To roast your peppers, place them in a 450° F oven for 8-10 minutes or until the skins are blistered and cracked and a few areas are just blackening. You can also roast your peppers outside on the grill, turning them carefully midway through roasting. Do not let the skins burn badly.
After roasting, place the peppers in a paper grocery sack and roll the top closed. Leave the peppers in the bag for 30 minutes, then take them out and plunge them into cold water. The skins will slip off nicely. Caution: Wear rubber gloves while working with hot peppers and do not touch your eyes or mucus membranes. They will burn.
Remove stem, seeds, and ribs. Pack into hot half-pint or pint jars, leaving one inch of headspace. Add ½ tsp. salt and ½ tsp. vinegar to half-pint or pint jars; canning in quarts is not recommended.
Pour boiling water over peppers, leaving one inch of headspace. Remove air bubbles. Process in a pressure canner at 10 pounds pressure for 35 minutes (pints and half-pints).
Dehydrating peppers
Besides canning bushels of peppers in one form or another, I dehydrate a lot, too. Dehydrated peppers take very little room to store, weigh next to nothing, and last nearly forever.
In New Mexico, as in much of the Southwest, you’ll find strings of whole red chiles hanging in kitchens and on porches, both as decoration and to use in daily meals. These ristras are simply made; you just thread a strong needle onto a stout thread such as you’d use to sew canvas and thread the stems of fresh chiles onto it, making a ristra or string of peppers as long as you wish; often about 18 inches or so, due to the weight of the fresh peppers. These peppers, hung in a breezy, protected spot, will shrivel and dry in a couple of weeks in the dry air.
Where the humidity is higher, this won’t work and the peppers will mold. I usually slice or dice my peppers and lay them on dehydrator trays to go in my small electric dehydrator or I’ll lay them on cookie sheets in the oven with just the pilot light on and the door cracked. With hot peppers, I often leave the seeds in the peppers for added heat and flavor — I dry small hot peppers whole on the trays. Sweet peppers are best dried with the stem, seeds, and ribs removed, cut into dices or slices.
Dried peppers should be papery and crisp-feeling. Once dried, they are best stored in airtight, insect- and rodent-proof containers.
I often run a batch or two through my blender, especially my chiles, in order to make my own chili powder.
I encourage you to grow and use more peppers in your own garden. Even when living simply, variety is the spice of life.




Thanks, Jackie: This is just what I needed this fine day of Feb. 16, 2022. My how time is flying. You’ve got such hands-on experience! Is that really all that you’ve done as a ‘career’ is to homestead? Well, you sure help thousands of people!