By Lisa Nourse
The small town where I live has two small grocery stores and getting a good variety of organic produce during the winter months is difficult. I find myself craving fresh produce that is not tasteless, mushy, or wilted.
I am lucky to live in the coastal area of the Pacific Northwest and can usually manage to keep a few vegetables going through the winter. However, the growth slows down considerably during the cold months and I become impatient waiting for the lettuce, chard, and kale to regenerate after cutting. Having a pantry full of last season’s harvest is great, but you can’t beat the taste and nutritional value of fresh greens. To solve this dilemma I started growing microgreens, which are just vegetables or herbs planted very close together that are at the seedling stage.
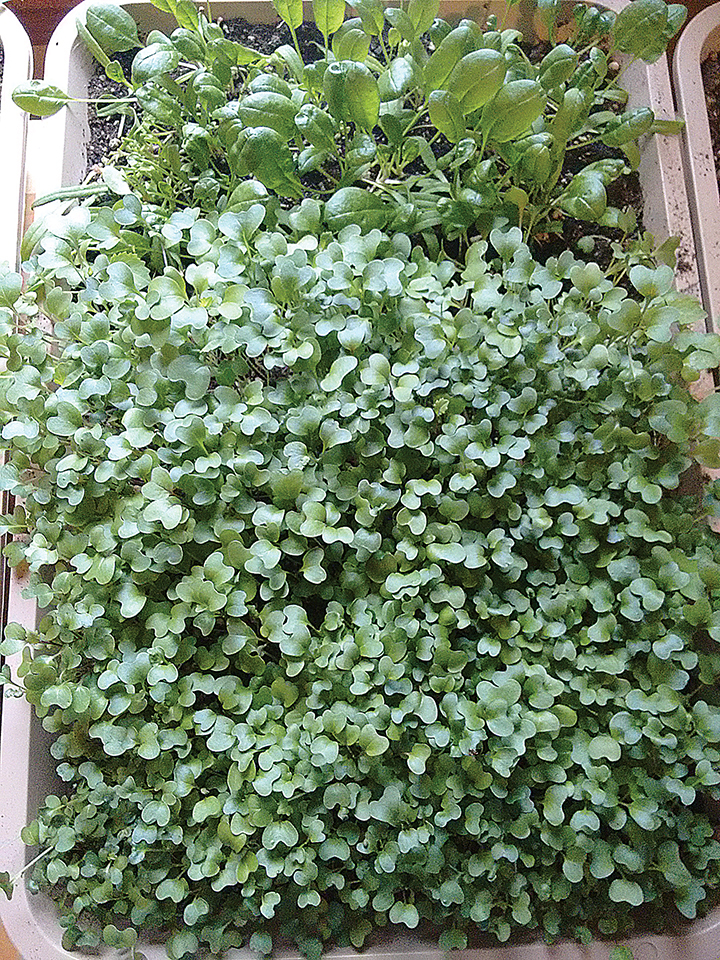
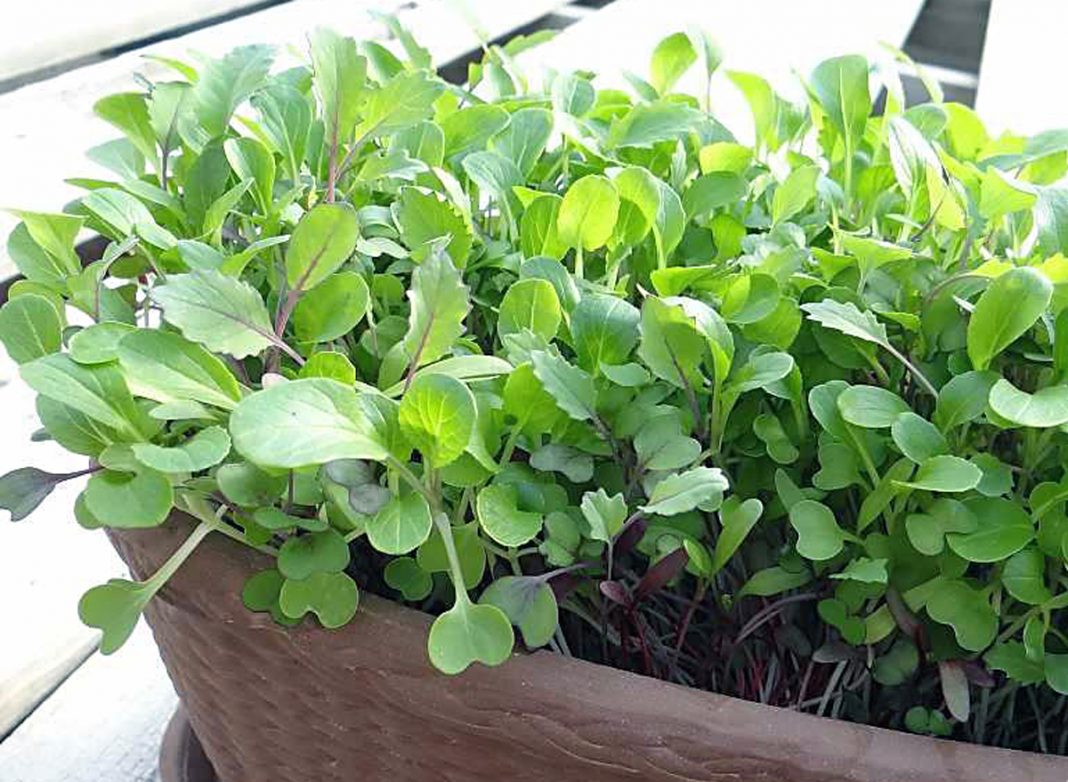
Microgreens contain higher levels of vitamins and carotenoids than their full-grown counterparts and are quite easy to grow. They come in many flavors, from mild to spicy or peppery depending on the variety. Lettuce is quite mild while radish greens are a nice peppery addition to salads or sandwiches. A mix of kale, broccoli, bok choy, and arugula has a nice, full flavor and is good in omelets, sandwiches, and as a nutritious topping for a warm, creamy soup. Beet, rainbow chard, purple basil, red amaranth, and red cabbage microgreens are a colorful addition to salads and are a nice garnish for any meal.
Setting up a grow station
I have a tall, long table that is perfect for a growing station. My son built a wooden stand from salvaged lumber to hang the grow light. A few brand-new cat litter boxes with a plastic greenhouse tray in the bottom (to provide drainage) are the growing trays. The grow light — LED to save electricity — came from Amazon (Monios-L 4FT LED Grow Light — $49.99) and the cat litter boxes came from the local hardware store. I already had the plastic greenhouse trays. This setup cost a total of $67.
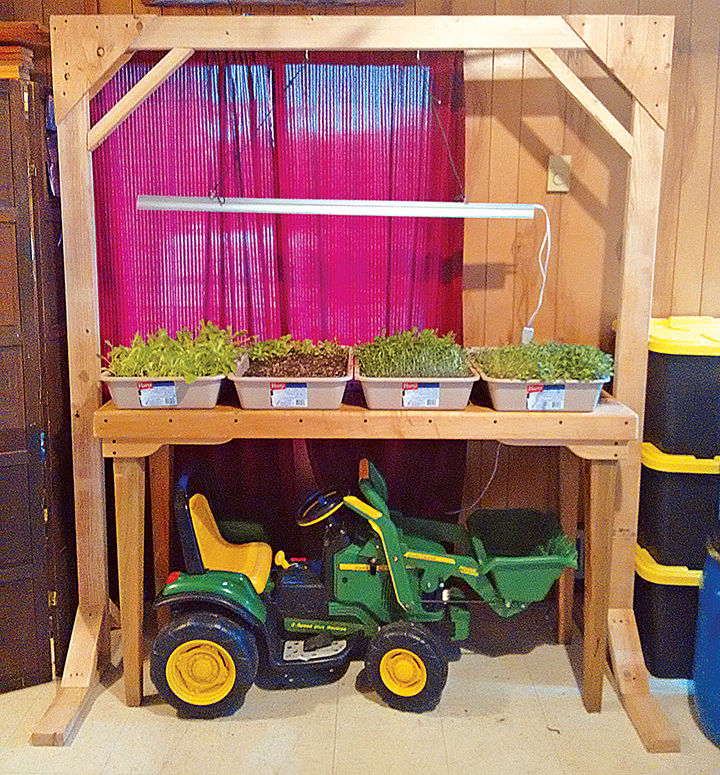
If you live in a sunny location, a grow light may not be necessary. Here on the coast, we can go days (and sometimes weeks during the winter months) without seeing the sun, so I felt the light would provide better conditions for the growing greens. I placed the grow station in front of a south-facing window to take advantage of sunny days. When the sun is out I do not turn on the grow light. When there is no sun I turn the grow light on at 9:00 in the morning and turn it off at 5:00 in the evening. (The greens do not need more than 8 hours of light per day.) The light could be set to go on and off with a timer, but my microgreens are grown in a small outbuilding on our property and I find turning the light on and off manually forces me to go out to the studio twice a day, which means I am able to monitor the growing greens more closely.
I already had some soil that we purchased last year. I think any type of good potting soil will work. You could also make up your own soil mix using a basic potting mix recipe of one part peat moss, one part perlite, one part vermiculite, three parts compost, one part sand, and a little bit of lime.
There are all kinds of microgreen growing kits available online or in catalogs, but this setup works quite well for the amount of greens I want to grow. Plus, I can also use it to start my tomato and pepper plants.
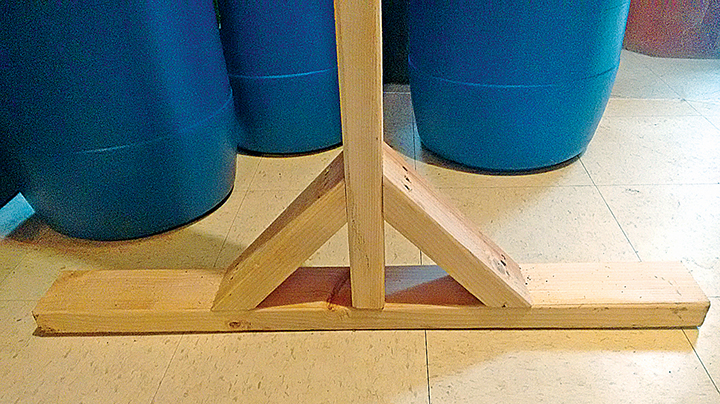
The stand to hang the light is a simple frame of two 2×4 uprights and a 2×4 across the top with some bracing to provide stability. The stand was built to fit the table I had available.
Growing the greens
Here are the basic instructions for planting microgreens:
Cover the bottom of the container with a few inches of damp potting mix. Level the soil and pat down a bit with your hand.
Sow seeds thickly and evenly on top of the soil and press into the soil gently — you don’t want to compress the soil too much.
Cover the seeds with a thin layer of soil. Use a mister to dampen the soil.
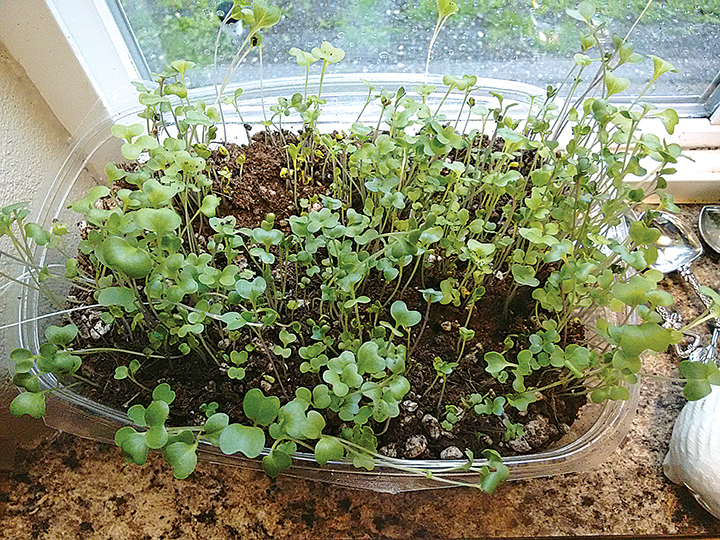
Mist the soil as necessary to keep it damp, but not wet while waiting for the seeds to sprout. Depending on the variety and the temperature of the soil, the seeds will take 3-8 days to sprout.
After the seeds have sprouted, continue to mist once or twice a day as needed. (If your room is not too warm you may only need to mist every other day.)
I keep the temperature at about 60° F with an electric oil-filled heater on the lowest setting. When the sun is out, I open the drapes to let the sun warm the room.
Harvesting
Harvest the microgreens shortly after the first set of “true” leaves appear. You can expect to harvest the greens anywhere from 10-18 days after sowing the seeds. Except for the lettuce and spinach, I usually harvest my greens when they are from 1 to 2 inches tall. I have one tray of lettuce that I let get quite a bit larger. When I harvest this lettuce I carefully cut it so that there are a few leaves left on each plant — by cutting this way, the lettuce will continue to grow.
I rinse the microgreens in a colander and lay them out on a clean towel to dry.
Use the greens immediately for the best flavor. The remaining cut greens can be stored in the refrigerator in a plastic bag or Tupperware-type container for a few days. Place a damp paper towel in the container to keep the delicate greens from wilting.
When you are ready to plant more greens, simply pull out the roots and plant again, or dump the whole container and start with fresh soil.
Types of greens to grow
You can grow just about any type of vegetable or herb as a microgreen. Start with the easiest to grow: brassicas (such as cabbage, broccoli, kale, and bok choy). If you want to grow colorful greens try beets, rainbow chard, purple basil, and red cabbage. You can get creative and try pea, corn, buckwheat, or oat shoots. By experimenting with different varieties you will end up with a few favorites.
Using your microgreens
From simply putting them on sandwiches, omelets, and salads to more complex recipes, there are several ways to enjoy your microgreens. You can use them to dress up a potato or pasta salad, put them in stir-fries, chop them into guacamole, use in place of spinach in quiche, or use as a topping for pizza or crostini.
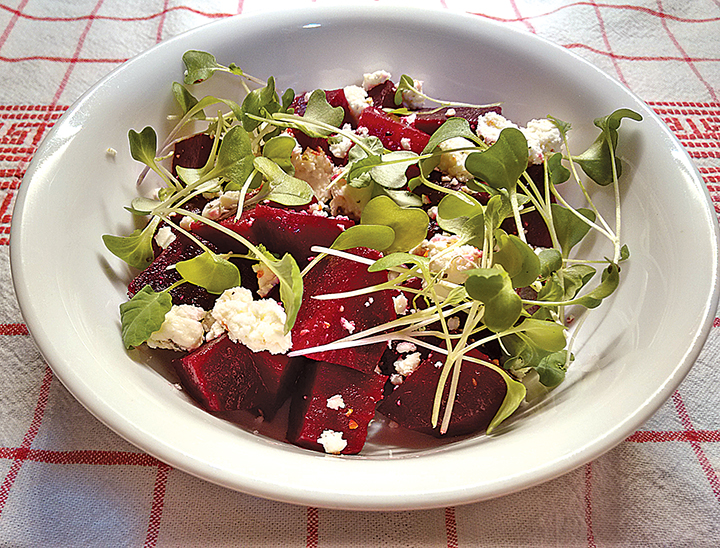
Beet salad with microgreens
4 medium to large beets, roasted (or boiled), peeled, and cut into 1-inch cubes
1 Tbsp. lemon juice
⅛ tsp. salt
2 Tbsp. extra-virgin olive oil
pepper to taste
2-3 Tbsp. feta cheese, crumbled
1 cup microgreens
Roast the beets in the oven at 400° F until tender (time will depend on the size of the beets). When the beets have cooled peel and cut into 1-inch cubes.
Whisk together lemon juice and salt in a small bowl, then add oil in a slow stream, whisking until combined well. Season dressing with pepper and spoon over the beets. Marinate 15 minutes.
Just before serving, sprinkle feta and microgreens over the beets.
Mushroom omelet with microgreens
1-2 Tbsp. olive oil
¼ cup chopped onion
2-3 medium-sized mushrooms of your choice, sliced
3 eggs or egg whites, beaten
3-4 Tbsp. grated cheese of your choice
½ cup microgreens
salt and pepper to taste
granulated garlic to taste
Swirl olive oil in a hot 10-inch saute pan and add onions and mushrooms. Saute until onions are translucent. Remove to a bowl and cover to keep warm.
Add the salt, pepper, and granulated garlic to the eggs and beat until foamy.
Turn the burner to medium-low heat. Swirl a little more olive oil in the pan and when the oil is hot, add the beaten eggs. Let the eggs cook for a minute or two. Then gently push one edge of the egg into the center of the pan and tilt the pan to allow the still-liquid egg to flow in underneath. Repeat with the other edges, until there’s no liquid left and the eggs are set.
Add mushrooms and onions, microgreens, and shredded cheese to one side of the omelet and flip the other side over them. Turn burner to low for another minute, then slide omelet out of the pan onto a plate.

Purchasing seeds
You can purchase seed mixes specifically for growing microgreens from several different seed companies, and, of course, Amazon. Most seed companies offer seeds in bulk and you can make up your own mixes. Or you can just plant a single type of seed in each tray you have.
Growing microgreens indoors can provide you with another means of getting good nutrition throughout the winter months. And if you have space in your outdoor garden, continue growing them outdoors for even more variety in your summer garden.
Sources for seeds
Johnny’s Selected Seeds
877-564-6697
www.johnnyseeds.com
High Mowing Seed Company
866-735-4454
www.highmowingseeds.com
Eden Brothers
828-633-6338
www.edenbrothers.com
Baker Creek Heirloom Seeds
417-924-8917
www.rareseeds.com





Great instructions. for those who have limited time, and a bit of spare cash, there is a new company in Cal that sells seed mats (pre-seeded), a tray (plastic or pottery) that fits them, and offers a good choice of different micro seeds to order from. All you do is add water and watch them grow until harvest – I use big scissors. I have no financial connection with the company but have bought from it.
I’m not sure that the grow light is necessary. I no longer live in the Pacific NW, but I used to grow microgreens on shelves in my dining room window. The window faced North on to a heavily shaded backyard, and I used no supplemental lighting.
The logic is that the seed contains everything it needs to produce the cotyledons. Photosynthesis only becomes a significant factor after the plant develops true leaves. I was growing sprouts, plus wheatgrass and sunflower greens in a self watering set up using a liquid seaweed fertilizer (for the micronutrients, not as a growth booster). Worked great and the greens were delicious!
I’ve had a similar problem to yours in winter (store/grower supply) so resorted to lg deli container w/red (try green) stemmed malabar spinach viney and productive thing w/own re-seeds hard to germinate(“hot” water), and better luck w/old leafy compost from garden warmed for pots once up – don’t think synthetic soil holds nutrients but more sterile, and like mini butterhead lettuces, bok choi and pak choi for brassica/cabbages, they will grow individual servings around 40 days. Good article – as I recall spent two whole days waiting for lettuce leafs to grow bigger had no vegetables that week…
Very informative, thanks!
amazing article thank you so much!!!