By Jackie Clay-Atkinson
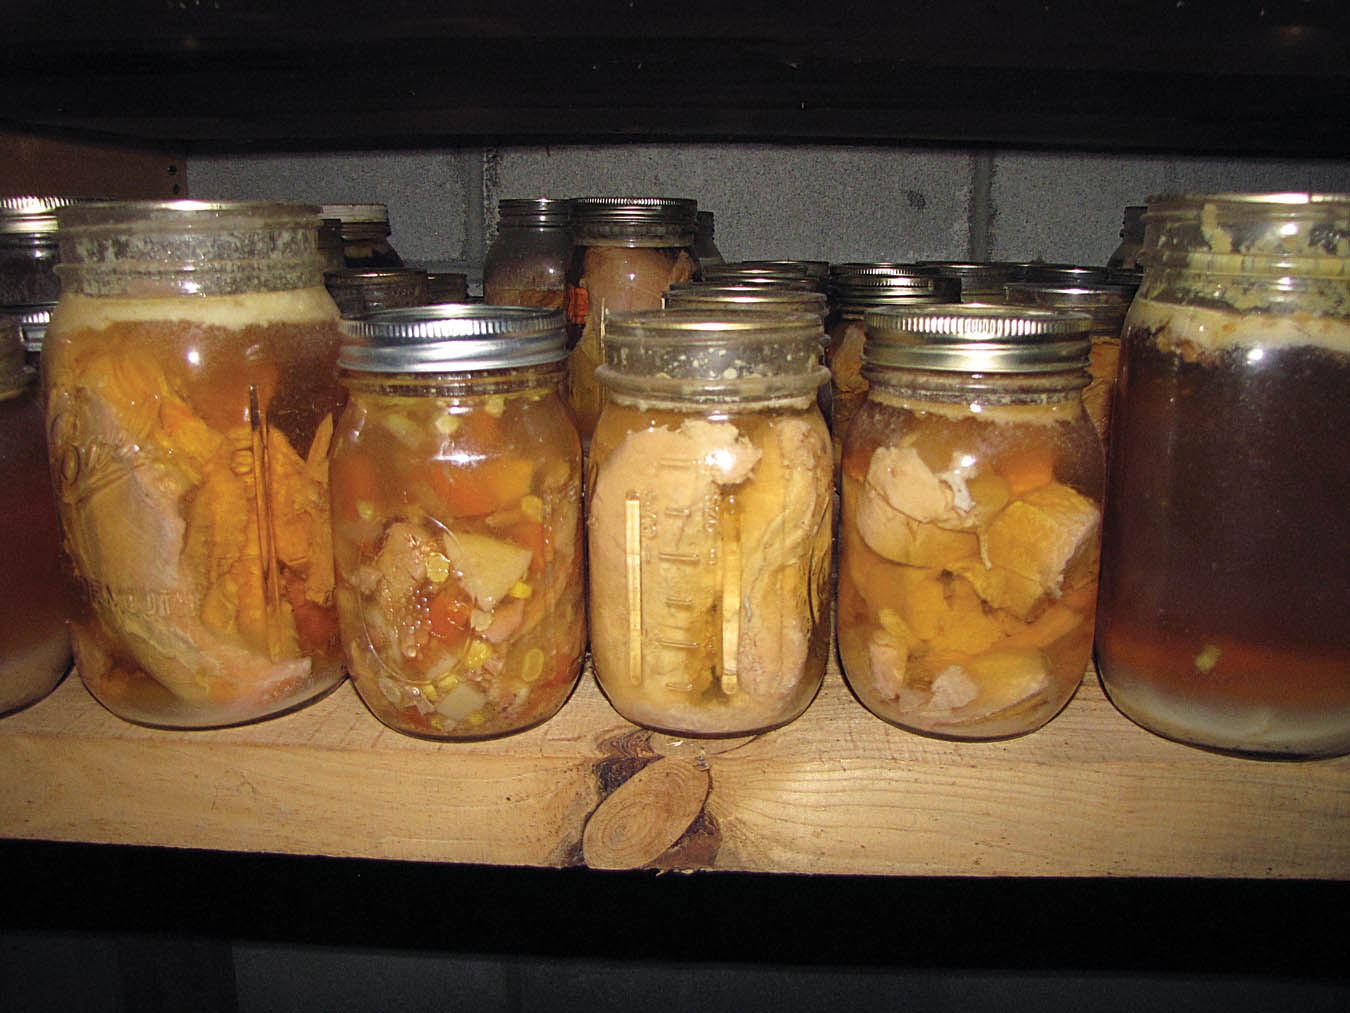
Although we have a big freezer, I can up most of our meat. We raise beef cattle, turkeys, chickens, and we hunt, so we have a lot of meat. (Besides that, I am always on the lookout for sale prices on various meats from ham to whole boneless pork loin.) Why the heck do I bother canning it when I have a freezer, plus three upper freezer units in our propane refrigerators? Well, many years ago my fairly new chest freezer suddenly quit working for no apparent reason. It left me the huge job of canning up pounds and pounds of meat before it thawed completely and went bad plus (it seemed like!) tons of vegetables and fruit.
Things went well the first day. And night. But by the second day I was getting tired, racing to save our much-needed food. At that time I had eight kids at home and not a whole lot of income. By covering the chest freezer’s top with heavy quilts and only opening it to yank out a new box of half frozen food, I managed three days and nights of canning. But by the fourth day I was exhausted and the food was getting past prime. We carried out buckets of soggy vegetables and fruit to the pigs and chickens. But I had saved nearly all of the meat. It took me a week to recover and I swore that would never happen again. So I started canning my meat. Once it is well sealed and in the jars, that meat is good for decades. No more worries about freezer burned food, power outages, or defunct freezers for me!

Venison canned in chunks and ground
Another advantage is that canned meat is very tender, tasty, and handy. You don’t have to plan your meals around the freezer. If you decide on having a roast beef dinner, you just head to the pantry and pull out a quart or two of beef roast, some potatoes, onions, and carrots or other vegetables, dump them in a covered roasting pan and turn on the oven. In short order you have your dinner, fit for surprise company or your family who has been working hard all day. So easy!
And, best of all, canning meat is very simple. You just need your basic canning equipment and supplies: canning jars, lids, rings, a pressure canner, lid lifter, jar lifter, and canning funnel. Don’t forget, most important of all, your canning book! Even though I’ve been canning all my life, I look at the recipes and instructions every time I can anything.
Luckily, nearly all meat with the exception of fish and seafood is canned about the same way so, in order to save space here, I’ll just give you some general directions on canning meat so you’ll get the hang of it and see for yourself just how easy it really is.
No matter what anyone says, you must pressure can meat for safe processing. Period!
General meat canning instructions, raw pack
I’ve found that most meats’ texture is less grainy when you raw pack it. However, the appearance sometimes is not so pretty because the raw meat slumps together lower in the jar as the processing is accomplished, whereas the partially or wholly cooked meat stays in the shape it was when you put it into the jar. Both methods are safe and easy; the choice is yours.
Trim the meat, removing much of the fat and all of the gristle and cut into convenient pieces that will easily fit into the jar. When canning larger pieces, such as roasts, I use wide mouth jars because it’s easier to get the processed meat out of the jars. But when canning such things as smaller chunks like stewing meat, dices or ground meat, I use regular jars because those lids are cheaper by far.
Examine the rims of your clean canning jars for any possible nicks or cracks. These would cause seals to fail or the jars to break during processing. Discard these jars into your recycle.
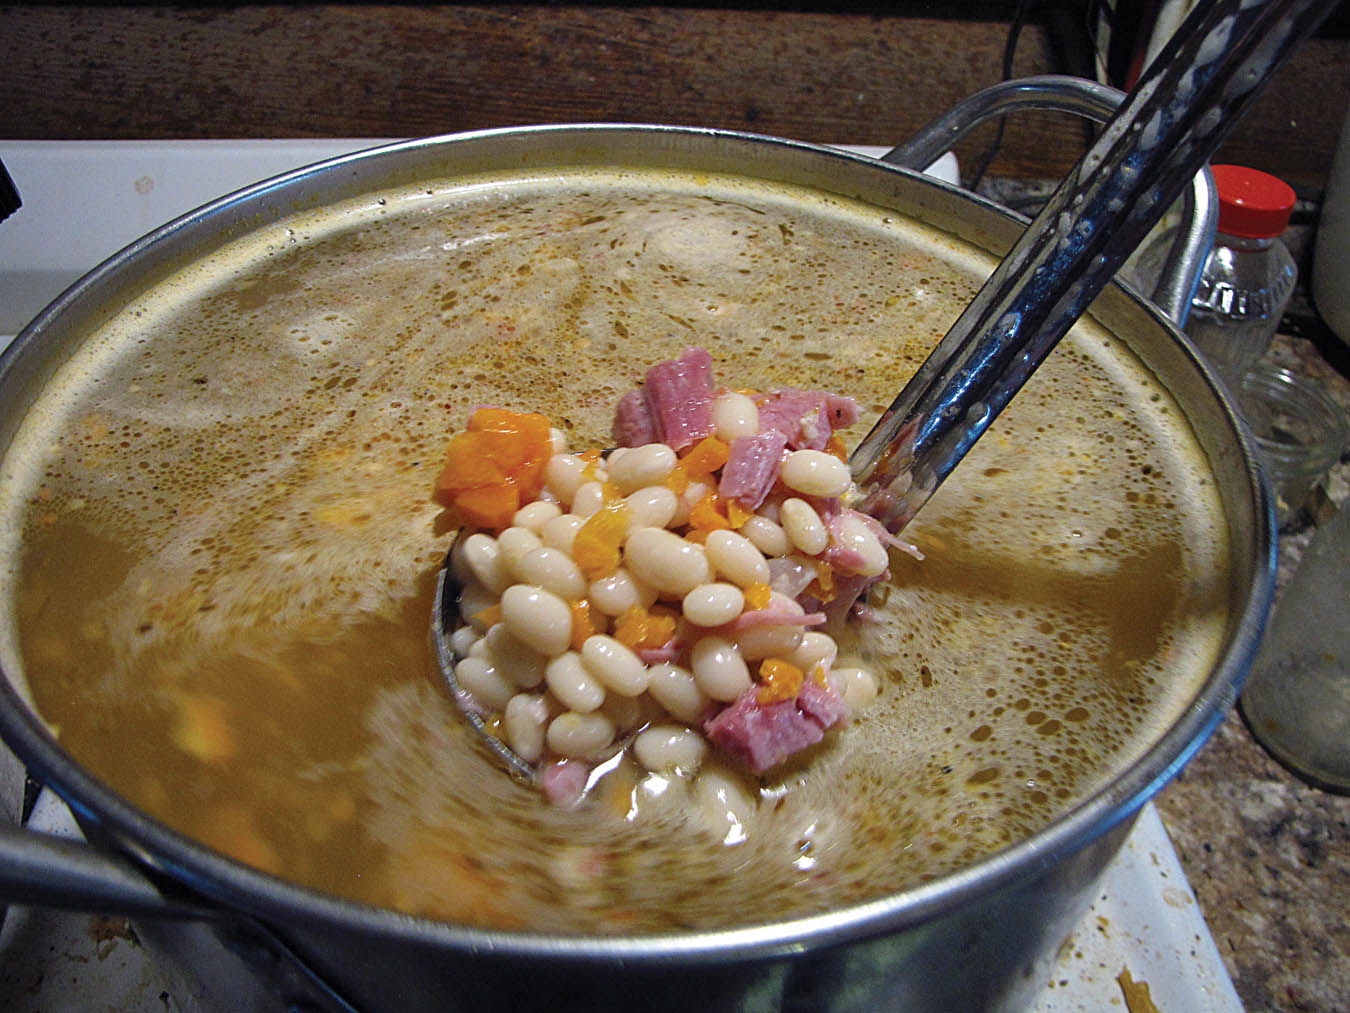
When I get a ham on sale, we first eat what we want then I can up the rest in chunks or diced for ham and bean soup. There are lots of meals in one ham!
Lightly pack the meat, leaving 1 inch of headspace. Although it is not necessary to add broth or other liquid, I’ve found I like the texture of the meat better when I do, so I boil broth or even water and ladle that over the meat, leaving 1 inch of headspace. If you wish, add ½ tsp. of salt to pints, ¼ tsp. to half pints and 1 tsp. to quarts. The salt is for flavor enhancement only. It does nothing to ensure food safety or the jar sealing.
(One handy tip: If your family isn’t keen on the flavor of venison and you are canning it, instead of salt, add the same amount of powdered beef stock to each jar. It greatly changes the taste and most folks who didn’t like venison, changed their minds after they tasted my home-canned venison.)
Wipe the rim of the jar clean with a damp cloth and place a hot, previously simmered lid on the jar and tighten the ring firmly tight. Don’t over-do the tightening or you may break the jar! You just want the ring snug.
Place jars in the canner which has a rack to prevent the jars from touching the bottom plus two or more inches of warm water (go by your canner’s directions on this).
Leaving the weight off or petcock(s) open, turn on the heat under the canner and exhaust the air out of the canner, driven off by steam. When a steady, forceful, stream of steam comes from the open valve for 10 minutes, put on the weight or close the petcock(s) and let pressure build up. Count your time from when the weight begins to jiggle, releasing some steam or the dial reaches the correct pressure.
I can poultry in various styles; pieces, large breast quarters or halves, dices, and broth with a little meat. Variety is welcome when creating recipes.
Process pints and half pints for 75 minutes at 10 pounds pressure and quarts for 90 minutes at 10 pounds pressure. If you live at an altitude above 1,000 feet, consult your canning book for directions on increasing your pressure to suit your altitude.
Adjust the heat under the canner to hold the pressure as even as possible until the correct time has elapsed. At that time, turn off the heat and let the canner return to zero pressure. With a weighted gauge, after about 20 minutes, gently bump the weight just a tiny bit with your finger. If steam escapes, wait another 10 minutes and try again. When no steam escapes at all, remove the weight and take off the lid facing away from you so any remaining steam doesn’t rise into your face.
With the jar lifters, lift the jars out carefully, placing them onto a dry, folded towel in a draft-free location. Let the jars cool completely, often over night, before touching them. Don’t try to “hurry” the sealing; you’ll actually compromise the sealing process.
When the jars are cool, check the seals. Each lid should be firmly indented slightly in the center. When you press on the center, it should not flex or make a slight noise. Remove the ring. It does nothing to keep the jars sealed. They either are or aren’t sealed. Those which have not sealed should be refrigerated and used soon or re-canned using a new lid. (Check the jar rim for any possible nicks or bits of food.)
General meat canning instructions, hot pack
I can up a lot of meats, often “leftovers” using the hot pack method, so that I am using up either partially or wholly cooked meats. For instance, after our Thanksgiving dinner, I can up the leftover turkey the next day. By then we’re kind of tired of turkey anyway and that canned turkey sure comes in handy for meals the rest of the year. Or I’ll buy a cheap boneless pork loin on sale, roast it for supper one day then can up the leftover meat the next day. This works out very well. And if you play your cards right, you’ll get a whole lot more meals out of a large chunk of meat than you’d think. I often can up half pint jars with dices or small pieces of meat which I later will use in various recipes when I want the meat more for a flavoring than the main course. For instance, diced ham is great fried up with fried potatoes or in an omelet for breakfast. Or a small jar of chicken bits is great for making cream of chicken soup for a couple.
Photo credit: jodie777/Adobe Stock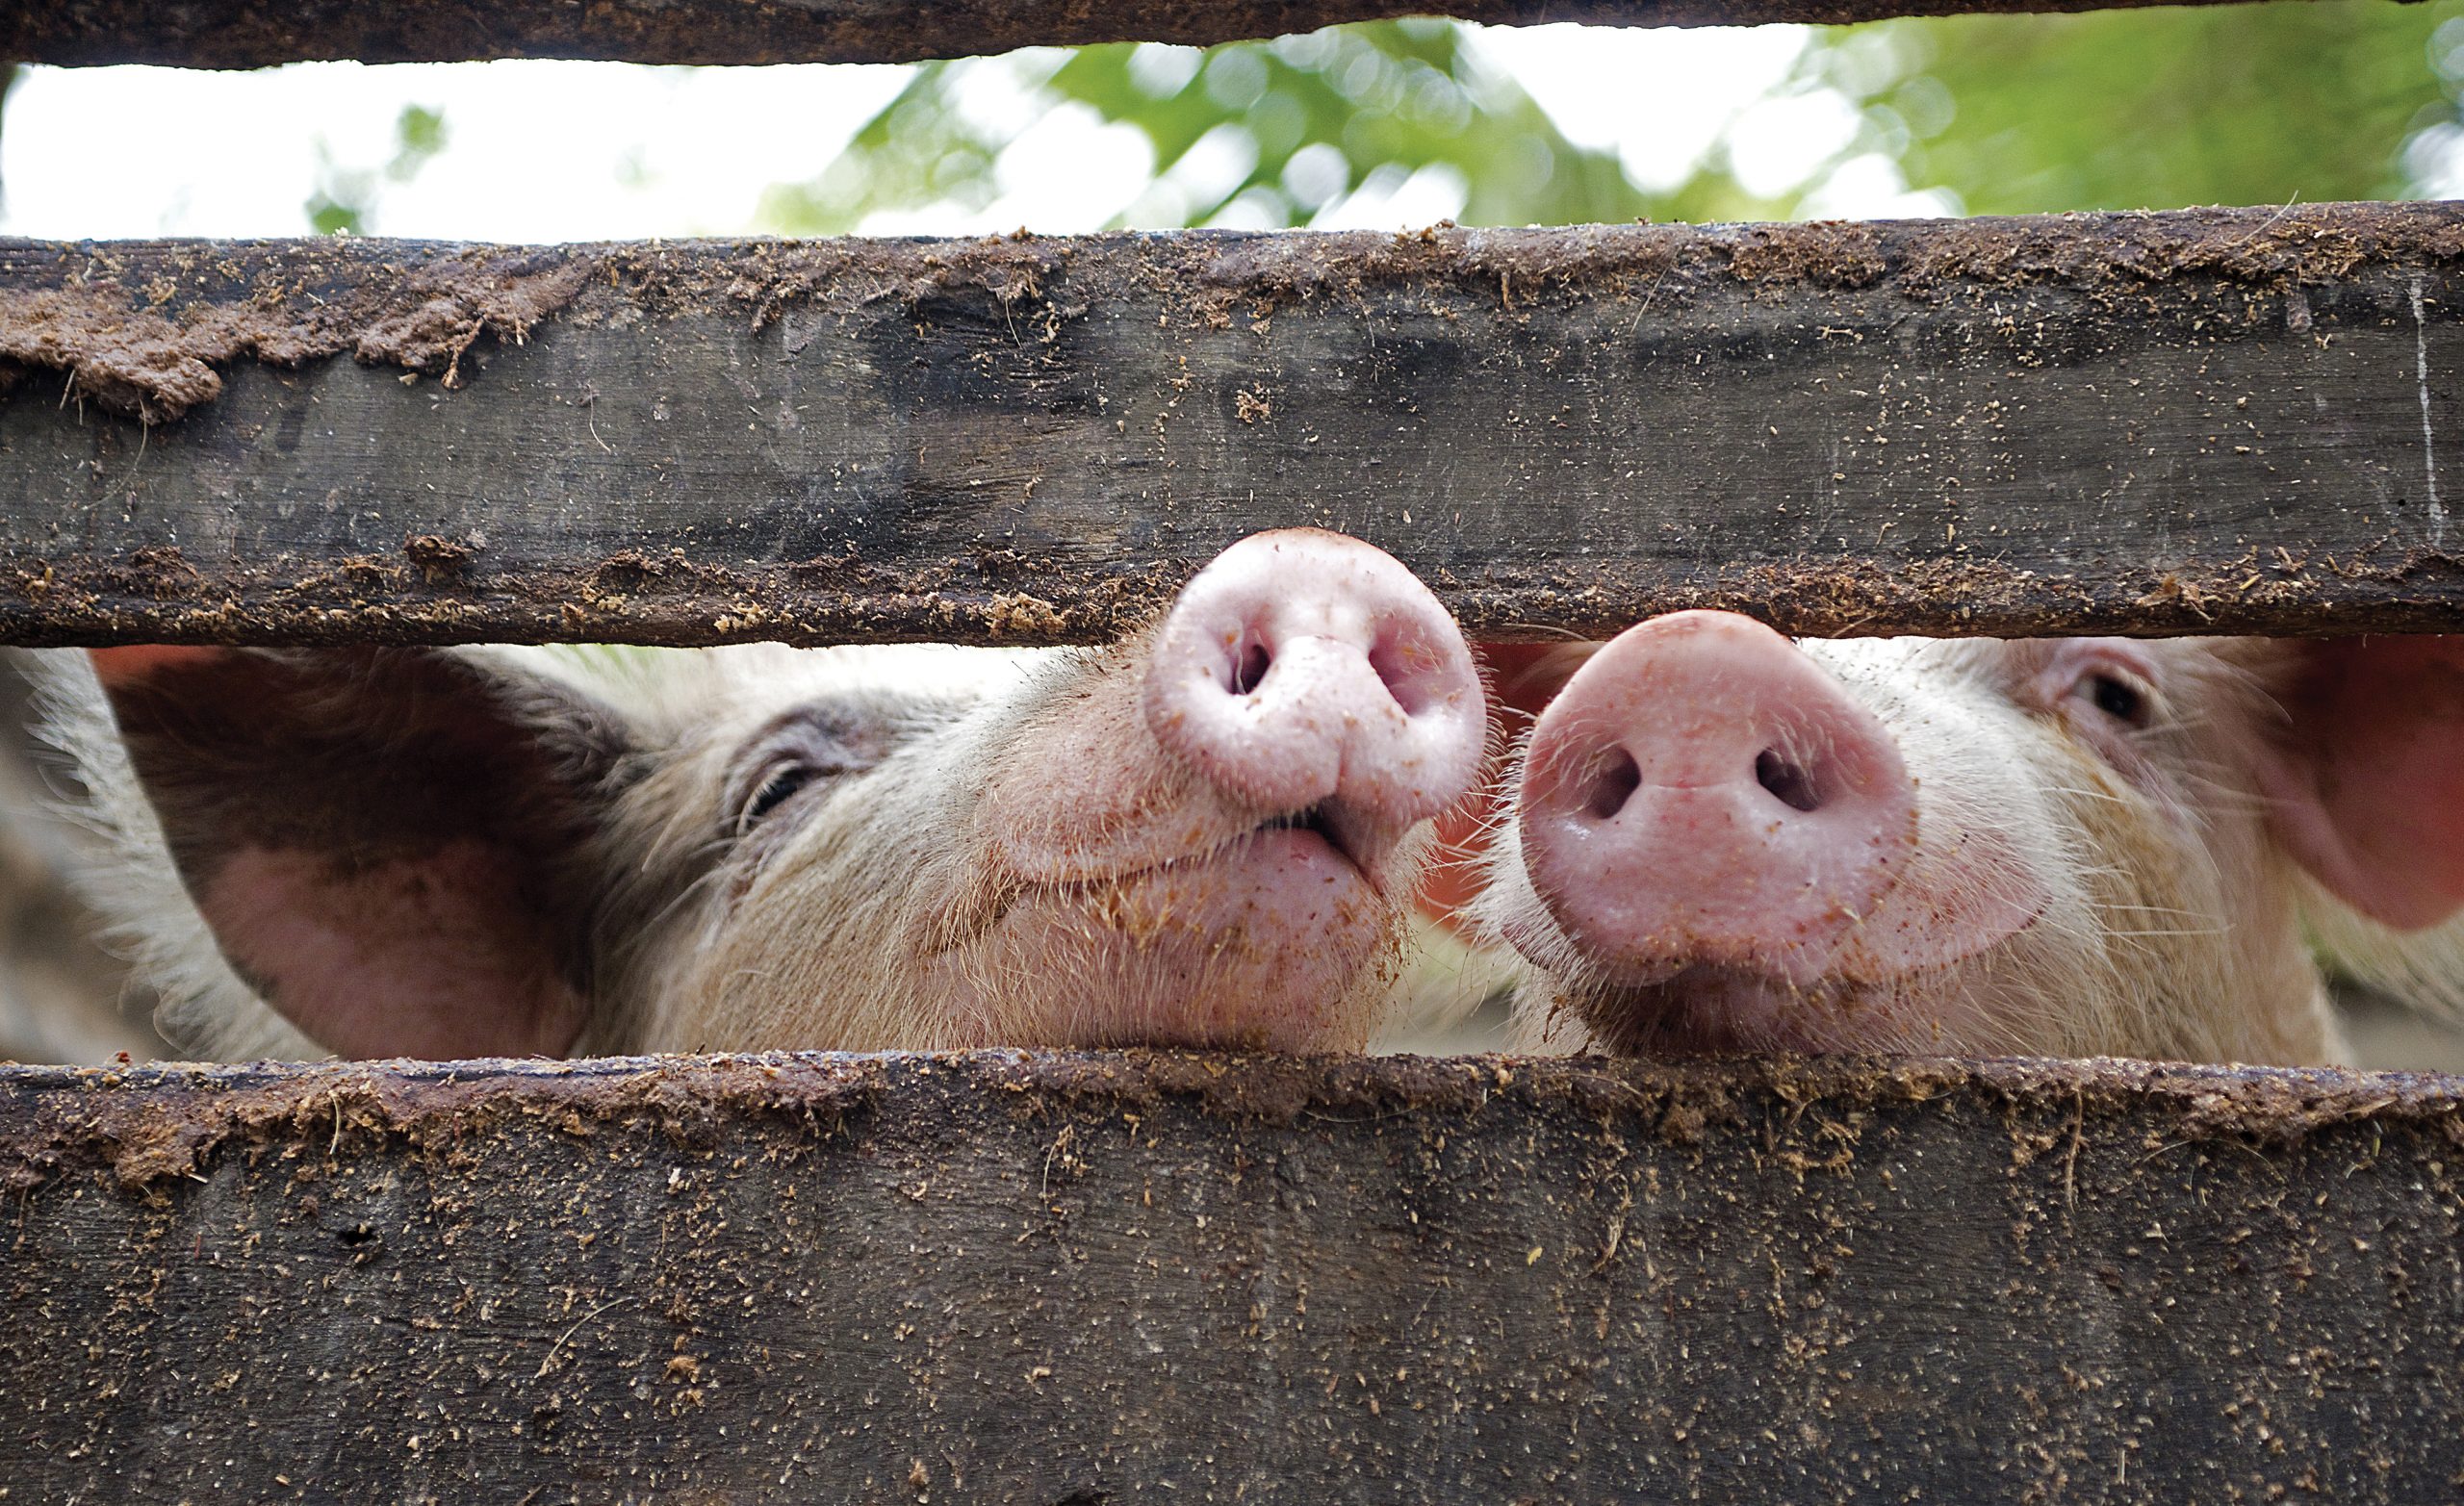
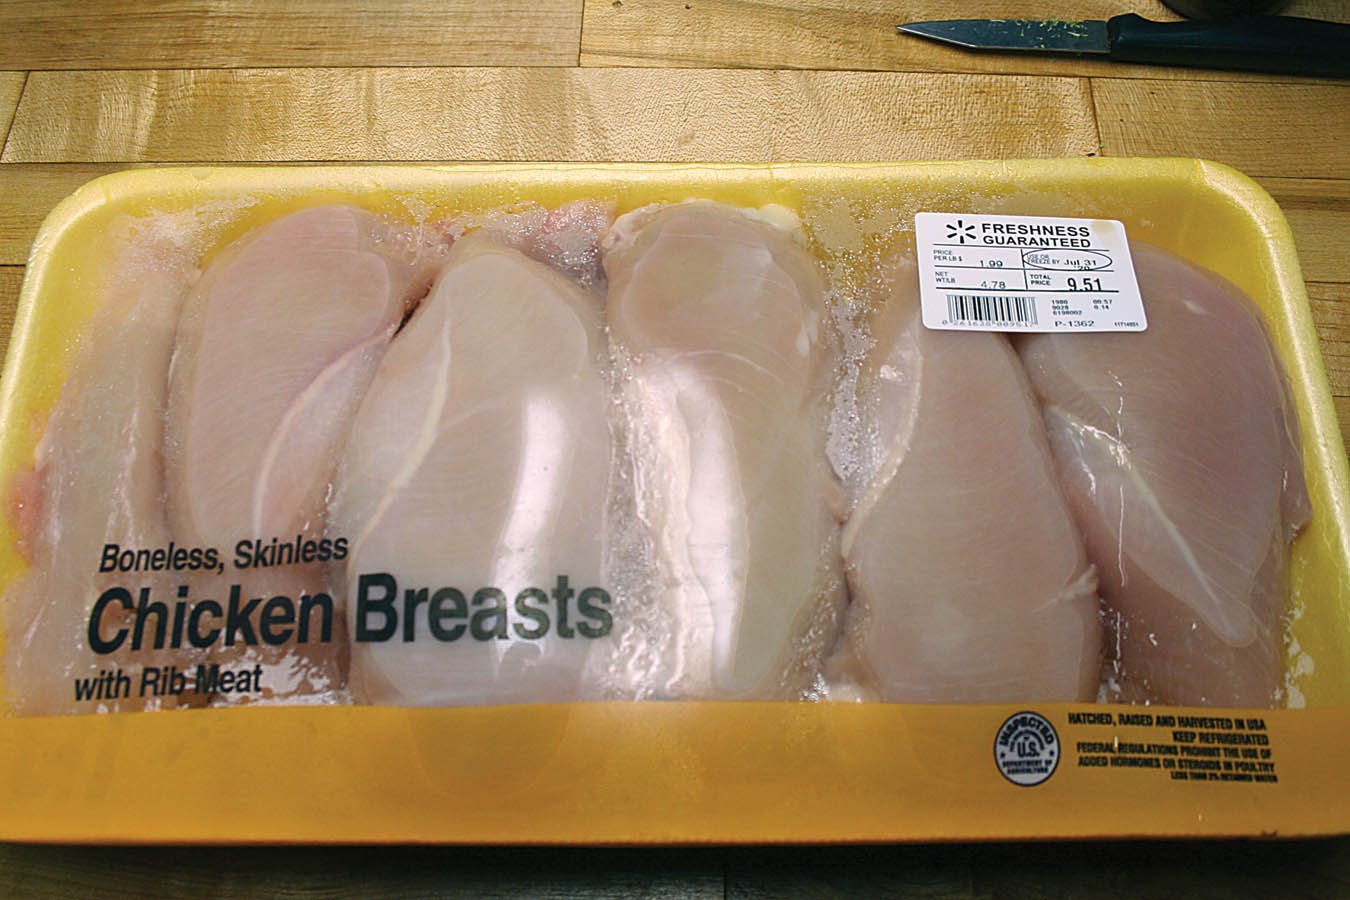
I am always on the lookout for sale prices on various meats from ham to whole boneless pork loin.
So here’s how I do it:
Remove the fat and bones from the meat. Save the bones and some of the fat to make broth. Trim off any gristle. Put the bones and some fat into a large stockpot with enough water to cover. Add a little salt, onion powder, garlic powder, and black pepper, then cover the pot and let boil until you’re ready to use the broth you’ve made.
Cut up the meat into pieces you wish ranging from slices to chunks and dices. Lightly pack into clean canning jars, leaving 1 inch of headspace.
If the meat is raw, lightly brown it first. This will enable it to hold its form in the jars. Add water to the pan drippings to make broth.
Ladle the strained broth over the meat, leaving 1 inch of headspace. (If you don’t have enough broth, just use boiling water and a teaspoon full of powdered soup base in an appropriate flavor.)
Continue using the same directions used for raw pack.
With a large piece of meat such as a big turkey or ham, I end up with quite a bit of extra broth. I either can this up as the next batch of canning after the meat comes out or save it to use in another canning recipe. For instance, when I end up with the ham bone and broth, I’ll make a big batch of bean soup or add the broth to a baked bean recipe. That way nothing is wasted and you sure create some great food!
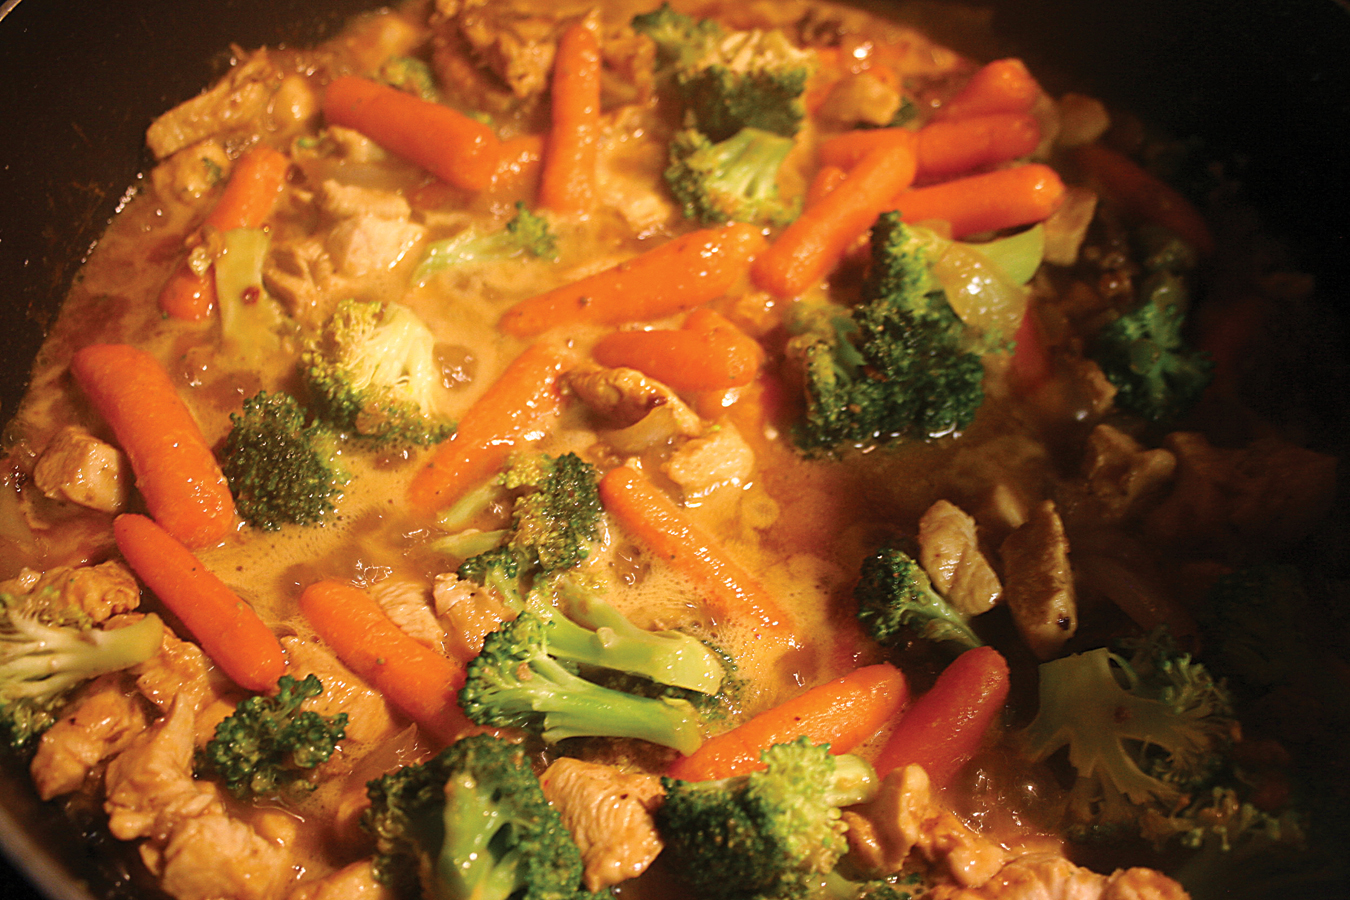
Recipes like stir fries are so easy to put together with some canned meat and fresh garden vegetables.
Tips for canning ground meat
I have switched up the way I used to can my ground meat such as hamburger. I used to can it with broth but didn’t like the texture of the food; it looked like canned dog food. Ish! And it didn’t crumble well when heated in a frying pan. So I started lightly browning the meat in a small amount of oil then when barely done, I placed it in my jars without adding liquid. The times and pressure is the same as meat canned with liquid. The difference is huge; the meat comes out of the jar in crumbles into your frying pan. And by lightly crumbling it while you heat it, it looks, feels, and tastes just the same as if you’d fried it fresh, making great tacos, sloppy joes, or any other recipe calling for browned ground beef.
Okay, you say, I’ve canned up all this meat. How the heck do I use it in a way my family loves?
Oh boy, this is where it gets fun. There are absolutely thousands of ways to include this wonderful home canned meat in your own recipes. I’ll give you a few ideas then leave it to you to get creative on your own. Here are a few of our favorites:
Beef or venison stew:
- 3 medium potatoes, diced
- 2 medium onions, diced
- 1 pint canned green beans
- 1 pint canned carrots
- 1 pint cubed stewing meat
- 1 quart tomato sauce
Put potatoes and onions in water and simmer until tender; drain. Drain green beans and carrots. Pour into a Dutch oven or medium casserole dish with other ingredients. Mix slightly. Bake at 350° F until hot and liquid is reduced. You may thicken if desired by melting 2 Tbsp. butter mixed with 2 Tbsp. flour and enough of the hot liquid to make a thin paste. Mix with stew and stir well, heating on stovetop until thickened. You may substitute fresh green beans and carrots for canned if you wish; just pre-cook them with the potato and onion dices.
Beef pinwheels:
Dough:
- 2 cups flour
- 2 tsp. baking powder
- ½ tsp. baking soda
- 1 tsp. salt
- ¼ cup shortening or lard
- ¾ cup buttermilk (can substitute milk)
Filling:
- 2 pints canned ground meat
- 1 medium onion, chopped fine
Cheese sauce:
- 3 Tbsp. butter
- 3 Tbsp. flour
- 2 cups milk
- ½ cup shredded cheddar cheese
Sift dry ingredients together then cut in shortening or lard until it is in small pieces. Add buttermilk or milk (may add a bit more if necessary if too dry). Mix and form into ball. Lightly knead in a bowl. Lay on floured surface then roll out to about ½ inch thick in a rectangular shape. Mix filling ingredients together then pat out evenly over dough. Roll up lengthwise like a jelly roll. Pinch ends together. Cut into 1 inch rolls and place in a lightly greased pan, close together like cinnamon rolls. Bake at 350° F until lightly browned on top. Serve hot with cheese sauce over pinwheels. To make cheese sauce, melt butter in saucepan and stir in flour. Slowly add milk, stirring well until thickened. Add cheese. May add more milk for the right thickness if needed.
Finding meats on sale helps me plump out my pantry when I can it up. So handy!
Chicken enchiladas:
- 2 Tbsp. chili powder or for hot enchiladas, add 2 Tbsp. chile paste
- 3 Tbsp. flour
- 1 pint tomato sauce
- ¼ tsp. garlic powder
- 12 corn tortillas
- 8 oz. grated cheddar cheese
- 1 large onion, finely chopped
- 1 pint chicken, drained and shredded
Mix chili powder with flour and slowly add tomato sauce. Add garlic powder and salt if you wish. Cook over low heat until it reaches the right consistency, adding water if needed to reach it.
Dip tortillas one at a time in the hot chili gravy. The tortillas will become pliable almost immediately which will make rolling the enchiladas easier. Soaking too long will cause them to fall apart.
Place a good sprinkling of cheese and onion on a tortilla on one side, then add about a tablespoon of chicken shreds. Roll tortilla tightly around filling and place loose side down in a glass casserole baking dish. Repeat, laying tortillas tightly together with sides touching. When all enchiladas have been formed, pour the remaining hot chili gravy over all and sprinkle generously with grated cheese and top with more chopped onion. Bake at 350° F until the cheese is well melted and the enchiladas are bubbling hot. Serve immediately with fresh salsa and sour cream.
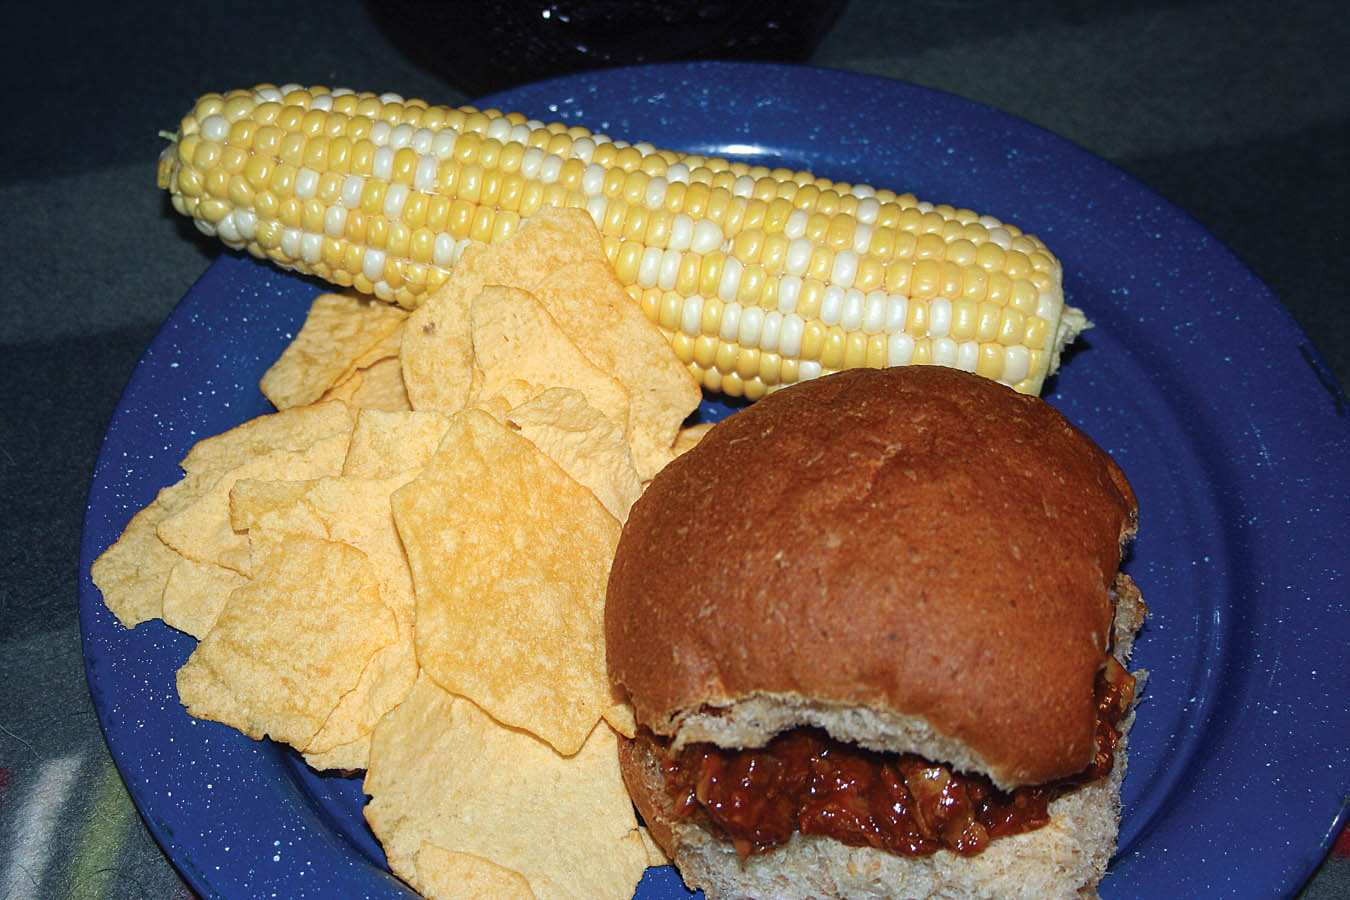
Canned meat chunks are so handy for quick stews, stir fries, and wonderful barbecue sandwiches.
Beef stroganoff:
- 3 Tbsp. butter or margarine
- 1 large onion, chopped fine
- 3 Tbsp. flour
- 1 pint canned stewing meat
- Egg noodles
- ½ cup sour cream
Fry onion in butter until translucent. Add flour. Stir well, then slowly add broth from canned meat. When thickened, turn off heat. Boil egg noodles until tender and drain. Pour stewing meat into broth gravy and add sour cream. Heat slowly while stirring. Don’t boil or the sour cream will curdle the gravy. If this is too thick, add milk to right consistency. Pour over noodles. Serve immediately.
Chicken and biscuits (can substitute turkey):
Biscuit dough:
- 2 cups flour
- 4 tsp. baking powder
- 2 Tbsp. sugar
- 1 tsp. salt
- ½ cup shortening or lard
- 1 cup milk
Mix biscuit dough by sifting dry ingredients then cutting in shortening until resembles coarse meal. Add milk to make a soft but workable dough. Roll out on floured surface and cut into rounds. I use a regular canning jar ring.
Photo credit: Savo Ilic/Adobe Stock
We raise our own beef cattle, so we have plenty of meat to can up roasts, steaks, and ground beef. If I decide to have a roast beef dinner, I just head to the pantry and pull out a quart or two of beef roast, some potatoes, onions, and carrots or other vegetables, dump them in a covered roasting pan and turn on the oven.
Filling:
- 1 pint canned chicken or turkey pieces
- 2 cups mixed vegetables, canned or fresh (peas, corn, carrots, onions, etc.)
- 2 cups chicken or turkey gravy from bouillon or broth
In a casserole dish, mix cooked chicken or turkey, drained vegetables and gravy. Top with biscuits and bake uncovered at 350° F until biscuits are golden brown and the gravy is steaming. Serve immediately.
Pot pie (using any meat of your choice):
- 1 unbaked double pie crust
- 2 Tbsp. butter
- 2 Tbsp. flour
- 1 pint canned meat of your choice
- 1 medium onion, diced
- 3 carrots, cooked and sliced or ½ pint sliced canned carrots, drained
- 2 medium potatoes, peeled and diced or ½ pint canned, diced potatoes, drained
Lay bottom crust in pie tin and trim off edges. In a saucepan, melt butter and mix in flour and meat broth drained from canned meat. Simmer until thick. Add meat. If too thick, add a bit of water. Add onion then rest of vegetables, drained if canned. Pour into pie crust. Moisten edges of lower pie crust. Lay on top crust, cutting a few small vents in the top to let out steam. Cut off edges then flute edges to seal. Brush butter on top of crust then bake at 350° F until done.
Glop and tamale pie:
Okay, I’ll admit “glop” doesn’t sound exciting but one day my kids asked a tired me what I was making for supper and I said “glop” and they shrugged and walked off. To this day it’s one of our favorites and most asked for at family suppers. To enhance it, I top it with cornbread, making a tamale pie!
- 1 pint canned ground meat
- 1 medium onion, chopped
- 1 medium green pepper, seeded and chopped
- 2 tsp. mild powdered chile
- 1 pint tomato sauce
- 1 pint whole corn, drained
Mix everything in a frying pan and simmer until onion is tender; about 12 minutes. And here’s the topping to make it even better.
Tamale pie:
- ½ cup cornmeal
- ½ cup flour
- ¼ cup sugar or honey
- 2 tsp. baking powder
- 1 tsp. salt
- ⅓ cup shortening or lard
- 1 egg, slightly beaten
- 1 cup of milk
Add dry ingredients together in bowl. Mix well and add shortening. Mix well until resembles coarse meal. Add egg and milk. Mix well.
If I’m making tamale pie, I only use ½ of the pint of corn in the filling and reserve ½ to use in the cornbread topping. Mix well. Ladle over the filling. Bake at 350° F until top is lightly brown. Serve hot with shredded cheese, salsa, butter, and sour cream if you wish.
Noodle and ham casserole:
- 8 oz. wide noodles, cooked
- 2 Tbsp. butter
- 2 Tbsp. flour
- ⅔ cup milk or a bit more
- 1 pint canned ham dices, drained but broth reserved
- 2 Tbsp. finely chopped onion
- ½ cup buttered bread crumbs
- Salt
- Pepper
- Paprika
Cook noodles and drain. In a large saucepan, melt butter then mix in flour. While heating, add milk and stir constantly to make a medium sauce, adding reserved broth if needed to thin a bit. Add ham and onion. Mix in noodles and stir a bit gently. Pour into a buttered casserole dish. Top with crumbs and salt, pepper, and paprika. Bake at 350° F until top is browned.
Ham and broccoli quiche:
- Single pie crust
- 6-8 medium eggs, beaten
- Salt and pepper, to taste
- ½ pint canned ham, drained
- 1½ cup broccoli flowerets, cut into pieces
- 1 small onion, chopped
- 1 small sweet red pepper, seeded and chopped
- ½ cup grated cheese of your choice
Lay the pie crust in pie pan and trim edges. Flute edges nicely. Beat eggs and add salt and pepper. Add rest of ingredients then mix well. Pour into pie shell. Bake at 350° F until nicely browned. Serve hot.
Chicken or turkey salad:
- 1 pint canned chicken or turkey chunks or dices
- 1 small sweet onion, chopped fine
- 1 stick of celery, chopped fine
- 1 cup mayonnaise or salad dressing
For safety’s sake (you always should heat home canned meats to boiling temperature for 10 minutes before eating), open the jar of chicken or turkey chunks and pour into a small sauce pan an hour or so before fixing this salad. Boil for 10 minutes, then cool. Place in refrigerator until cold.
Drain broth and either save for another use or discard. Chop the meat into small pieces or put through a meat grinder or food processor. Add chopped onion and celery. Add mayo or salad dressing. Mix gently but well. I also love to add chopped walnuts and whole seedless grapes.
You can serve this on a bun or between slices of rustic bread. It can’t be beat!
Barbecue sandwiches (beef, venison, pork, poultry; your choice):
This is one of our favorite quick meals, only taking about 10 minutes to prepare. All it takes is a pint of whatever meat you desire in chunks or dices.
- 1 pint canned meat, broth reserved
- ½ pint barbecue sauce (I use home canned in whatever flavor I want) or you can use store-bought
Drain meat chunks and reserve broth. In a medium sized frying pan, shred the meat. Add the barbecue sauce and reserved broth. Slowly cook until the sauce reduces in liquid, stirring as needed. When thick and nearly dry, lift the meat in the sauce and place on hamburger buns. I like homemade best!
Popovers with cheese-topped sloppy joe filling:
Popovers:
- 1 cup flour
- ½ tsp. salt
- 2 eggs
- 1 cup milk, divided
- 1 Tbsp. melted shortening or lard
Mix flour and salt. Sift together. Beat eggs until light and thick. Add ⅓ cup of milk and continue beating. Add flour and beat slowly until all flour is moistened and gradually add remaining milk and melted shortening or lard. Fill well-greased muffin pans or popover pans a little less than half full. Bake at 425° F until done. About 10 minutes before finished baking, prick top with fork to release steam. This allows the popovers to dry out a little inside.
Filling:
- 2 pints canned ground meat
- ½ cup chopped onion
- ¼ cup chopped green sweet pepper
- 1 pint tomato sauce
- 1 tsp. chili powder
- ½ tsp. salt
- ¼ cup brown sugar
- Cheddar cheese, shredded
Heat meat, onions, and peppers in frying pan, stirring frequently until peppers and onions are tender. Add tomato sauce, chili powder, salt, and brown sugar. Simmer until thickened and heated thoroughly. Remove popovers from pan while steaming hot, cut tops open and stuff immediately with filling, adding shredded cheese to the tops. Serve as soon as the cheese has melted.
These are just a few of our favorite dishes made using canned meats from our pantry. I’m sure you can see how much time can be saved, having meat already cooked and canned, handy on nearby shelves. And it’s also reassuring in these uncertain times to have an adequate supply of many different meats available without setting foot in a store.
After years of cooking this way, I can not envision my life without jars of tasty, high quality meats filling my pantry shelves in abundance.
Today I have a family pack of skinless, boneless chicken breasts and a whole, boneless pork loin in the fridge waiting for me to can them up tomorrow. Both were on a sale so good I couldn’t pass them up. And in just a couple of hours, I’ll have an array of various styles of these meats canned up to choose from at my leisure; slices, dices, roasts, and pieces.
I hope you’ll join me and discover the utter joy of canning and using meat from the homestead, hunting, and various sales.
If you’d like more ideas for canning meat and meat/vegetable recipes, check out my canning book, available through Backwoods Home Magazine, Growing and Canning Your Own Food. And for more ways to use that home canned meat, look through Jackie Clay’s Pantry Cookbook, also available through BHM. You’ll be so glad you did!


