 |
|
| Issue #107 • September/October, 2007 |
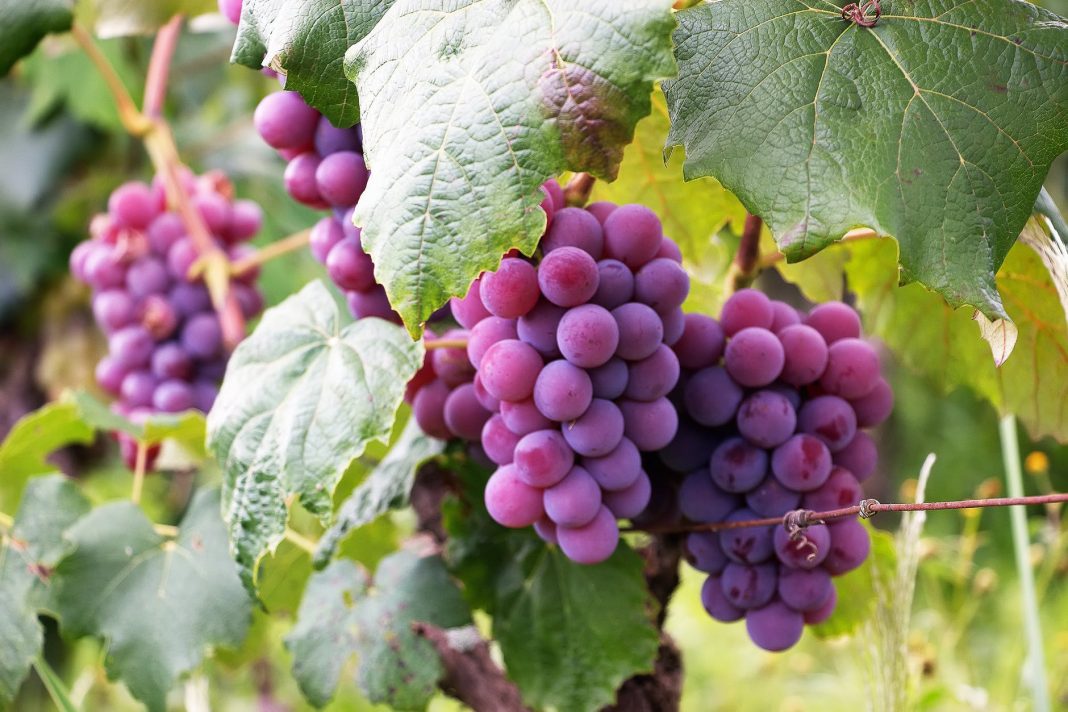
As a kid in western South Dakota, I enjoyed picking wild grapes and using the delightful juice they produced, so when I eventually acquired property in Montana, I wanted grape vines to help me be self-sufficient. I bought a “Valiant” vine, which produces a smallish purple grape that reminded me of the wild ones we picked, but much sweeter, and it flourished.
|
“Valiant,” a very hardy seeded grape combining the variety Fredonia with the wild Vitis riparia, was developed by South Dakota State University especially for cold climates. I chose it because of its ability to withstand temperatures of -30 degrees Fahrenheit (which it occasionally drops to around here) and its ability to produce juice for drinking and making jelly.
I wasn’t satisfied with just one, but didn’t want to go buy another. I found a way to make mine multiply. The annual late winter/early spring pruning provided lots of canes, some of which I saved to experiment with. From these canes I made cuttings. I had success with starting them indoors, but not outdoors. The process I will describe is for vines that are not grafted on a different rootstock.
One thing that you need to check, though, is whether the grape is a patented variety. Not a lot of them are, but the “Valiant,” for example, is. Since it is, I have to send a propagation fee (in this case 20 cents for each vine started) to the organization that is collecting it. I have started vines for friends and relatives and have even sold a few. Turning one grapevine into more isn’t really very hard. Before you know it, you can have a whole vineyard.
|
Making cuttings
With the “Valiant” there are always lots of canes to use for cuttings. Some grapevines are extremely vigorous and require lots of pruning. This is necessary to limit the burden of production on the vine. Properly pruned, the vine will produce a nice amount of good clusters every year.
In March when I prune away the extra canes, I save a few of the first year canes that are the size of a pencil or bigger and cut them into cuttings. A first year cane is one that just grew in the previous summer and will not have any fibrous bark on it. These canes, at this time of year, are poised to start growing when warm weather hits, thus the reason for collecting them before the buds swell.
First, I select three or four buds (those swellings that will become stems) to be included in the cutting. Next, I make a diagonal cut an inch above the top bud and a flat cut below the bottom bud. This helps distinguish the top from the bottom.
Potting
It works best to do the planting as soon as possible, but I have kept the “sticks” a few days in the refrigerator with the bottoms wrapped in a moist paper towel. For best results, however, plant immediately. I select a tall planter, such as a half gallon milk carton or a 3# coffee can, make a hole in the bottom for drainage, and fill the container ¾ full of potting soil. Finally I dip the cutting in rooting hormone, if I have any, and push the cutting into the soil as far as it will go.
|
I make sure the soil is moist and then set the container in a tray in a sunny (but not hot) window and wait for the buds to burst and grow. I have had good luck setting them in a west-facing basement window (basement is heated). A friend kept hers on a table in front of an east window in their living room. I try to keep them fairly evenly moist, but not soggy.
After a while, leaves begin to emerge. The leaves will appear before any roots sprout.
Not long after I notice leaves coming, I will likely notice some clusters of what appear to be minute bunches of green grapes, actually blossom clusters. When these get out far enough to safely pinch off without damaging leaves or vine, I pinch them off. The vine does not need to be trying to produce grapes.
|
Hardening off
When all danger of frost is past, I harden off the vines by setting the pots out in a protected place such as the east side of the house where there is shade a good part of the day. This part of the process for me here in Montana begins in June. In a month or so, having given them some time to grow some roots, I set them out where I am planning to put them in. This location will allow plenty of space (8 feet from each other), good soil drainage, good air circulation to discourage disease, and lots of sunshine. Then I am ready to proceed to planting.
Planting outside
I dig a hole about two feet in diameter and a foot or more deep and throw in a little compost. I don’t put in too much fertilizer, because that would cause the vine to make too many leaves and not enough root. Then I position the plant with the roots spread out at a depth which will allow the soil line on the stem to remain the same as it was in the pot. Next, I fill up the hole halfway with good dirt and add water. After allowing the water to drain away, I fill in more dirt up to that soil line on the stem. A small amount of grass clippings spread around to mulch the vine helps keep the soil moist.
Protection
|
These vines will be younger and more vulnerable than those available from local nurseries, so I usually put some kind of protection around the little guys. A coffee can or something similar works very well. Then when winter comes, I put fallen leaves in the container. These are best removed in spring to keep the vine from warming too soon.
The vine in its first spring outside may actually die back to the root. A cane will spring up from the root leaving the original cane dry and dead. This may not be true of all grapes, but seems to be true of this hardy “Valiant.” Of course, this behavior will affect your pruning. Generally I leave this particular vine to its own devices during this first full year outside, especially if the vine had to come up from the root. But the next year I start pruning to train the vine in earnest. Now the vine is about the same age as most vines available at the nursery.
Postponing planting
|
If I don’t know where I want to plant the vine, it is possible to plant it in a large pot and grow it like a potted plant outside for the first summer. When fall comes, I dig a hole anywhere and set the pot in it, hill dirt up around it, and mulch it. Next spring, I dig up the pot and plant the vine in its permanent location.
Eventually there will be grapes to harvest. In the first few years, however, it is best to remove the fruit to allow the vine to establish itself. Once established, it will produce better.
By using this easy propagation method, I practically have a vineyard. And it’s easy to get and share cuttings with friends and neighbors who have a different variety of grapes.
An excellent resource for help with grapes and especially pruning them is Taylor’s Guide to Fruits and Berries, edited by Roger Holmes. There are excellent illustrations and even a list of recommended varieties.


