
By Jim Capossela
I’m not a movie buff but one could imagine that you wouldn’t have to watch too many John Wayne movies before seeing old Duke sitting around a campfire (scolding someone?) with a large cast-iron pot suspended colorfully over some hot coals. If you could have peeked inside, you might well have seen a batch of sourdough biscuits or a loaf of sourdough bread baking. Although compressed yeast became available in the mid nineteenth century, it’s fair to assume that on the frontier, it wasn’t always at hand. But what was and is always available is the yeast in the air all around us. It simply needs to be captured by a slurry of flour and water that will become a starter or “mother.” This living starter containing natural yeast was transported from campsite to campsite, or from cattle drive to cattle drive, much as more ancient people would transport a live coal to start the next fire. Even if you’re planning to skip the next cattle drive, you can make your own starter and craft the exact same baked goods that helped settle the old west or feed the speculators in the California and Klondike gold rushes.
But a lot of people make sourdough more complicated than it has to be. My approaches to both creating a starter and baking with it might be seen as heretical by some professional bakers and certain purists, especially in regard to the fact that I usually add commercial yeast for extra boost. But I’ve enjoyed sourdough breads, biscuits, rolls, pancakes, waffles, and even jelly doughnuts for decades and have never wanted for more flavor or richness than my methods yield.
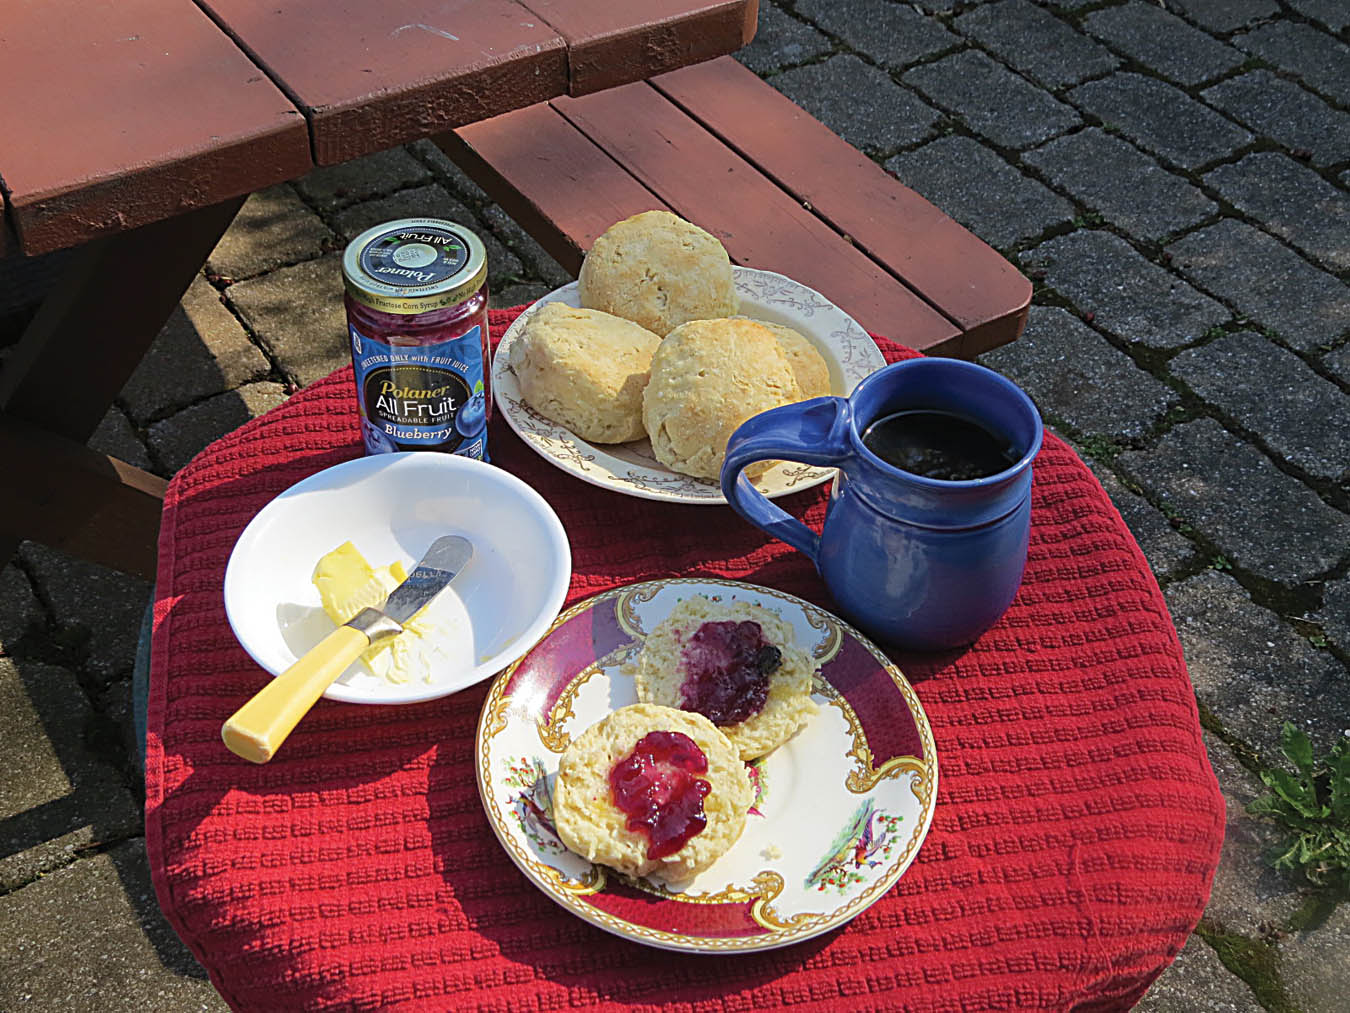
Early morning breakfast on the patio with sourdough biscuits and coffee
The rap against supplemental commercial yeast (or even chemical leaveners) goes like this: it’s so potent that it overwhelms the natural yeast while at the same time making the bread rise too quickly, which prevents full development of that distinctive sourdough flavor. This argument has merit, but there’s a hole in it. Once you’ve repeatedly fed your starter and baked with it many times, I believe the commercial yeast you began with is displaced by the natural yeast in the air and in the flour, since commercial yeast does not do well in the acidic environment of a sourdough slurry. In this fashion, your starter sort of “purifies” itself naturally. But what about adding commercial yeast in the actual recipes? Committed professionals and no doubt some serious at-home bakers who really care about their product often omit the commercial yeast, (but not always, keep reading) but I’ve found that that can make for very long rise times and unpredictable outcomes. Professional bakers not only bake constantly, in great ovens, but also have access to a wide range of flours that are very important in determining how a loaf will turn out. Then, too, professional bakers often do add commercial yeast to help out those heavier breads made with whole grains, or that incorporate nuts, fruit, olives, or various herbs.
Using my simpler approaches will yield excellent results without the unpredictability and the rise times that can stretch to two or even three days, with rounds of “retarding” in between. That said, it doesn’t have to be either/or. Now and then when ambition moves me, I make a couple of traditional round country loaves or “boules” with no added yeast. These are always two-day breads where the loaves are held back in the refrigerator overnight to slow the ferment, then put out and set to rise again the following day. I keep my fingers crossed that the loaves rise enough without them overproofing. Sometimes it works out.
You can make whole wheat or rye starters but these directions are for a white-flour starter, the one most typically used. No problem adding whole wheat flour to the recipe, though.
Making sourdough starter
In a large bowl, put two cups of unbleached all-purpose flour, one teaspoon of salt, three tablespoons of sugar, and one envelope of dry yeast. Stir well.
Add two cups of warm water, about 105° F, stir well. Leave lightly covered (I like cheesecloth) at room temperature for 24 hours. Then, add a half-cup of flour and a little less than that of lukewarm water — about 78 degrees from now on. Repeat this 24 hours later. In another day, you should have a yeasty starter that has the consistency of a very thick batter, but one that would pour if you tipped the vessel. I use a clear plastic container with an easily removable top, one where just the end opens if you wish it to be (see photo). Many bakers use glass or ceramic vessels to store their starters.
Don’t let anyone tell you you can’t use plastic. I once kept a starter alive and healthy for 20 years in a clear, rigid plastic vessel almost identical to the one in the photo. Do not use metal, although some say stainless steel is OK.
You can begin to use this starter for simply made items like biscuits or pancakes. I don’t though. I want to build the starter a little. After the first 48 hours, I put the starter in the refrigerator (probably not strictly necessary in the building stage), lid down if there is a lid. I leave the lid just slightly ajar to let the inevitable gases of fermentation escape, although I’m dubious that this is really necessary. The next day, I take it out, leave it on the counter for two hours, then add about a third cup of flour and a little less than that of lukewarm water. Each time it is fed, I leave it on the counter partially uncovered so that it will pick up natural yeast that is in the air.
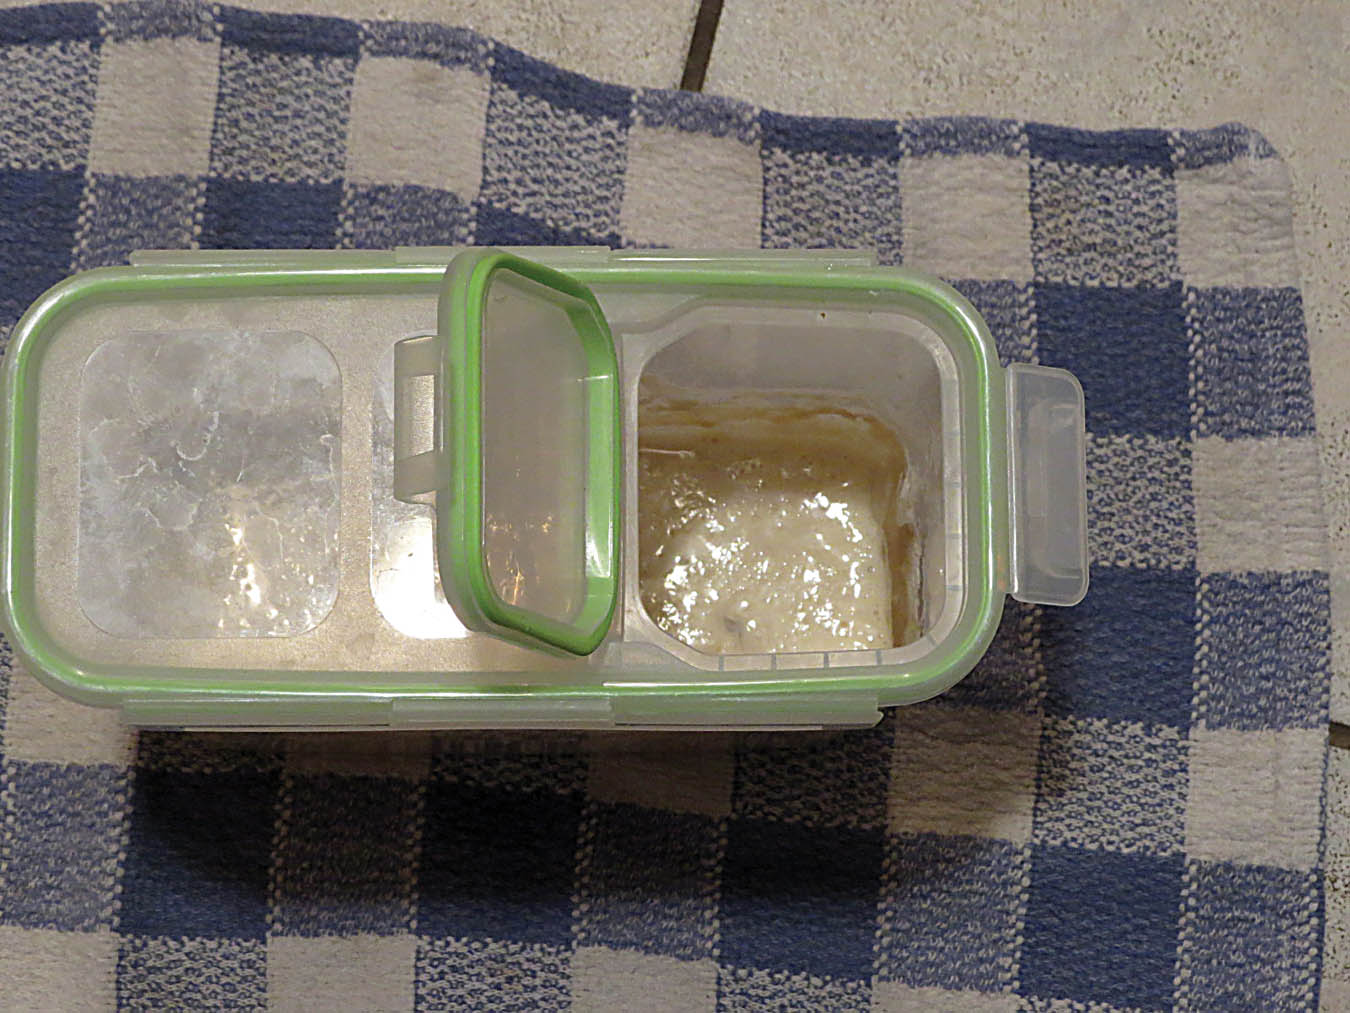
I store my starter in this clear, rigid plastic container of a type I’ve used successfully for years. Entire lid can be easily removed as necessary.
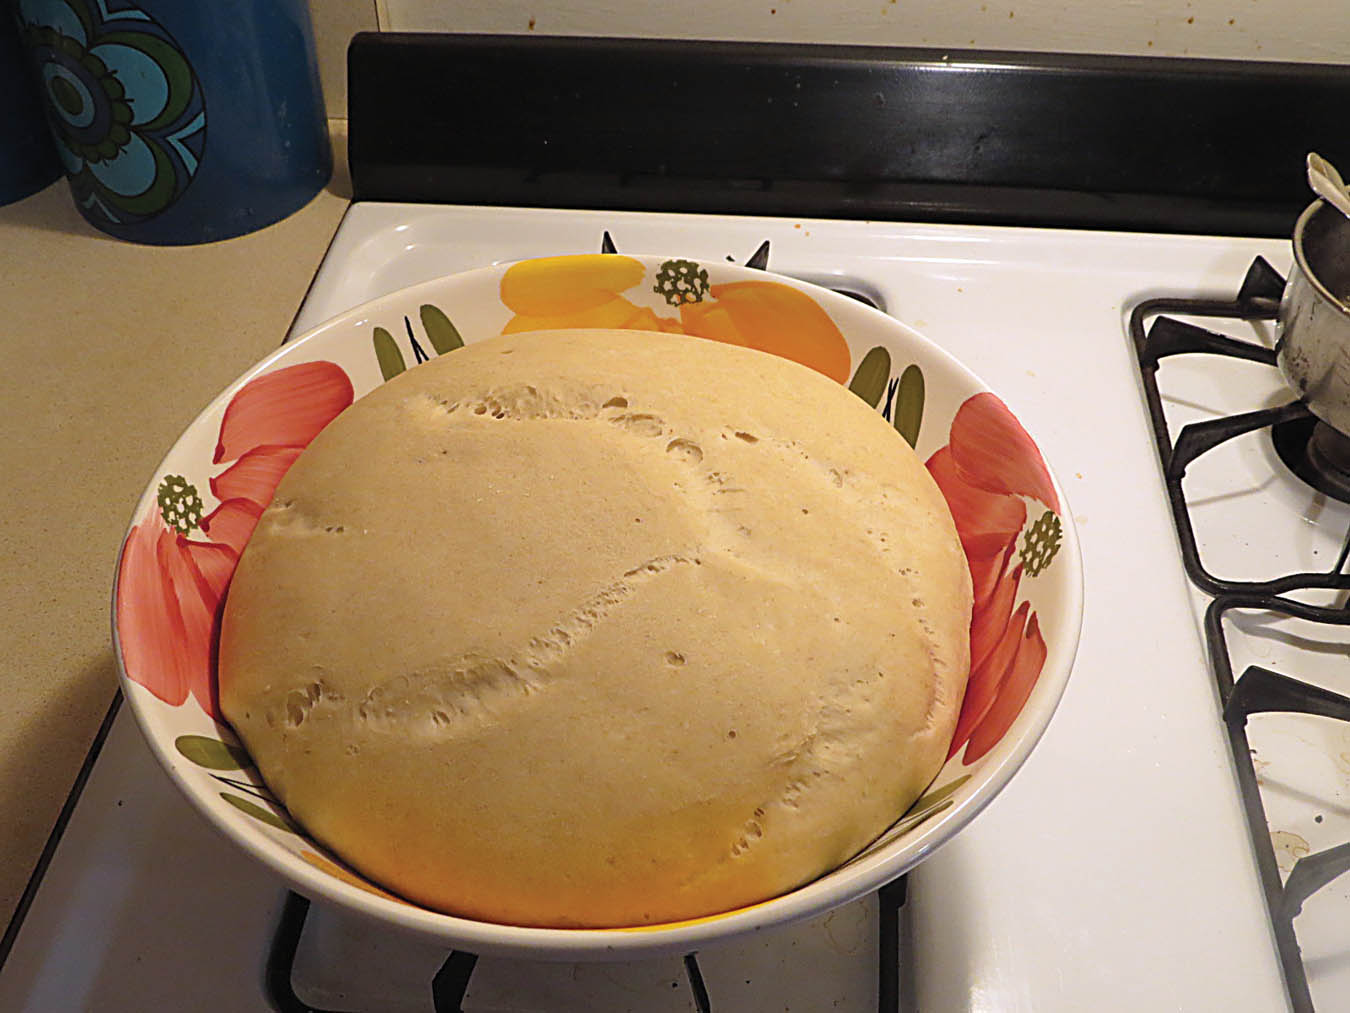
Whole wheat sourdough bread after first rise
I’m told that the more you bake, the more of those invisible yeast spores will be in your kitchen, not just in the air but on surfaces. According to the scientists, over time, as different strains of yeast are gathered in, the complexity of the starter and therefore the baked goods increases. Each time you feed it, it should start to bubble, as the yeast feed on the new flour being introduced. The fermentation of the sugars in the flour by the yeast combines with chemical reactions by the beneficial bacteria (which are also everywhere) to produce the famous sourdough flavor. As alcohol is a by-product of fermentation, a thin layer of lightly colored alcohol will accumulate on top of the starter if you leave it be for a spell. I’ve heard that this is where the term “hooch” came from. Maybe it’s what got John Wayne pumped up for his frequent orations? Actually, it’s said to be undrinkable, but it does clue you in that you’re not feeding your starter often enough. I’ve sometimes stirred it back in but many authorities advise that you simply tip it out at feeding time.
The seven-day preparation of course also builds volume. Then, you’re ready to create your own compliment-winning recipes or try those that follow.
If you don’t bake regularly, take your starter out at least twice or three times a week and feed it: two hours on the counter, then a half cup or less each of flour and water. Leave out for several hours, then return to the refrigerator where the yeast will remain alive but dormant. If you do plan to bake, take the starter out at suppertime, and just before bedtime feed it as just described. The next morning it will be bubbly and ready for use. Every so often, empty the vessel and clean out the harmless solids that accumulate around the sides.
Some bakers go to extraordinary lengths in caring for their starter, feeding it not just once a day but even more often. I’ve no doubt that some play classical music for their starter, or write poetry to it. I haven’t yet heard of a funeral held for a starter that died, but it’s bound to have happened.
Sourdough pancakes:
Serves 3
Can you envision a pancake batter made without milk? Well, here it is, and these are the lightest pancakes I’ve ever had. I’ve made them dozens of times in campgrounds, and often at home, too. In a camp setting, when it’s chilly, I’ll take the starter in a small container into the sleeping bag with me. Make sure the lid fits tightly!
Specifically because of this recipe, I make my starter a little thicker than some to compensate for the thinning caused by the water.
- 2 cups sourdough starter
- 1 egg
- 2 Tbsp. sugar
- 3 Tbsp. vegetable oil
- 1 Tbsp. melted butter
- 1 tsp. baking soda
- 3 Tbsp. lukewarm water
- Heat your griddle to moderately hot. You’ll test it, as described.
- Mix the starter, egg, sugar, oil, and butter in a bowl and whisk until well blended.
- In a cup or small bowl, dissolve the soda in the water. Stir and add to the other bowl. You want to work quickly now when the leavening effect of the soda is at its peak.
- Grease the griddle lightly with a dab of butter or a tiny bit of oil. Griddle temperature is key to good pancakes. Always do a test pancake. If it looks like it should, go ahead and make your batch. Too hot a griddle will ruin this delicate pancake, moreso than some others. I like a lightly mottled brown finish. Leftovers? Slather each pancake with a little jelly, roll up in foil, and use as a trail snack.
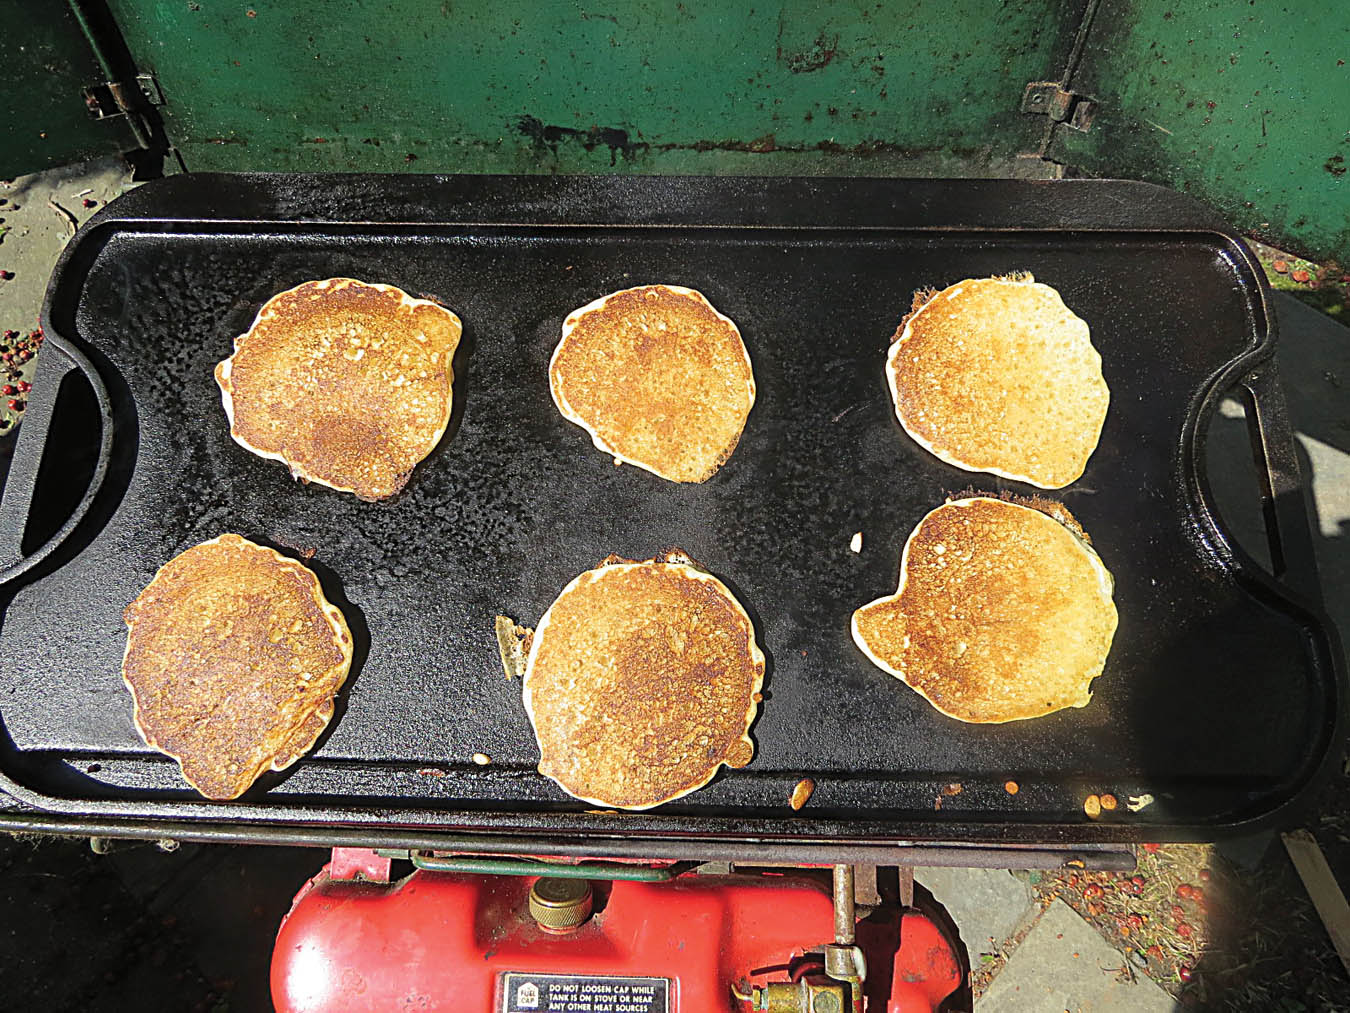
Sourdough pancakes baking on a 75-year-old Coleman stove. What stories that stove could tell. This batch shows the pancake color to aim for.
Sourdough biscuits:
Makes 8
I don’t often make biscuits, since the very soft flour needed to make the best biscuits is not readily available in my area. But when I made this fairly new recipe with standard flour, it pleasantly surprised me, twice. First, it rose quite nicely and was tender, and it also reheated very well after having been frozen. One tip with this recipe is not to make the biscuits too thin. I actually measure the thickness. The diameter is less important.
- 1½ cups all-purpose flour
- ½ – ¾ tsp. salt
- ¼ tsp. baking soda
- 2 tsp. baking powder
- 4 Tbsp. cold butter, cut into eight pieces
- ½ cup sourdough starter
- About ½ – ⅔ cup churned buttermilk, divided
- Combine the flour, salt, baking soda, and baking powder in a large bowl.
- Using a pastry blender (ideal) or two knives (far from ideal), cut the butter into the flour mixture until it resembles coarse crumbs. Do not use a food processor. Preheat oven to 400° F and line a baking pan with parchment; if no parchment, lightly grease the pan.
- In a smaller bowl, combine the starter and ¼ cup of buttermilk. Stir this into the dry mixture. Turn over a few times. Slowly add more buttermilk as needed to make a sticky dough that is starting to hold together. Turn out onto a floured surface and gather into a ball, incorporating more flour or water as necessary to make a coherent mass; then knead for a minute or two until you have a smooth, somewhat elastic dough.
- Pat out to 5/8 inch thick. Using a three-inch round cutter, cut into circles, placing each cutout on the prepared pan, with the edges of the cutouts touching. I use what’s called a flan ring, but you can use a cut-out tuna fish can or even a bottle top. Important: Don’t twist as you cut as this inhibits the dough from rising. Let rest for 30 minutes. Biscuits will puff up a little, but most of the rising will be in the oven (this is called oven spring). Bake for about 15 minutes. The tops should be golden brown. Serve at once. Good split with butter and jelly.
If you wrap tightly, they will be OK next day if warmed.
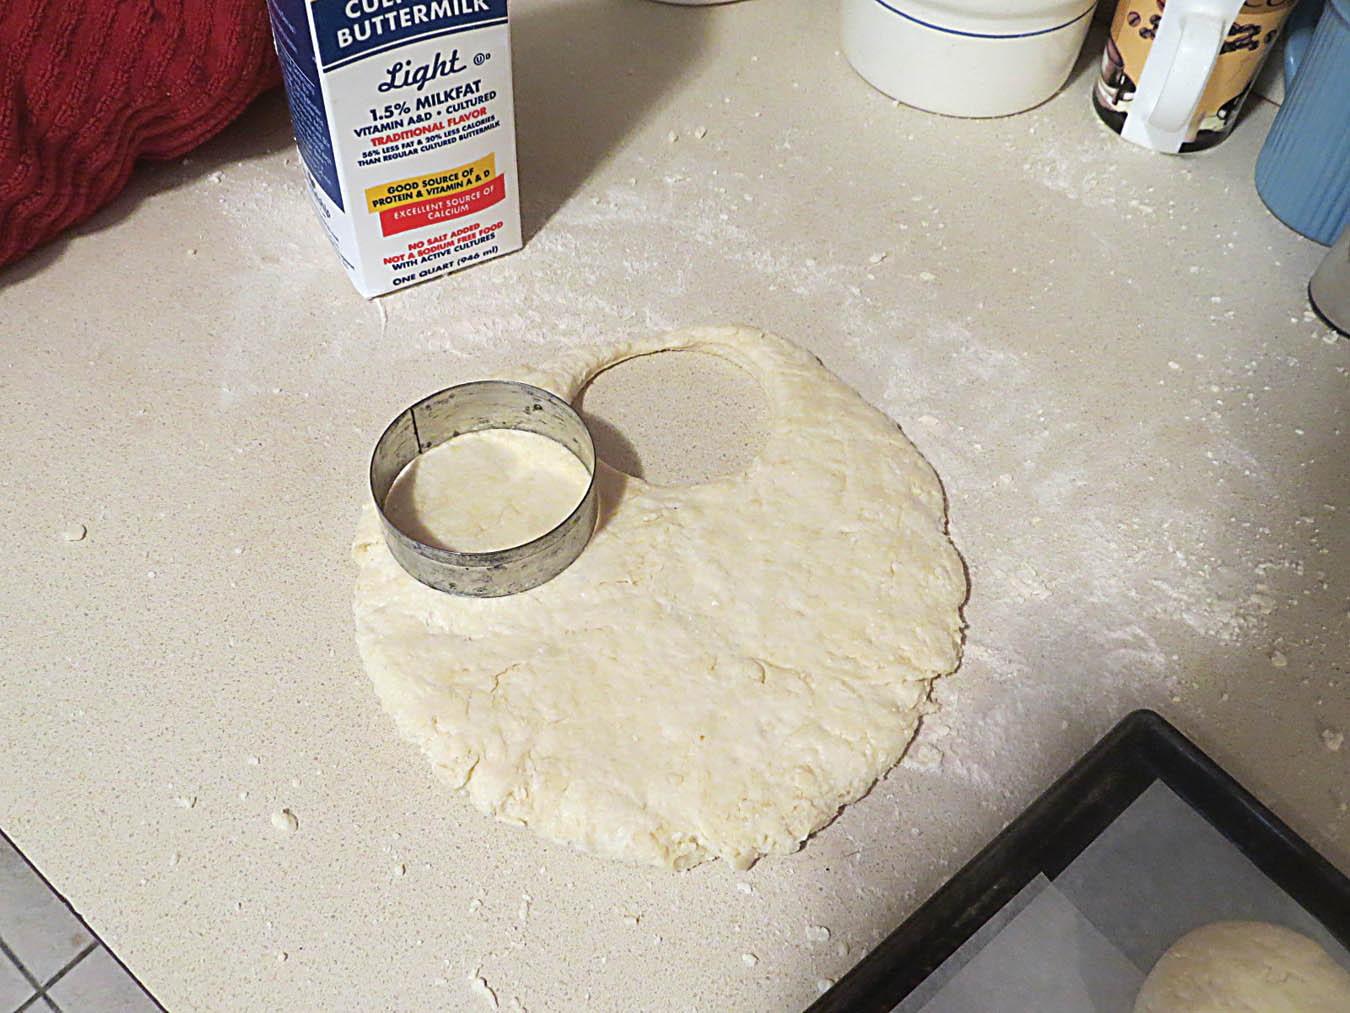
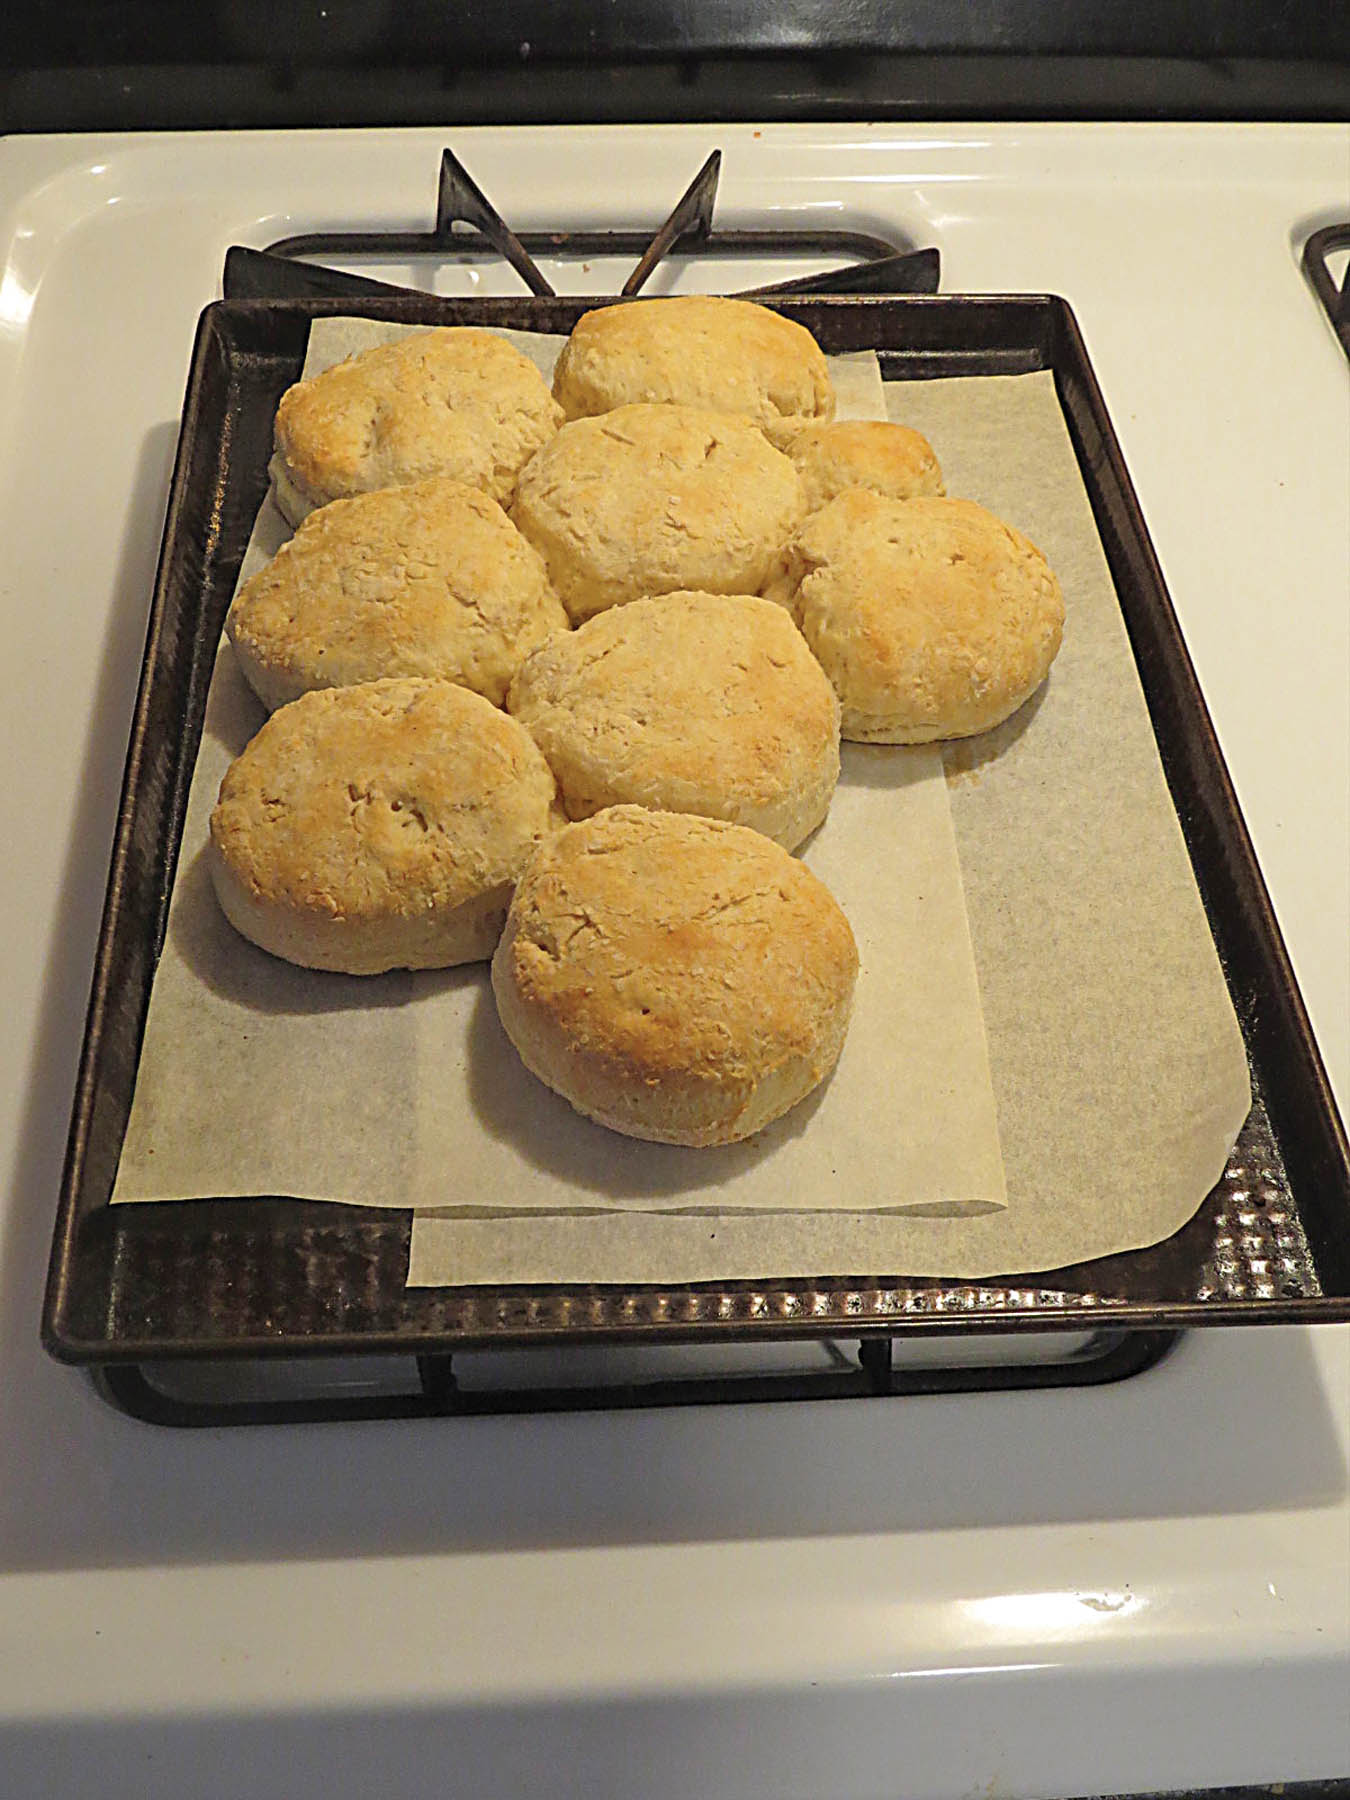
Cutting the biscuits and just out of the oven. These rise a good deal.
Whole-wheat sourdough bread:
Makes two 8½ x 4½-inch loaves
This should really be called “part-whole-wheat bread.” It is sensational toasted and spread with butter and maple syrup. For a denser loaf, you can increase the percentage of whole wheat flour. I make the directions very precise for the help of persons who are not accustomed to baking bread. Like to impress your campmates? Try it in your Dutch oven.
- 1½ cups sourdough starter
- 4½ cups all-purpose unbleached bread flour
- 1 cup whole wheat flour
- 1 Tbsp. plus 1 tsp. sugar
- 1¾ tsp. salt
- 1 tsp. baking soda
- 1 envelope dry yeast
- ½ cup warm water (about 105 degrees)
- 2 cups lukewarm water
- ½ cup additional flour (either flour)
- Reactivate the starter as described in the above discussion.
- In a very large bowl, combine the flours, sugar, salt, and soda. Stir well.
- Proof the yeast: Put it into a small bowl and add the ½ cup warm water and a pinch each of sugar and flour. Stir a few times. Let sit until bubbly, about 10 – 15 minutes.
- To the bowl with the flours, add the proofed yeast mixture, the starter, and the two cups of lukewarm water (78 degrees). Stir well with a stout wooden spoon. Spread part of the additional ½ cup of flour on the counter and turn the dough out onto it. You want to use all of this ½ cup so add more water as necessary to balance it out and get the consistency you want.
- Knead the dough for a minute or two. Slap it down hard on the counter and then let it rest for 15 minutes. (Called autolysis, this gives time for the starch molecules to absorb the moisture. If you add too much water right away, you could get past the point where the flour can ultimately absorb it.
Autolysis lets you better gauge how much water you must use.) Resume kneading and knead for at least five minutes, until the dough is smooth and elastic. Again, it should be just on the edge of sticking to the counter. Dry doughs make dry breads.
- Clean and oil the large bowl. Place the dough into it and turn it so that it is very lightly coated with the oil. Cover with a cloth and place in a warm place for about 45 minutes to one hour, or until doubled in size. Do not overproof.
- Grease and flour the baking pans; I prefer glass.
- Punch the dough down and divide it in half. Lightly stretch each half until it is a little longer than the pan then tuck those ends back underneath the dough. Place in the pan and cover with a cloth. Put pans in a warm spot free of drafts and let rise until double, about one hour. (Rising times will vary.) Half way through, preheat your oven to 390° F.
- Place the two pans on the middle rack of the oven spaced at least two inches apart. Bake for about 40 minutes or until a cake tester inserted in the middle comes out clean. Cool in the pan a few minutes. Use a very thin knife to cut around the edge if the loaf seems stuck (this loaf does not seem to stick).
Turn onto cooling racks to cool fully.
For storage: Wrap tightly and use at room temperature within two or three days. After that, slice and freeze. Freezes perfectly.
The next two recipes are only a little more challenging, but not all that time consuming once you’ve prepared the starter as discussed.
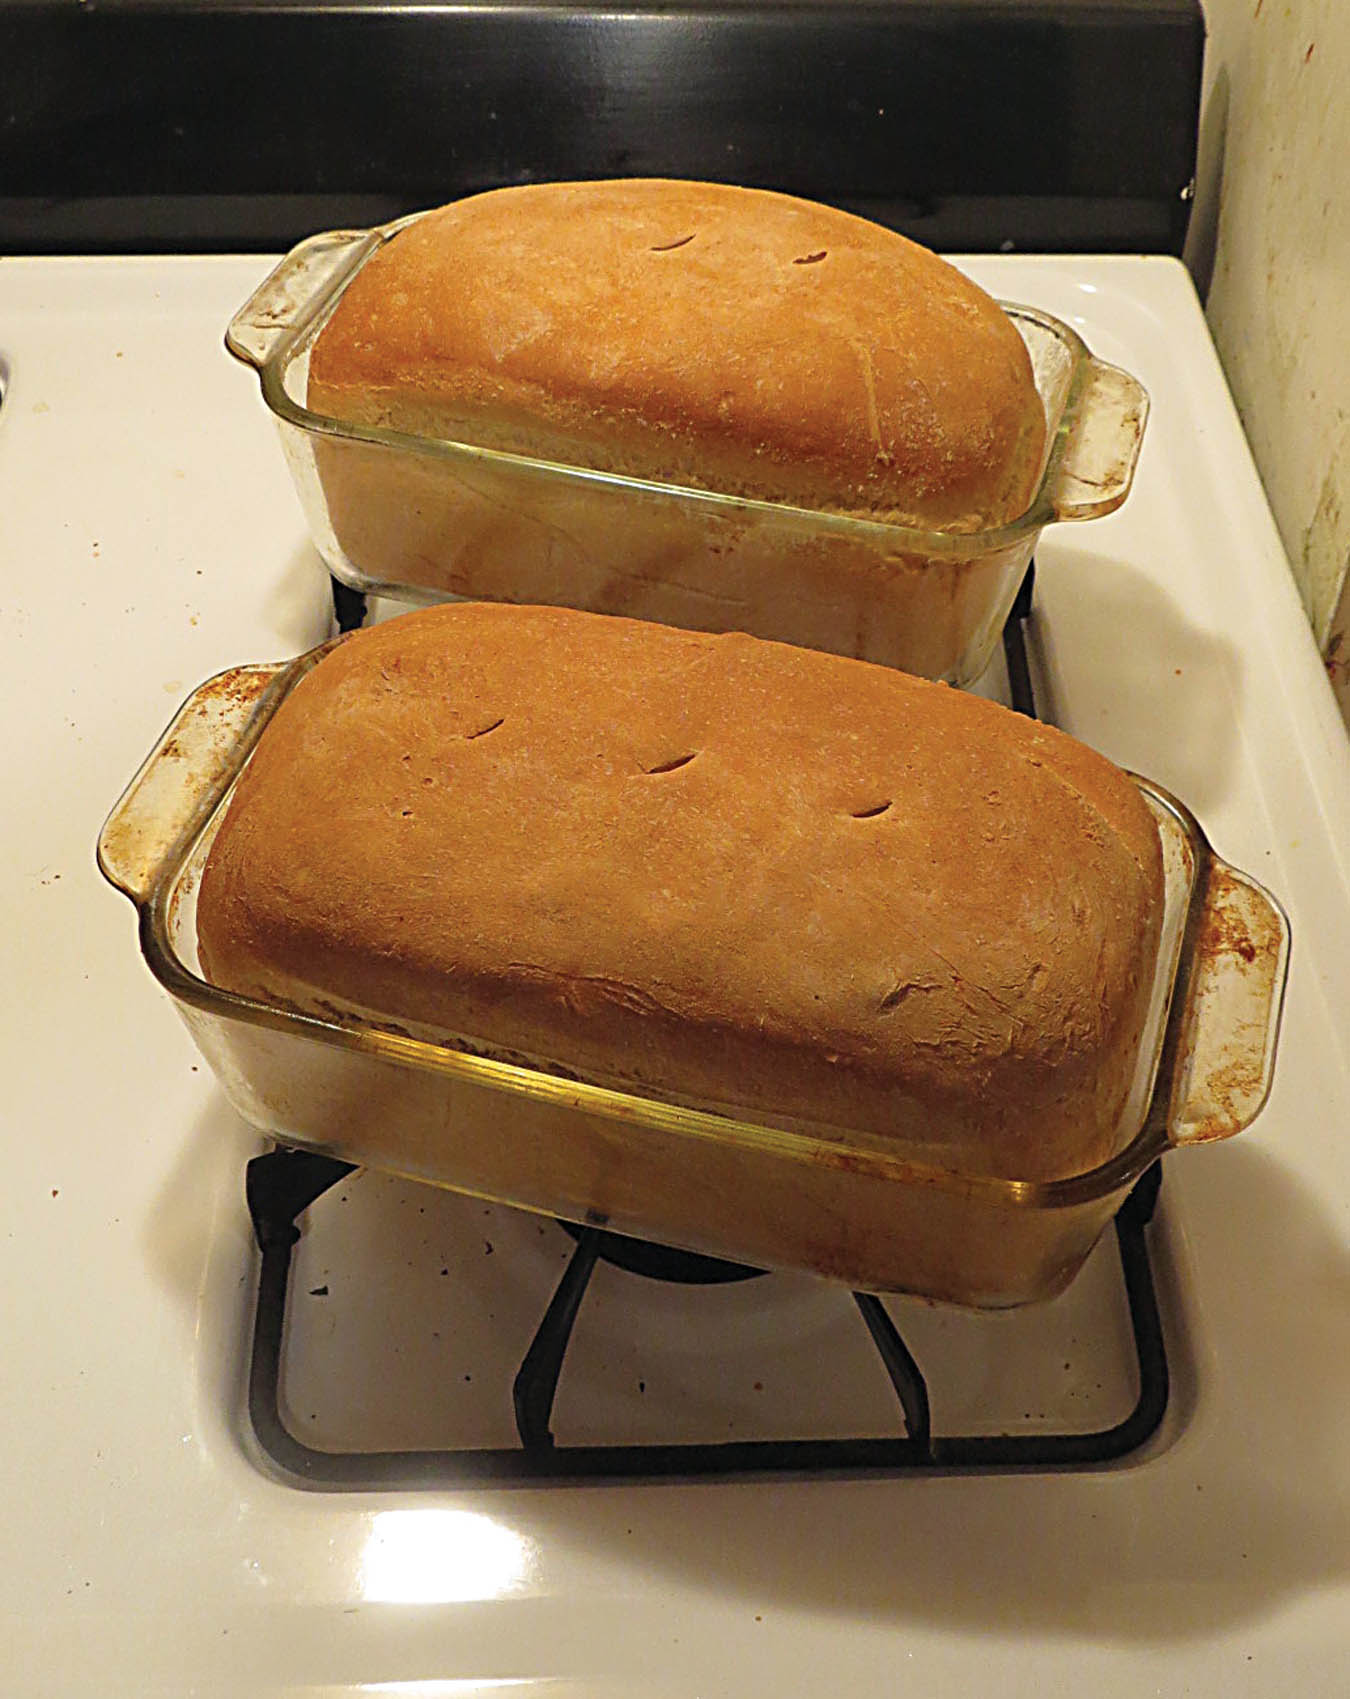
Whole wheat sourdough bread after baking, now cooling on racks
Sourdough apple muffins:
Makes about 14
I like making this with the wild apples that I forage in great quantities when it’s a good year, which, alas, it isn’t always. Use any apple you wish if you’re buying. I’ve never made a reduced-sugar muffin that I actually enjoyed.
Don’t tell anyone but I might use a whole cup of sugar! (My glucose is always around 90.)
- 2 cups all-purpose flour
- ½ – ⅔ cup sugar
- 2 tsp. baking powder
- ½ tsp. salt
- ¾ tsp. cinnamon
- 1 egg
- ½ cup sourdough starter
- ⅔ cup milk or soy milk
- ⅓ cup vegetable oil
- About one medium apple (see below)
- ¾ cup chopped walnuts, or other nuts
- Combine the flour, sugar, baking powder, salt, and cinnamon in a large bowl.
- Heat your oven to 390° F, not hotter. Line a standard 12-cup muffin tin with paper or foil liners.
- In a medium size bowl, whisk the egg then add the starter, milk, and oil.
Stir well. Add three-fourths of this mixture to the flour mixture and stir.
- Wash and core the apple but do not peel. Grate it using the grating blade of the food processor. If you grate by hand, you’ll have to grate right into acidulated water because of immediate oxidation. Squeeze all the water out of the grated apple using paper towels or a dish towel then measure out one cup not packed. Immediately add to the main bowl along with the nuts. Now add the rest of the liquid ingredients as necessary to make a stiff batter which is actually more like a soft but spoonable dough that will not pour.
- Fill the liners nearly full and bake for about 20-22 minutes. Cool on racks for 10 minutes then serve. Freezes perfectly.
Sourdough hickory nut waffles:
Makes five 7½-inch round waffles
The real challenge with this recipe is understanding your waffle iron and its characteristics. Thickness of the batter and cooking times are not too flexible.
In this original recipe, refined over numerous trials, I especially like to use wild hickory nuts. It’s hard to come up with any quantity of this difficult-to-crack nut, but all you need here is three tablespoons. However you can use any nut.
Cook these slightly well done; some irons have a heat setting which helps.
If you don’t think this is the most delicious waffle you’ve ever tasted you can write me a letter, but I won’t hold my breath waiting for it.
- 3 Tbsp. hickory nuts, toasted if you wish
- 1 cup sourdough starter
- 1 large egg, beaten
- ¼ cup mild vegetable oil, such as safflower
- About ½ cup whole milk, divided
- 1 tsp. grated orange peel (optional, but do not increase)
- ½ cup all-purpose flour
- 1 tsp. baking powder
- ⅛ tsp. baking soda
- ¼ tsp. salt
- 3 Tbsp. sugar
- 1 Tbsp. wheat germ (optional)
- A little vegetable oil
- Toast the nuts in a small, dry pan if desired. Do not brown.
Cool slightly, then chop or grind fine. Reserve.
- In a medium size bowl, combine the starter, egg, oil, and half of the milk. Whisk to combine. Then add the orange peel.
- In a large bowl, combine the flour, baking powder, baking soda, salt, sugar, wheat germ, and nuts. Preheat your waffle iron.
- Add the wet ingredients to the dry and stir quickly to combine. Add only enough additional milk to end up with a batter that spreads of its own accord on the iron. Because starters will vary in consistency, the quantity of milk needed is an approximation. The starter, of course, provides part of both the liquid and the flour.
- Very lightly brush the waffle iron with vegetable oil; a pastry brush works well. Repeat this between waffles.
- The quantity of batter is critical but cannot be stated since waffle irons vary in size and shape. My round iron takes a half cup. Pour the batter onto the hot iron and if necessary gently use a rubber spatula to nudge the batter to very close to the edge of the iron. When you close the iron, the batter will spread outwards a little more.
- My waffles are done perfectly in three and a half minutes on medium-high. Follow the directions that came with your iron or just learn by experience. Err if you have to by cooking a little too long; if you open the iron too soon you’ll have a soggy mess and then you’ll have to cool the iron, clean it, and start all over. Also, if you undercook this waffle it will be a little soggy.
- Counterintuitively, the waffle will soften rather than harden as it sits in the open air. That’s why, if you don’t eat them literally immediately, waffles must be toasted to restore that just-out-of-the-iron crispness.
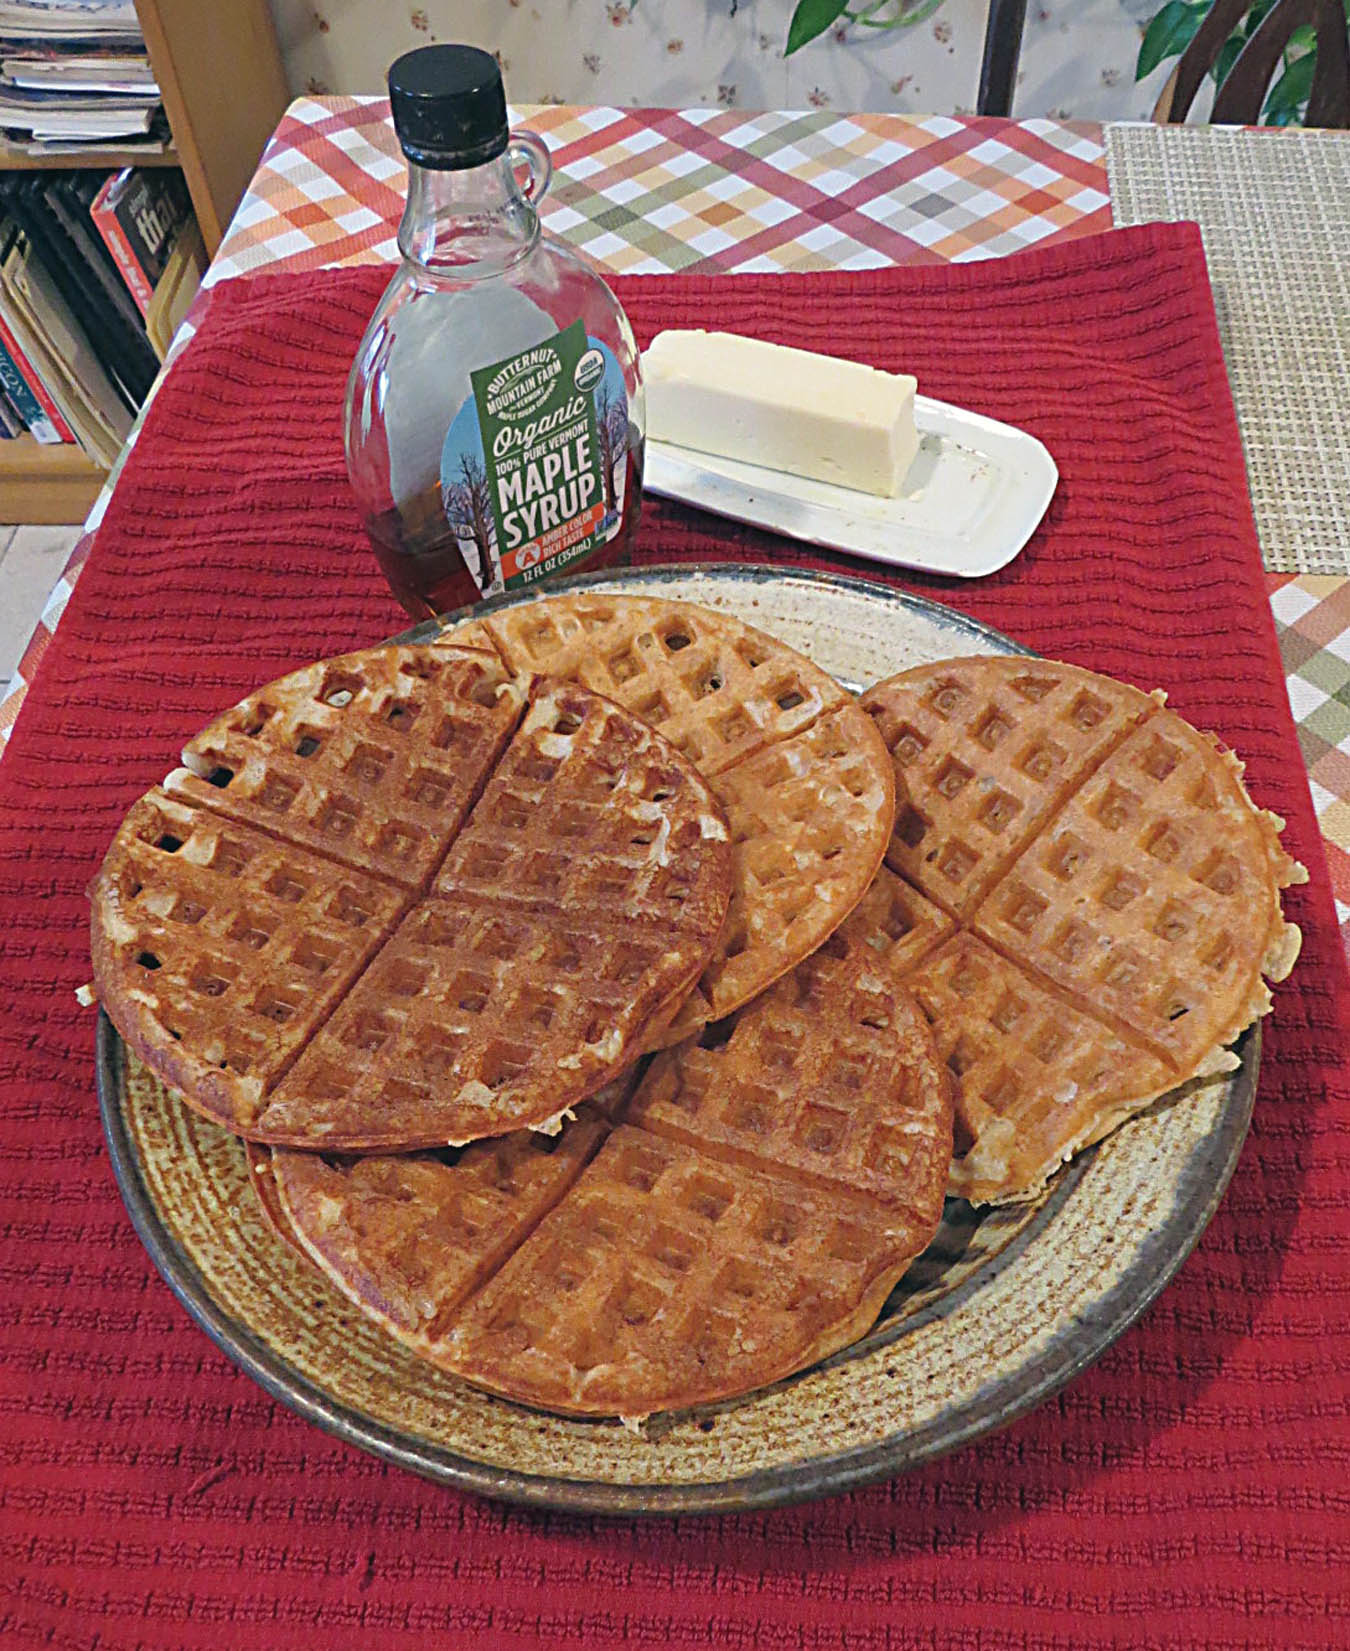
Batch of waffles ready for butter and jelly


