
By Don Lewis
In the last issue of Backwoods Home Magazine, we covered Part 1 of livestock fencing for the small homesteader. The article included some of the history, requirements, and methods for siting and installing such fencing infrastructure as corner posts, in-line posts, and gates, as well as the differences between manually tensioned fences (usually all types of wire) and pre-tensioned or naturally tensioned fences (wood, vinyl plank, pipe). We also covered the installation of barbed and smooth wire fences.
In Part 2 of this subject, we’ll examine other types of fencing methods and materials, discuss their relative pluses and minuses, and look for ways to minimize the cost of their construction.
Woven or welded wire
Welded- or woven-wire fencing became available in the early 1920s. It’s probably the second-most common livestock fence material after barbed wire. The difference between welded or woven wire is in the name. The rectangular mesh created by the crossing of vertical and horizontal wires that are tied together, either by spot welds at the intersections (in the case of welded wire) or by wire twists or knots (in woven wire) makes a complete fence in one roll.
Welding the wire intersections creates a much less-expensive product than weaving, but strength is sacrificed, especially when it comes to stopping larger animals. A woven-wire fence is considerably stronger than a welded-wire fence, so woven-wire fencing is my preferred choice. Both woven- or welded-wire fencing comes in varying lengths and heights. I usually buy rolls 330 feet long and 48 inches high.
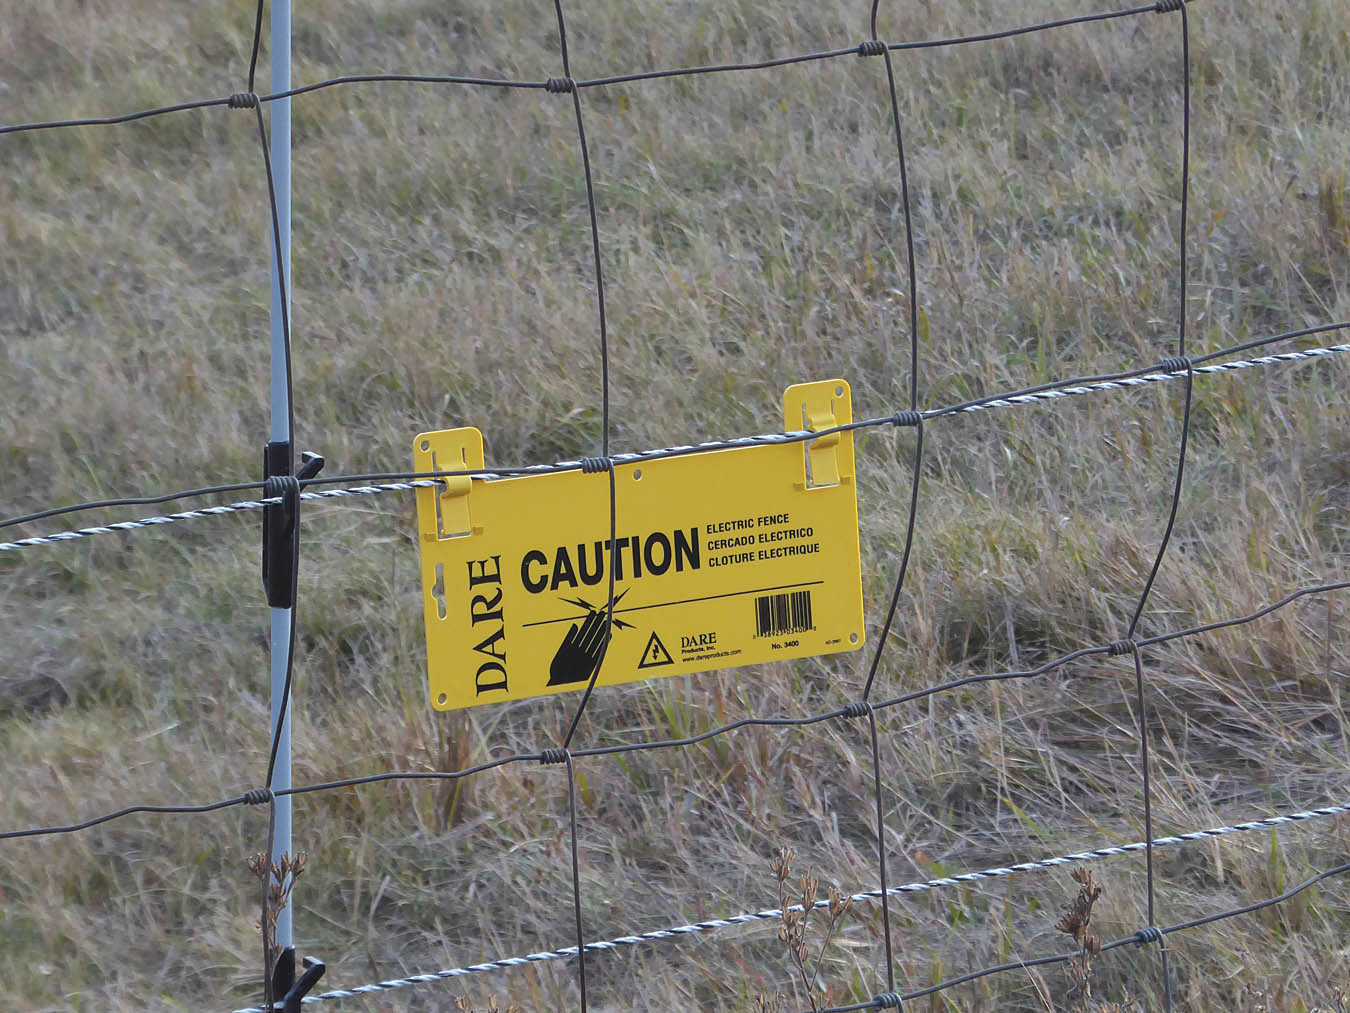
Woven wire fence with electric fence as a supplement
Woven- or welded-wire fences require tensioning (just like barbed or smooth-wire fencing) to be an effective deterrent for livestock, meaning you still need to install brace posts and in-line posts. The difference is you simply cannot tension a woven or welded wire fence nearly as taut as you can a barbed or smooth-wire fence.
So let’s build our enclosure again, only this time we’ll use a type of woven-wire fencing called field fence. Like most fencing terminology, the definition of “field fence” is vague, but generally includes narrower mesh at the bottom and wider mesh at the top. In theory the narrower base mesh is safer for livestock (less chance for hooves or legs to get tangled), but by personal experience, I’m not entirely convinced of that claim.
We’ll require three rolls of field fence for each side of our 1000-foot-long enclosure. Rolls can be joined together simply by cutting off the vertical wire from one end of a roll and weaving the now unattached horizontal wires into the next roll. Typically, to attach the end of a roll to a brace pole, you’ll remove enough vertical wires at the end of a roll to be able to wrap the now-freed horizontal wires around the pole and twist them off. However, because the amount of tension placed on a woven fence wire is less than that of barbed wire, and because you’ll have a lot more horizontal wires to anchor to the post, you can just use fence staples to secure the fencing to a brace pole by placing one staple at each wire intersection. However, if you decide to forgo wrapping the wire around the post, don’t skimp on staples — and drive those staples in firmly.
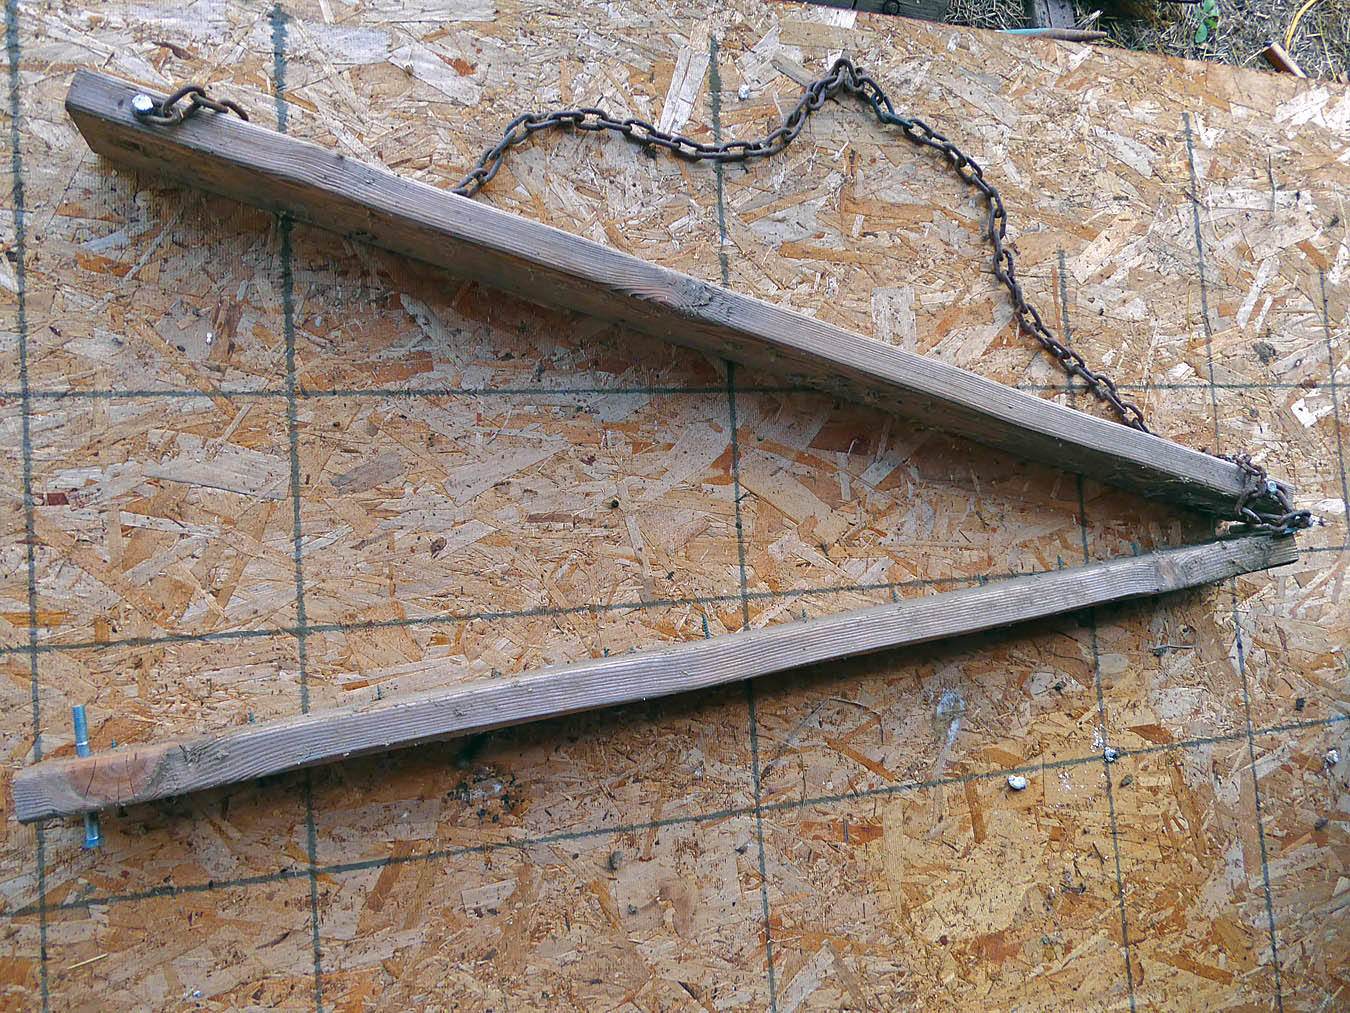
Homemade fence stretcher
While you can use a wire puller/splicer by itself to tension field fence, doing so will always deform the mesh. Rather than trying to work your way down the fence, stretching one horizontal wire at a time, it’s a good idea to use a fence stretcher. A fence stretcher grabs the fence at multiple locations at one time and can be pulled by your wire stretcher/splicer to tension the entire fence simultaneously. You can buy a commercial fence stretcher for about $100, or you can make your own. My homemade version has worked perfectly for many years. (See article available in A Backwoods Home Anthology: The Twenty-seventh Year.)
Begin by stapling or weaving the end of a standing roll of woven wire to the corner brace post, then lay the roll on the ground and roll it out alongside of the T-posts. Make sure the narrow mesh is next to the posts and that you’re laying it inside the T-posts (the side with the T-post nobs). Splice the end of one roll to the beginning of the next, and keep rolling until you go just beyond your in-line brace poles at the 500-foot mark. Cut the roll at that point.
Now attach the fence stretcher to the fencing at the in-line brace and pull it tight with the wire stretcher/splicer until it pulls the fencing tightly up to the T-posts. You’ll probably have to work your way back down the fence, lifting the fence in place or past some of the nubs, until the fence is standing vertically with the bottom wire just resting on the ground. Tighten the ratchet a bit more in the stretcher/splicer, then fasten the fencing to the brace post with fence staples at each horizontal/vertical intersection (or by wrapping the horizontal wires against the post and twisting them off). Loosen the wire stretcher/splicer and head down the fence, wiring the mesh to each T-post with wire twists or fence stables. Repeat the process for the next section. One section of woven-wire fence done!
Woven wire fencing is great and I’ve never had a cow break through it. However, because it’s not as tensioned as barbed or smooth wire, my cattle have always managed to damage it by pushing underneath it or leaning over it. To counter this, I often run a high-tension barbed wire or smooth wire along both the bottom and top of the fence, and attach that line to the woven fence at regular intervals. Where I’ve employed that system I’ve never had a cow escape the fence.
A finer-mesh woven or welded-wire fencing is the usual recommendation for sheep or goats. Used in conjugation with a hot wire, this discourages climbing (especially for goats). Such “no climb” fences typically have two-by-four inch mesh. This makes it harder for the goats to find purchase on the fence, and it also keeps horned goats from getting their heads trapped in larger-mesh fencing.
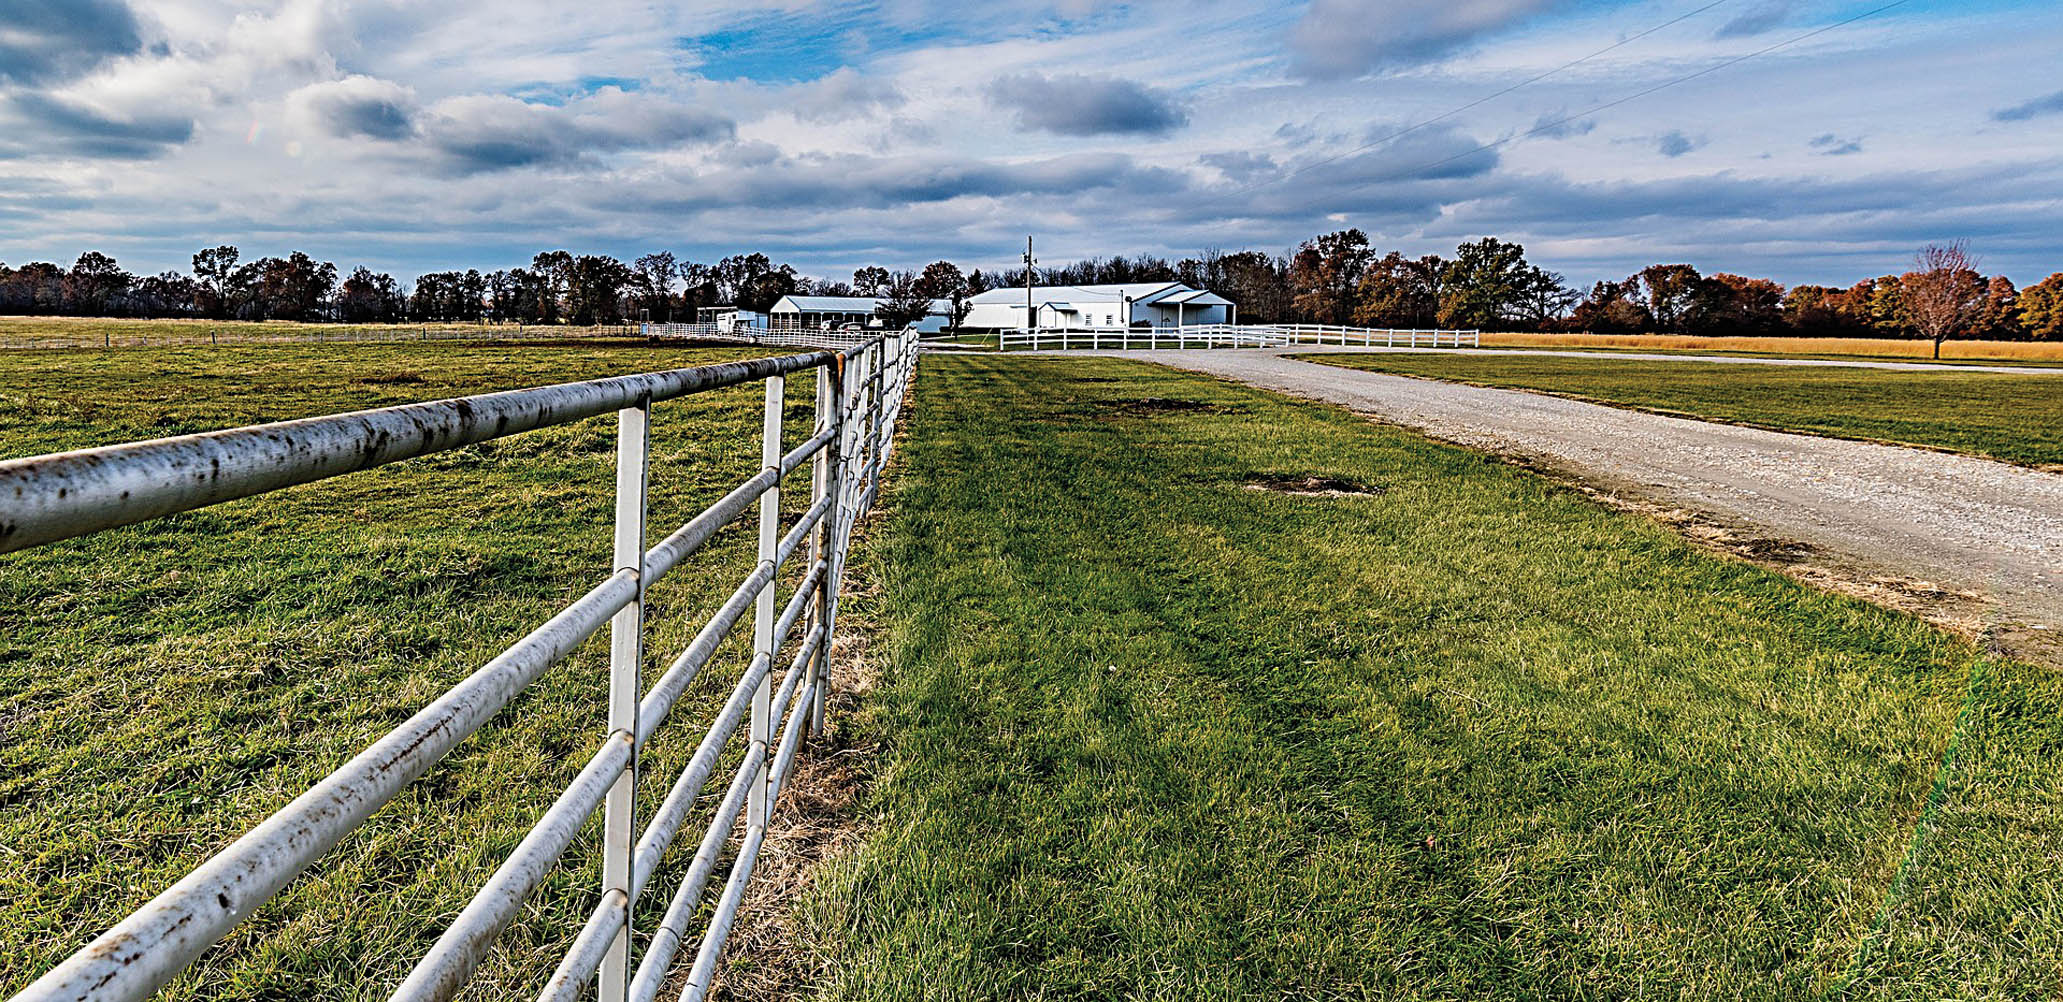
Wood-rail fences
Honestly, if I were rich, every fence at my place would be a wood rail fence — and for good reason.
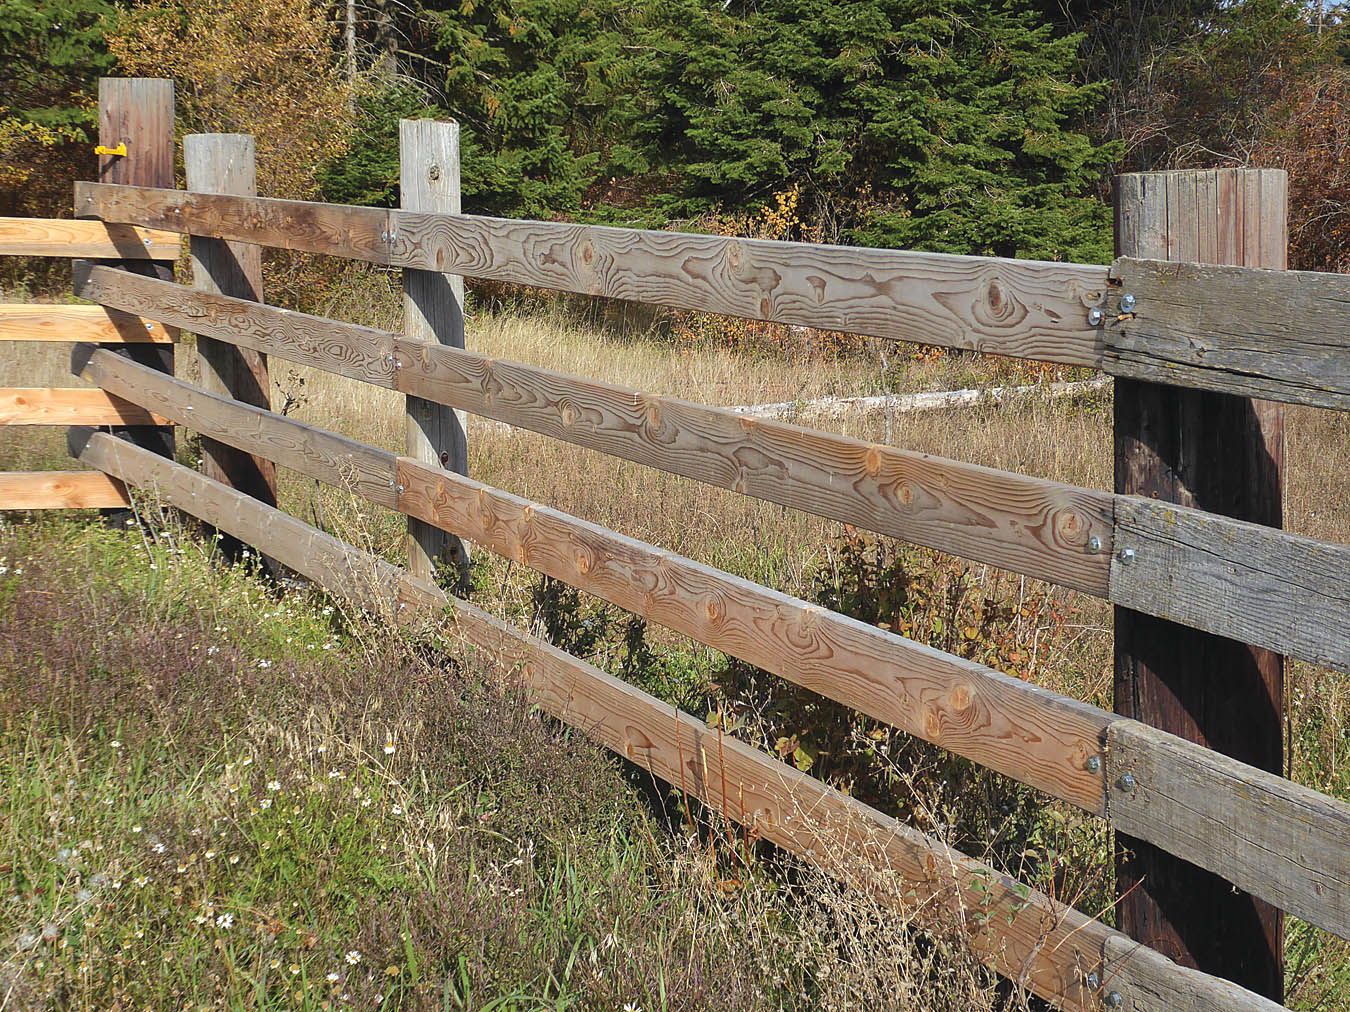
Wood fences (with the exception of gate locations) require no brace posts. They have no need of tensioning because tension is an integral part of their nature. They are sturdy, strong, and easy to maintain and repair. They are substantial enough to be a visual deterrent for most livestock abuse. Plus they look great.
Unfortunately, at about $6 a foot for a four-rail fence, I have to limit my wood-rail fences to areas like feed lots, corrals, and yard-to-pasture interfaces. But for those locations, there’s nothing better (or prettier).
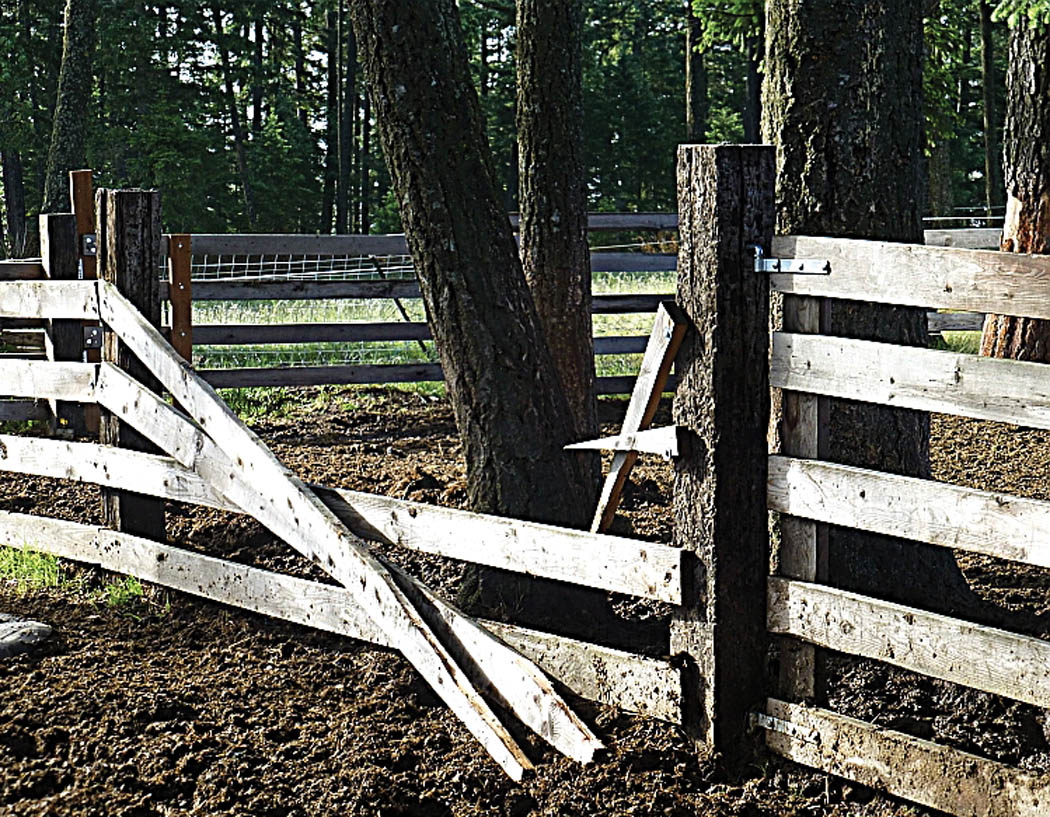
My preference is wooden rail fencing. However, it is not completely escape proof.
I make my rail fences from 12-foot 2×6 Doug fir rails attached to railroad ties sunk three feet into the ground. The rails are spaced seven inches apart, which discourages cows from pushing between the boards. I can make the rail spacing even by using some simple homemade jigs to hold the rails in place while I fasten them to the railroad ties, using half-inch diameter galvanized lag bolts and washers.
Absolutely escape-proof, right? Well … not so fast. My broken fence in the photo is a perfect example of “where there’s a will, there’s a way.” In this case, the bull’s will to reach some cows in heat proved the way. Note the bolts didn’t fail; he broke right through the rails. (And as a result of this escape, we had a number of calves born in the middle of winter.)
No fence is ever escape-proof, but we solved that particular problem by adding two strands of hot wire (electric fencing), one on the bottom rail and one on the top, which helped contain our bull’s libido.
Electric fencing
Electric fencing has been around since the 1930s. It’s relatively inexpensive to install and straight-forward in operation. An intermittent but very high-voltage low-amperage charge is applied to one or more wires by a fence charger, which has two connections: one to the wire(s) and the other to a metal ground rod driven deep into the earth. The charged wires are kept isolated from the ground by ceramic or plastic insulators attached to light-weight poles or other fencing. When a conductive body (like an animal or person) comes in contact with the wire, the circuit between the ground and the wire is completed and the current courses through the conductive body, causing an electric shock. Depending on the voltage applied, the shock can be anywhere from mild to fatal.
Modern electric fence chargers can be powered in several ways. Many plug into normal household current of 115 volts. You can also get chargers for more remote areas that run on replaceable batteries, or batteries charged by solar panels. Charger prices vary tremendously. A fence charger that can charge up to five miles of fence (single wire) can run anywhere from $50 to well over $100, depending on brand. Do your research here. I’ve bought some “bargain” chargers and got what I paid for.
Electric fences are quite efficient and can be used as stand-alone containment systems or as a supplement to more traditional physical fences. But, like all fencing systems, they have their limitations. I mentioned putting up a hot wire to keep a bull from breaking down more boards in his pen, and that worked. However, another time I placed two hot wires across the driveway as a temporary barrier for cattle. The bull decided he had to get to the other side of those wires, so he simply put his head between the wires, stepped over the lower wire and let the upper wire float across his back. I could see the dust rise on his back with each electrically induced muscle contraction. Within a few seconds he was on the other side of those charged wires and grazing contentedly.
On the other hand, my horse-expert neighbor keeps his breeding stallion away from his mares with no more fence than a single hot wire about three feet in the air.
There are many different types of conducting wires on the market. I’ve only used galvanized smooth wire, but other neighbors use charge-conducting tapes and woven ropes, all of which seem to carry the current just fine. A benefit of electric tapes or ropes over wire is it’s more visible to livestock (and people).
Other benefits of electric fencing include portability, easy set-up, and no need for heavy-duty supports. Using temporary and light-weight fiberglass rods, a ground rod and a portable charger, you can set up a movable corral in minutes.
But there are some additional things to keep in mind if you’re going to use an electric fence for livestock control. If the power fails or the charger conks out, your containment breaks down. Also, extremely dry soil around your driven ground rod creates a great deal of electrical resistance to current flow. Likewise, anything conductive that is touching the ground and the wire at the same time (such as grasses) creates a circuit and draws off a portion of the total current, sometimes so much that livestock no longer feel the electric shock. Additionally, a falling branch or excessive weeds can seriously affect the efficiency of your fence.
So it’s important to recognize how fragile an electric fence can be. A hoof caught in a hot wire can break both the circuit and the wire. And a long stand of loose wire in a pasture is a potentially dangerous or even fatal accident waiting to happen. For these reasons, I only use hot wire fences to reinforce existing permanent fencings.
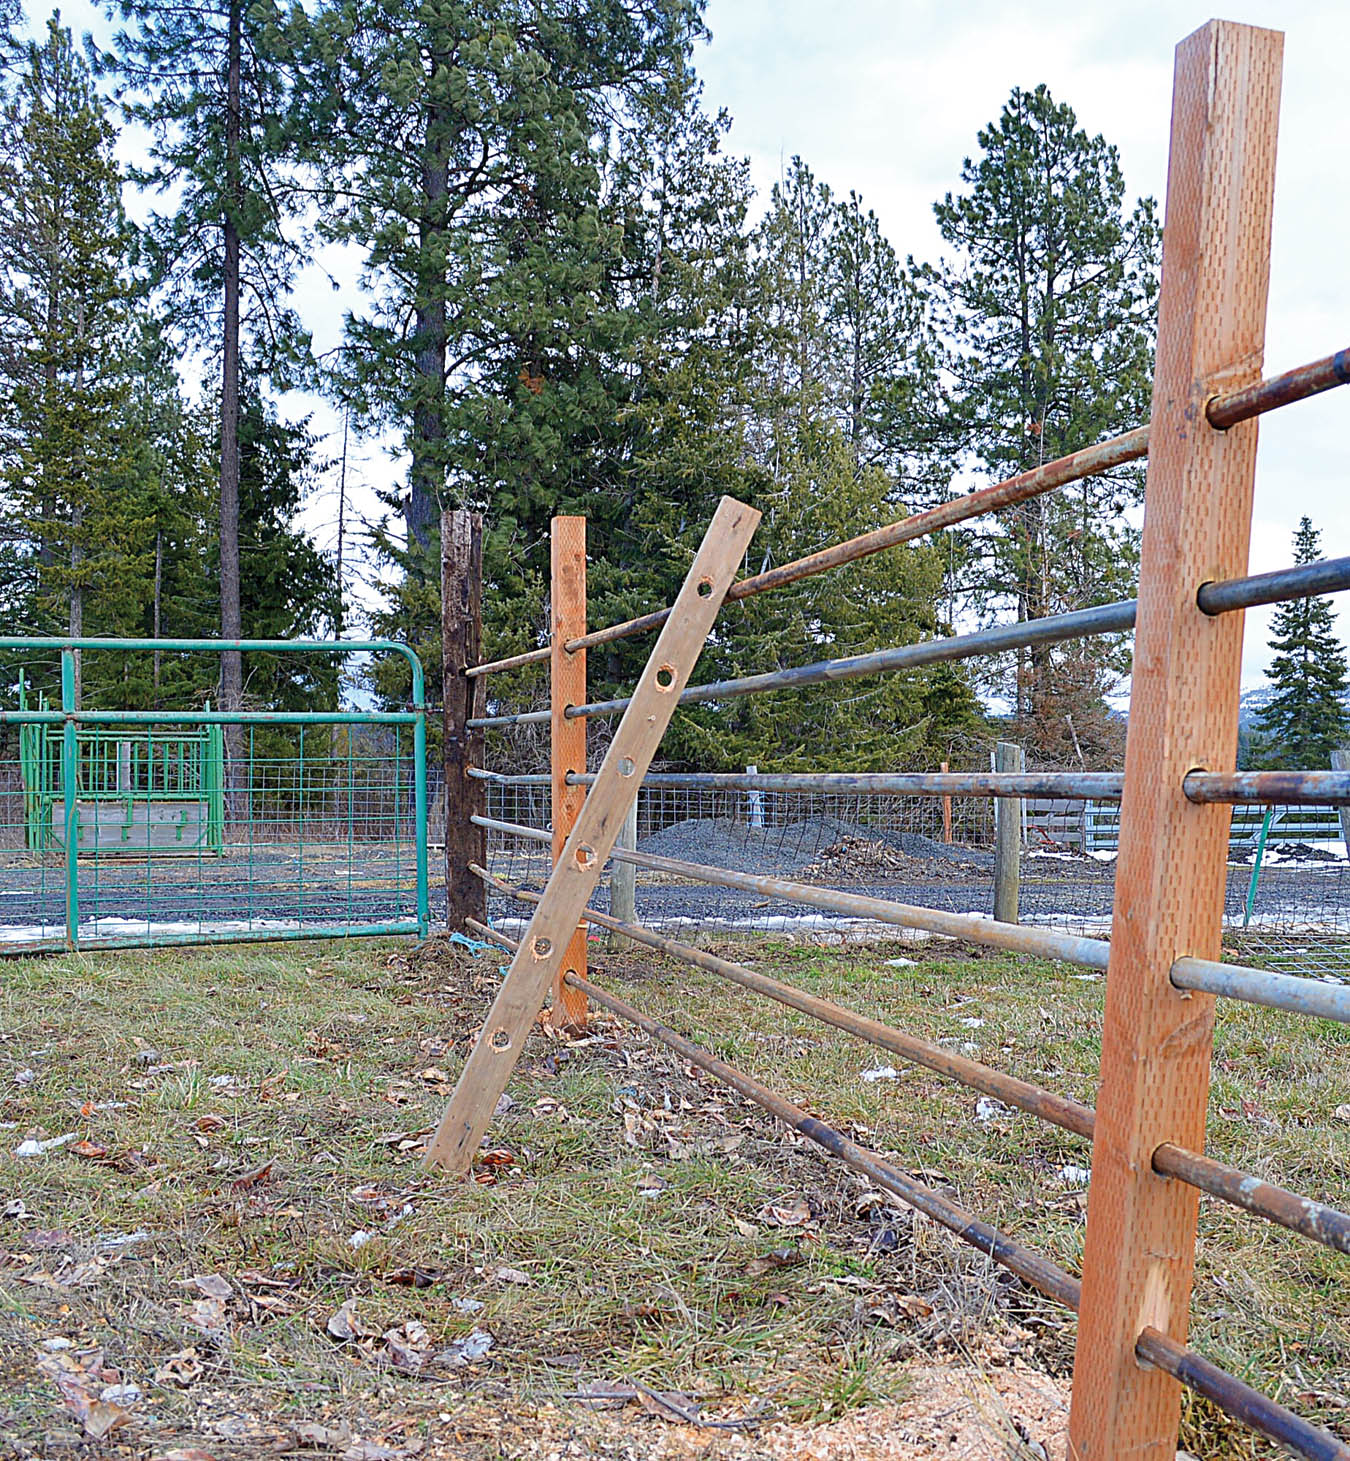
Pipe fencing
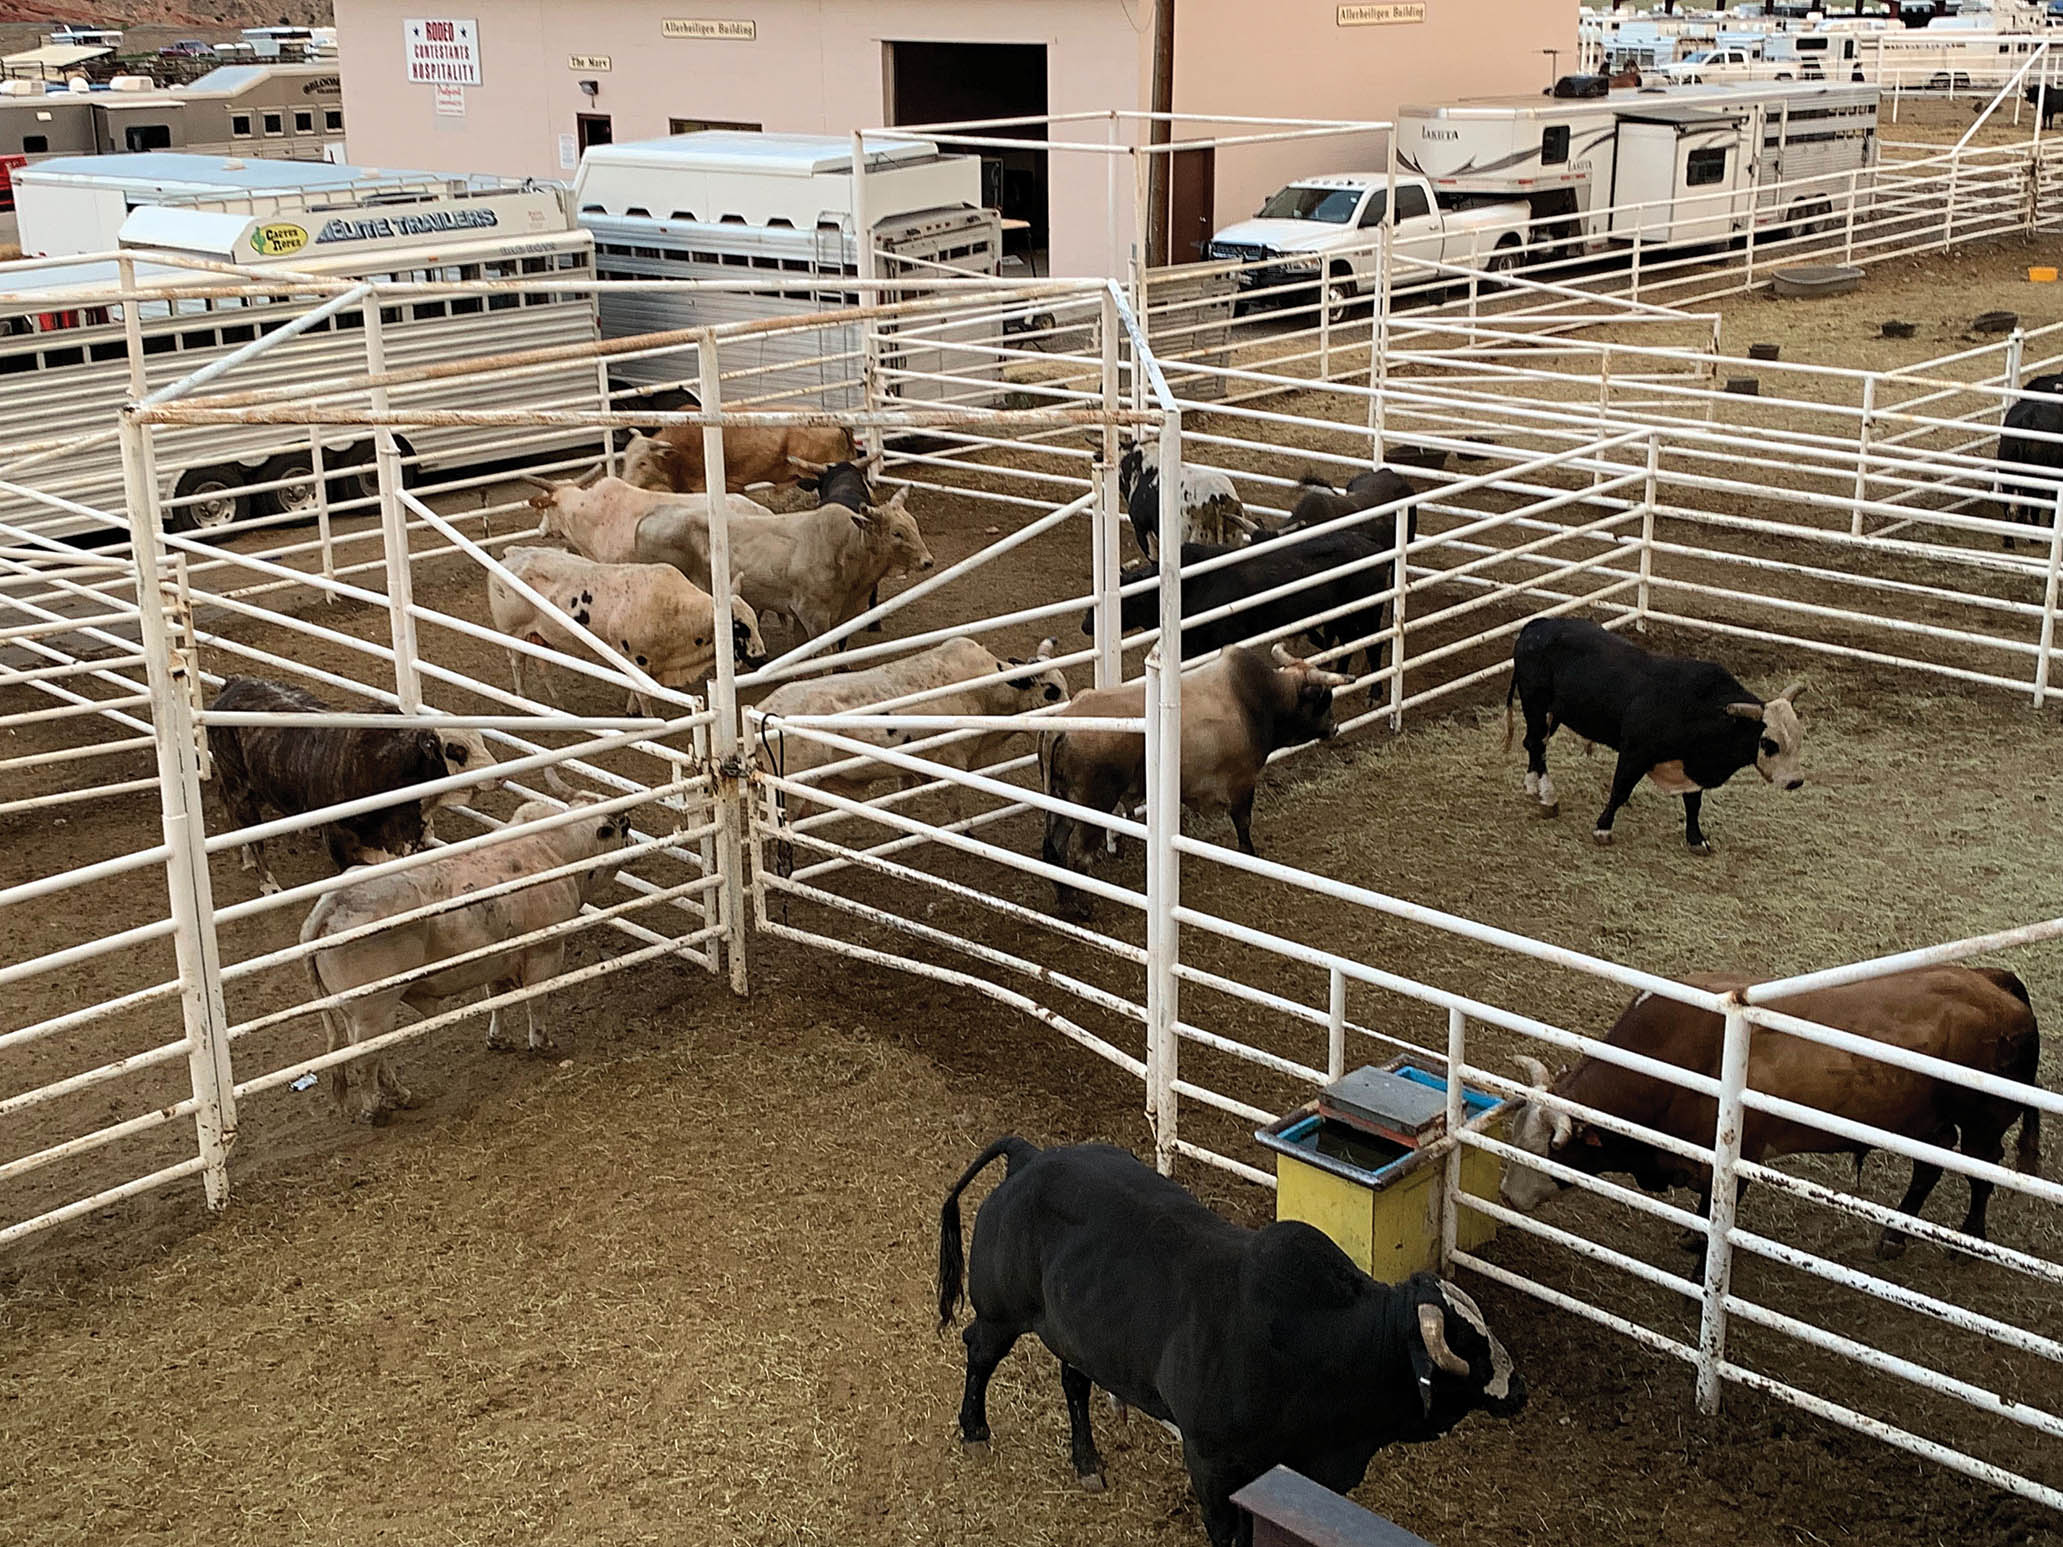
One of the more impressive styles of fences you can install is a pipe fence. Fences made of heavy-duty pipe rails welded to larger diameter standing pipes or flat-iron stock look great and are sturdy enough to resist even the most determined livestock. In fact, most modern livestock holding facilities use pipe fencing and gates exclusively.
But pipe fences are also fairly common around pastures as well. Some people purchase pre-made panels and fasten the panels to metal or wood posts. But at upwards of $100 for a 20-foot panel consisting of a pipe frame and six rails, fencing a large area can really add up.
Livestock holding facilities use pipe fencing.
Pipe fencing a large area can be expensive.
Some folks try to cut the expenses and make their own fencing by buying the pipe and then welding the pieces together, or using heavy duty U-clips to fasten the pipe rails to wooden posts. But the cost of new galvanized pipe is also steep, and at over $0.20 per U-clip, a pipe fence is probably beyond the budget of many homesteaders.
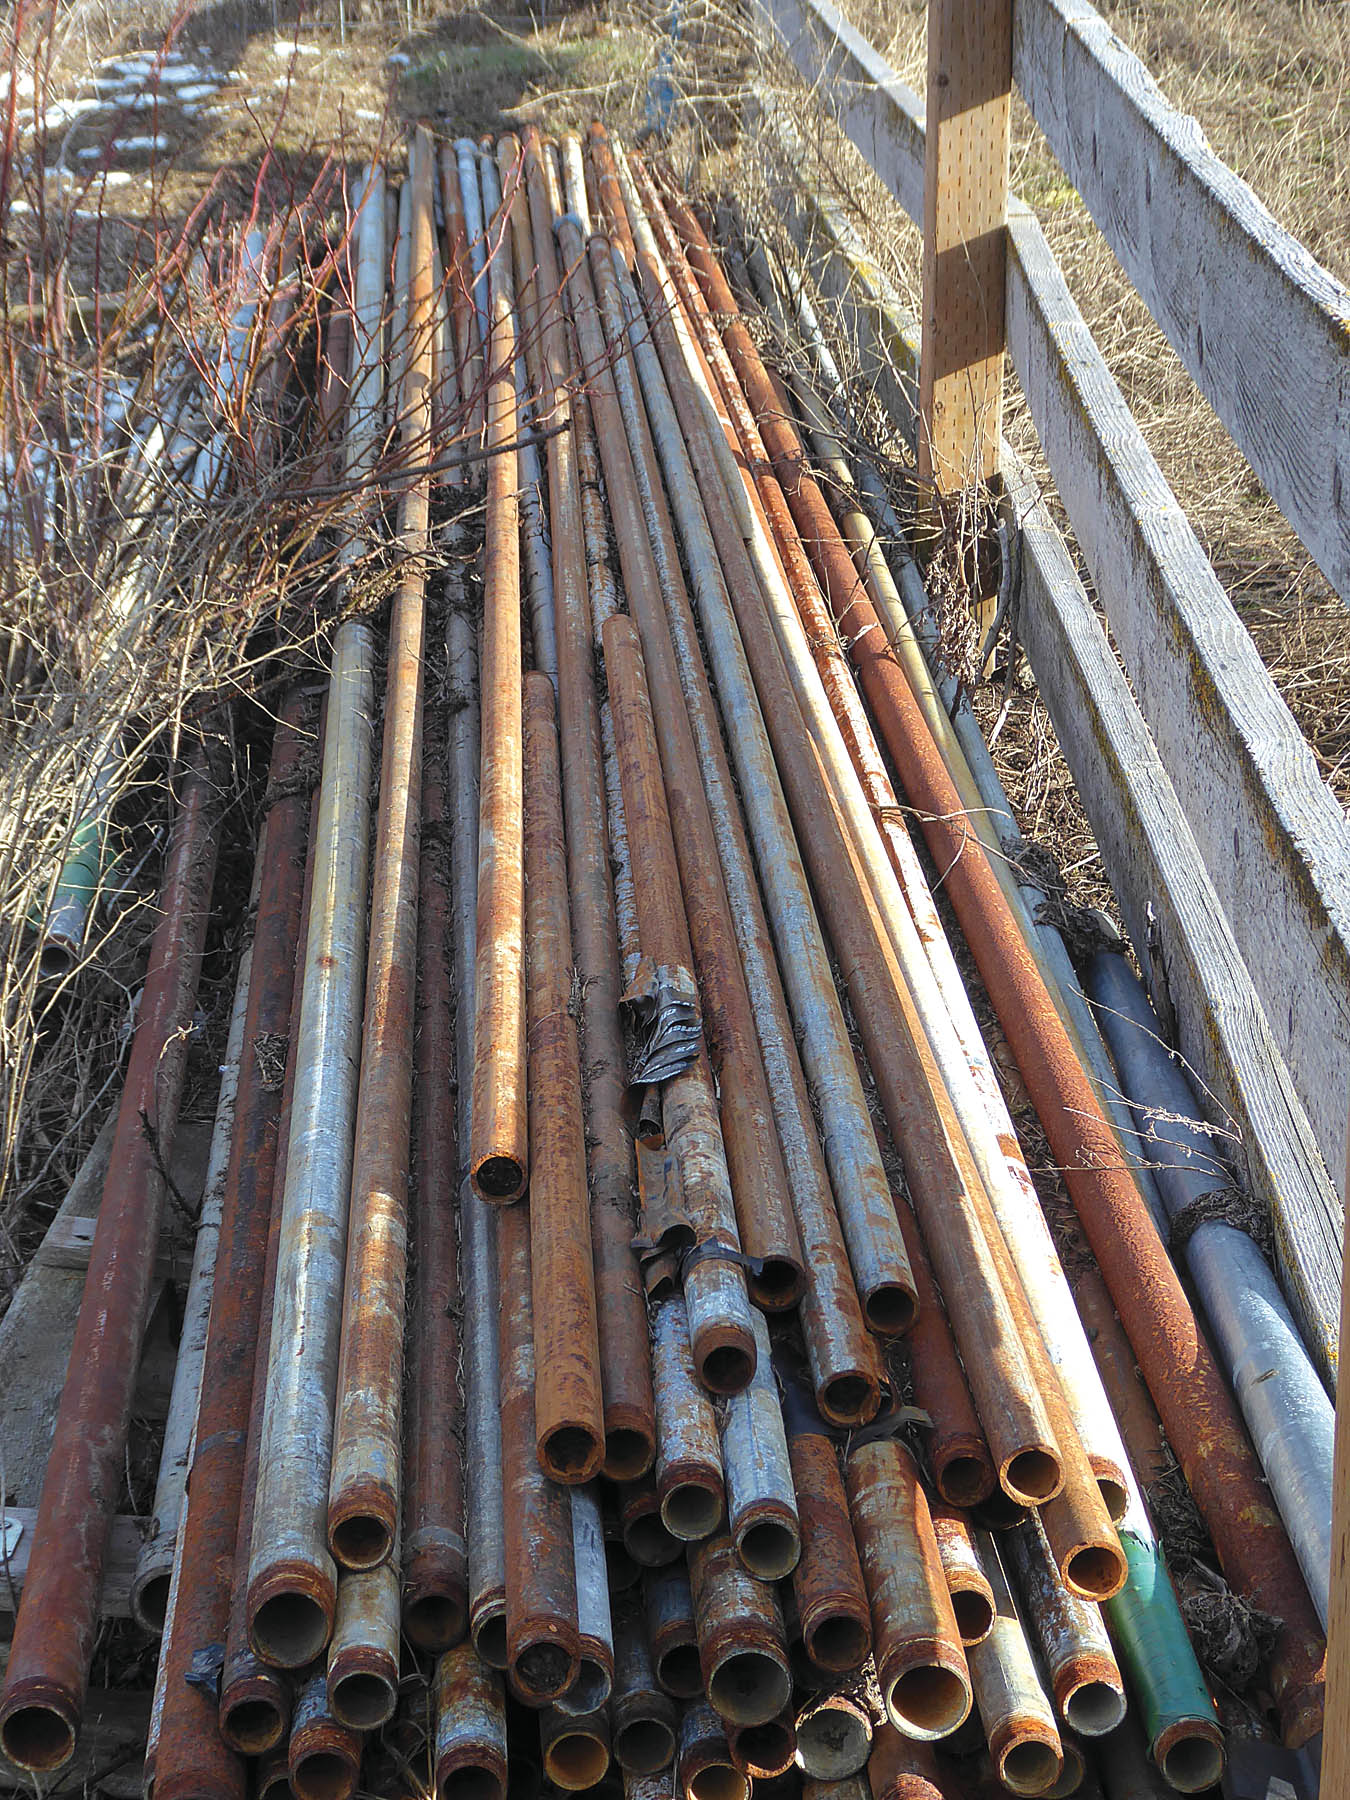
I was fortunate enough to find a way to cut those costs dramatically by locating a source of free galvanized pipe. This source might be available to you as well.
A few years ago, our 30-year-old well pump finally gave up the ghost. We contacted a local well driller/pump installer to come out and install a new pump. Because our pump was located below the static water level of the well, the contractor had to pull the galvanized water pipes to bring up the connected pump. As it turned out, two of the pipes also needed replacing for pin-holes or pitting; the rest were fine.
When the job was done, the well driller loaded the old sections of pipes onto his truck. I asked him what he did with all the old pipes. He told me that since they couldn’t be used again, he just stacked them at his shop yard until the end of the season, then he and his crew hauled them off to the dump.
Each of those threaded pipes had a one-inch interior diameter (ID). They were 21 feet long and had both female and male threading. Separating the pipes from one another simply required the use of two pipe wrenches. I made an agreement with the well driller to haul away his old pipes. This was a win-win deal. The driller didn’t have to spend the time or money to haul the pipes to the dump, and I got perfectly usable pipes for free. The last time I dropped by the well driller’s yard, I hauled away over 100 threaded pipes.
With this free resource, I decided to make my own pipe fence along a section of our yard. I already had in place a wire mesh fence supported by pressure-treated 4x4s (12 feet apart) and railroad-tie end posts. So I decided to replace the wire mesh with pipe rails.
Rather than use U-clips to attach the pipes to the wooden posts, I made a jig to drill evenly-spaced holes in the 4×4 uprights. The jig was made from a standard 2×4 board. I drilled six holes, 1.5 inches in diameter, eight inches apart on-center (OC). This meant the spacing between each fence pipe rail would be 6.75 inches and the total height roughly 48 inches.
We got pipe fencing material for free.
I attached the jig to the post with two screws and used a 1.5-inch paddle bit to drill six holes in each post. The toughest part was inserting the poles through the railroad tie end post, where the pipes tended to bind. A squirt of tractor grease in the hole helped ease the problem.
I screwed more pipes together to continue building each “continuous” rail. In those few places where the belled female ends of a pipe ended up inside a post, I drilled 2-inch holes to compensate for the wider portions of the pipe.
The result was a strong and attractive pipe fence that cost next to nothing. In the event of an overly enthusiastic cow or horse, the fence is easy to repair by simply unscrewing the bent pipe from its neighbors and replacing it with a new pipe.
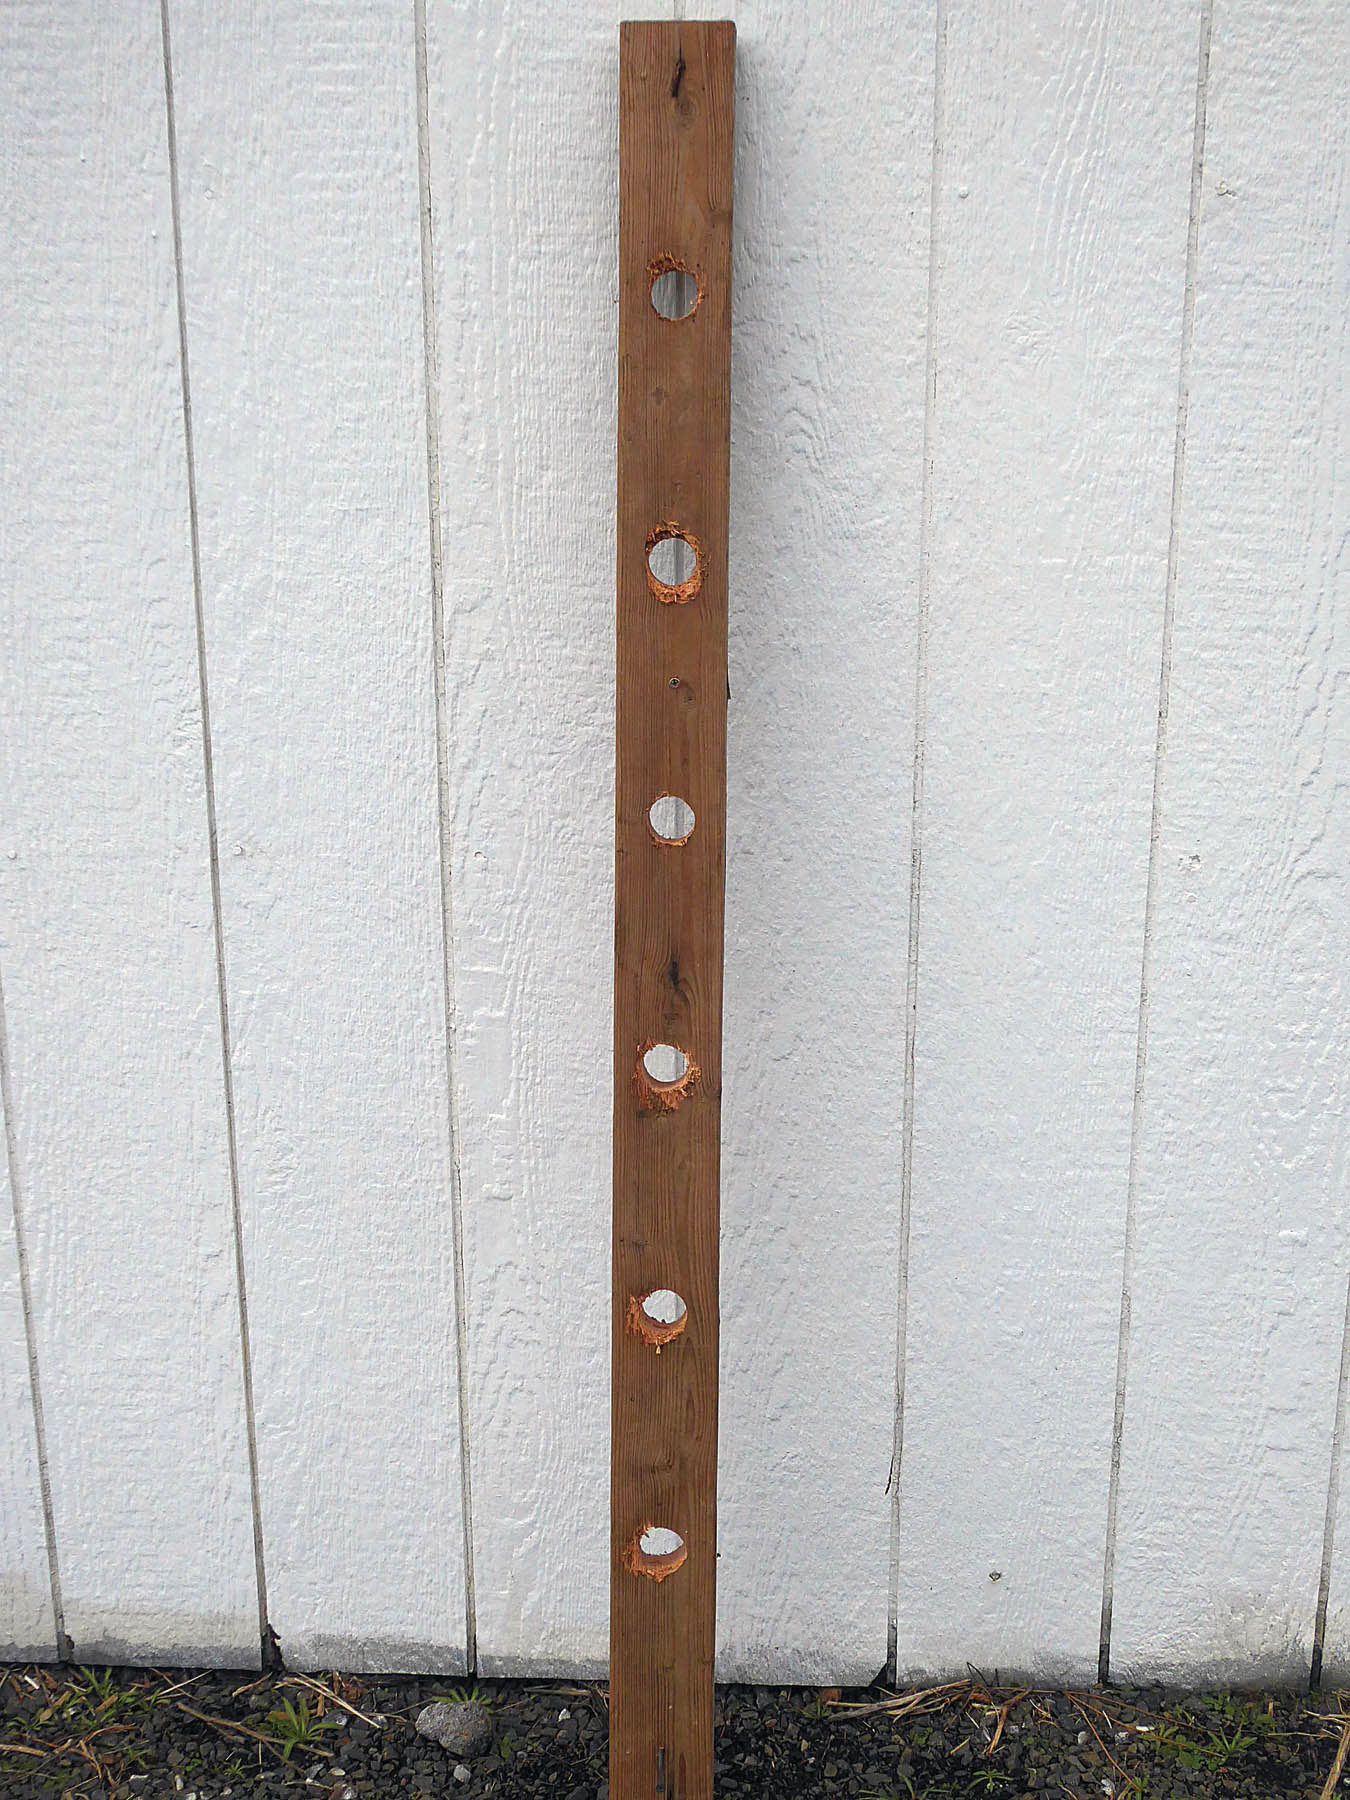
Jig used to drill evenly-spaced holes
Pipe fencing — simple and attractive
Gates
So far we’ve covered some common homesteading fences, but of course a fenced pasture or yard without gates makes no sense.
Proper fencing is a study in physics. A tight wire in a fence contains tensional force and a diagonal wooden brace deals with both tension and compression. With gates, tension is critical; but torque must also be factored in.
Torque is rotational force. A gate must remain horizontal even when supported at just one end. This places a great deal of torque on its supporting vertical brace. When you think of it, a heavy gate — unless it’s held up at its free end by a ground wheel or a latch — puts significant strain on the hinge pins and the post they’re connected to. Everyone has seen a gate that, over time, has pulled an inadequately supporting brace post off level, causing it to lean inwards under the constant rotational pressure. That’s why creating a strong brace is important not just for fences but for gates as well.
A good set of brace posts designed for resisting a tensioned fence is largely linear; its greatest strength is along the fence line. That will work just dandy for a gate when it’s closed. But what happens when you swing that gate open? Suddenly all of that torque is shifted 90 degrees or more off of the brace’s best tensional resistance. Unless you design for that repeating force vector change, eventually your post will go wobbly. Earlier I said I usually don’t bother with concrete when installing a brace post. The exception is when the brace post supports a gate (especially a wide gate), where concrete is helpful to create an exceptionally strong support.
Fortunately, modern tube and panel gates are internally strong and relatively lightweight. I might complain about the prices, but they’re relatively inexpensive when considering their durability and importance. Since I also have some very heavy salvaged wooden gates I plan to install, I’ll likely add a short wood diagonal buried and bolted post on one side of the brace post to add additional lateral resistance.
Final thoughts
Despite the length of these two articles, we’ve barely scratched the surface on fencing. Fencing can be made from an endless variety of materials. I often use cattle panels (rigid heavy welded wire panels that come in 16-foot lengths) around the homestead. Another portion of my yard fencing is made from locally-grown cedar splits. My garden fence posts are eight-foot-high tamarack poles cut from my wood lot.


